 Overall Experience
 Quality
 Price
Price
 Convenience
 Overall Experience
 Quality
 Price
Price
 Convenience
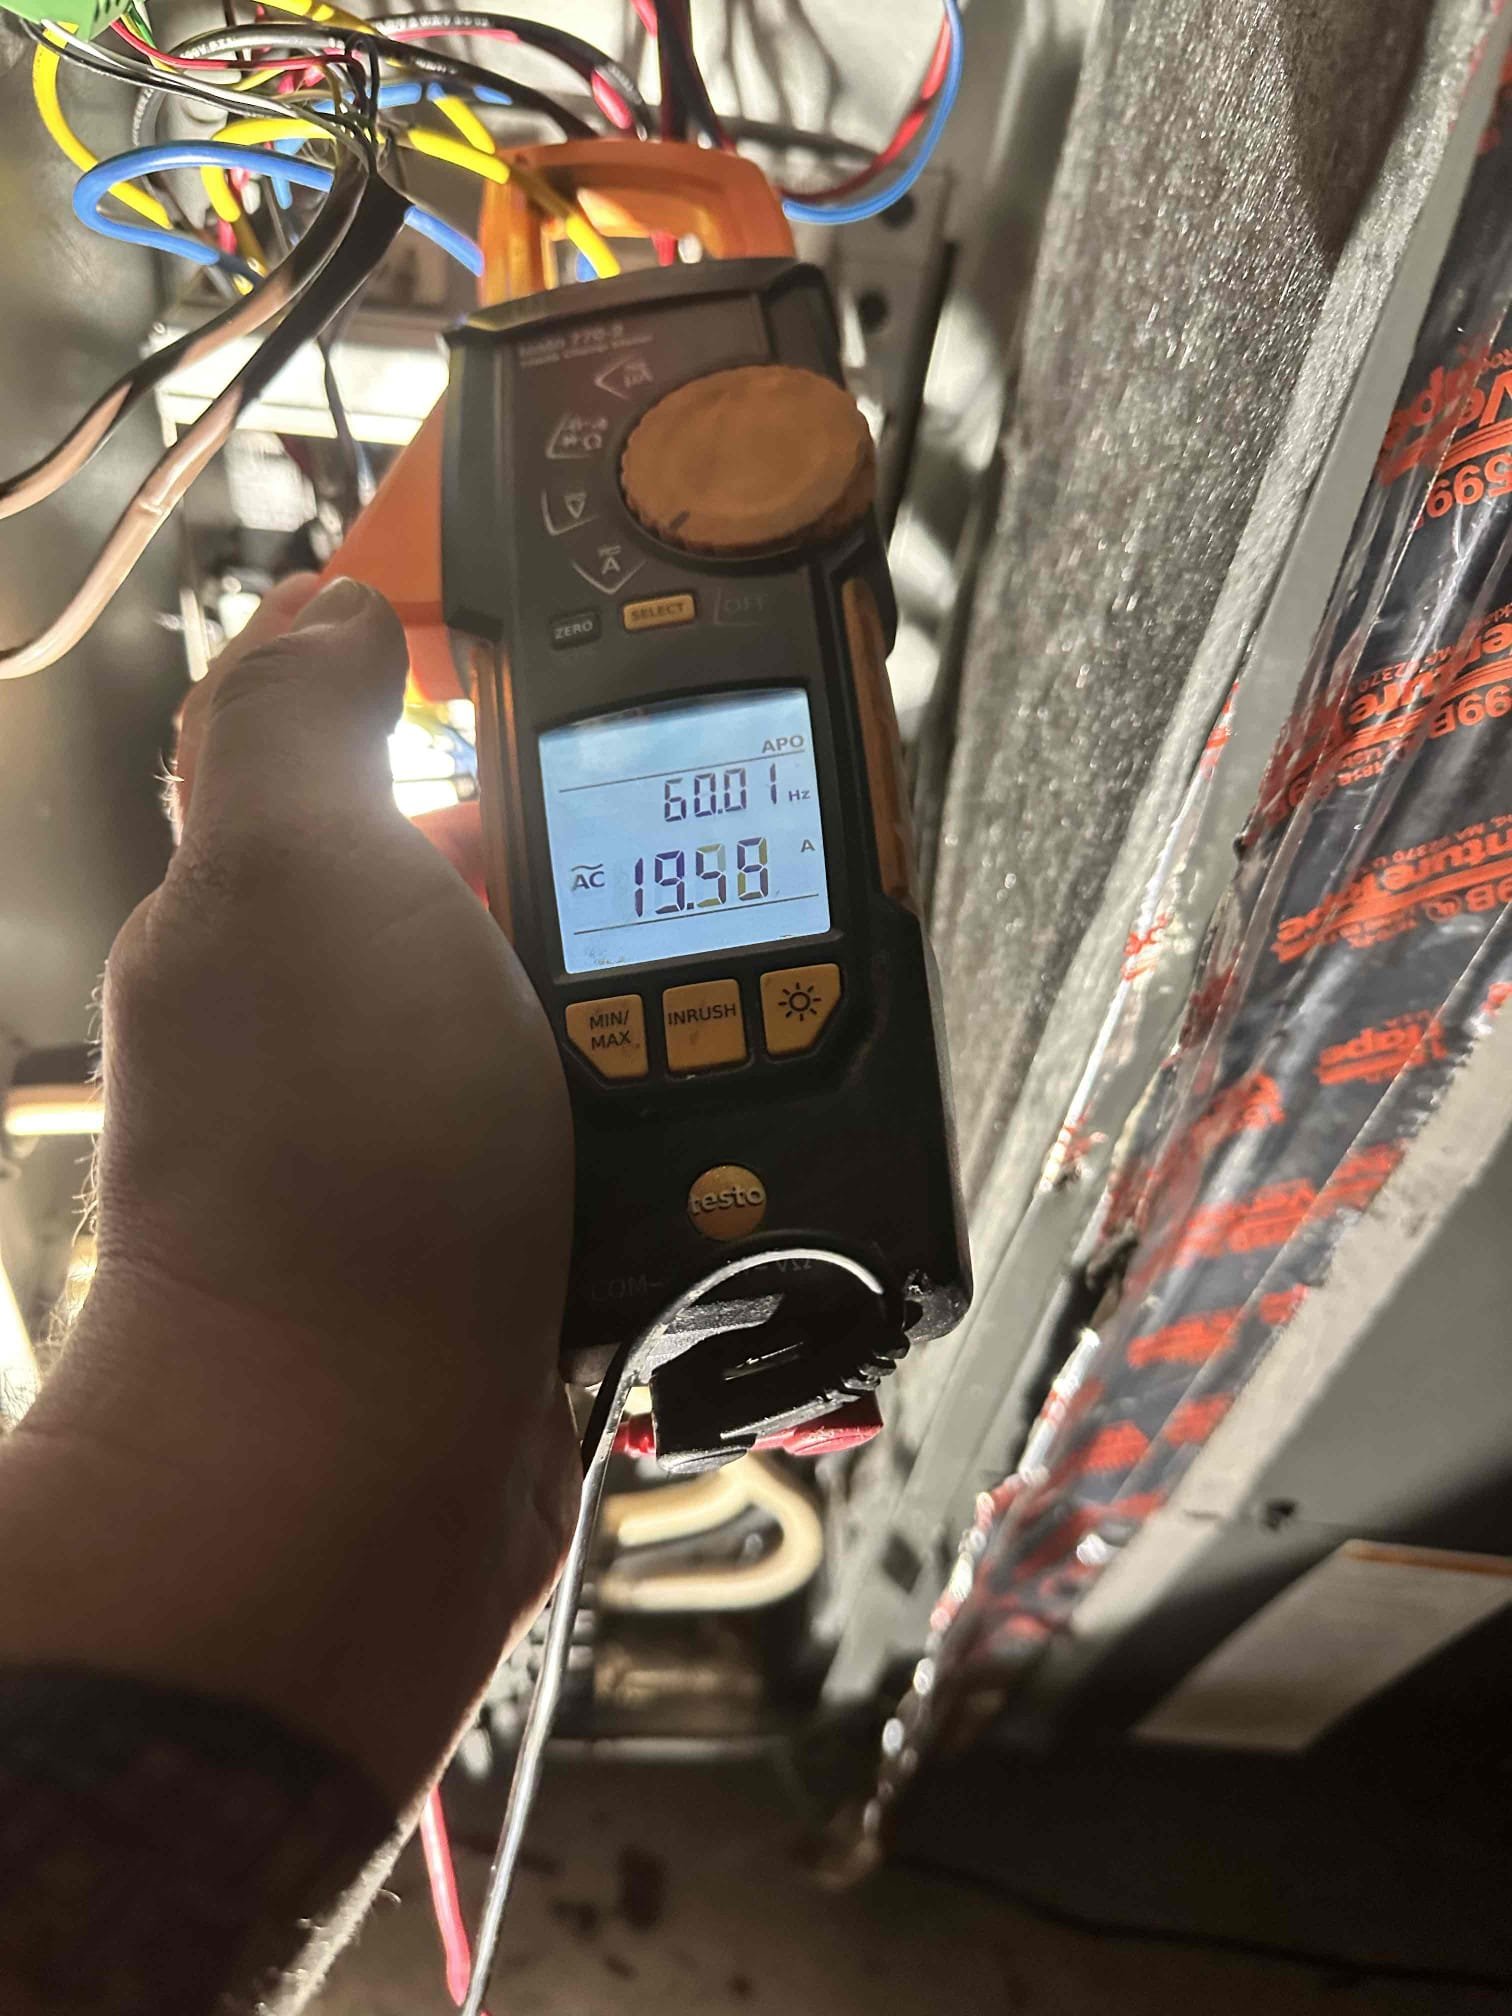
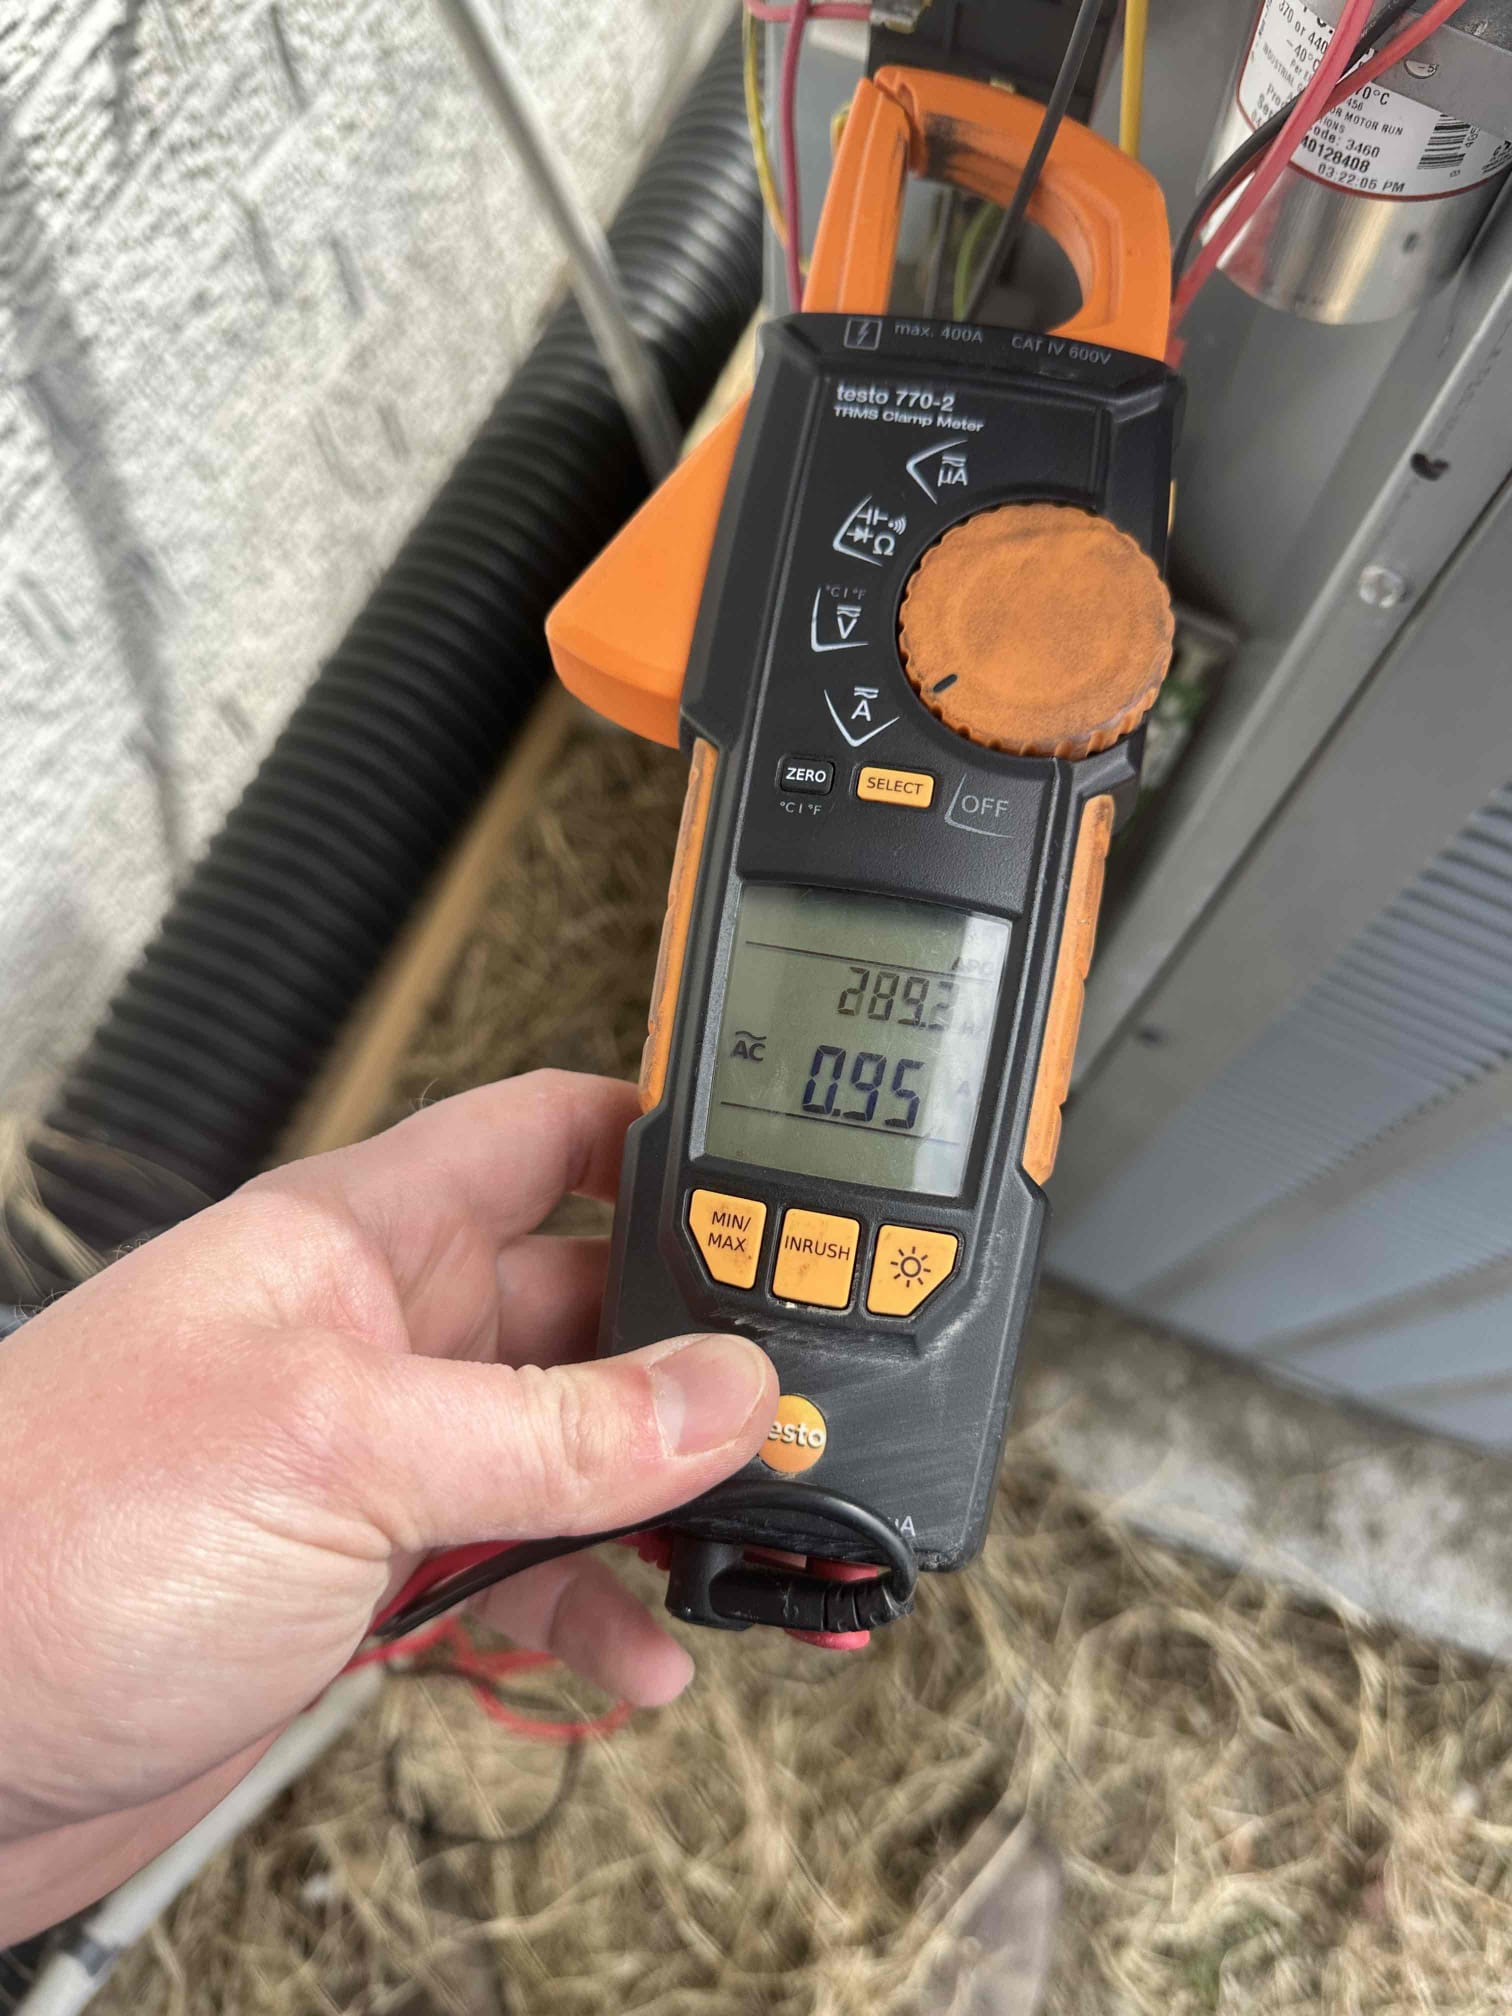
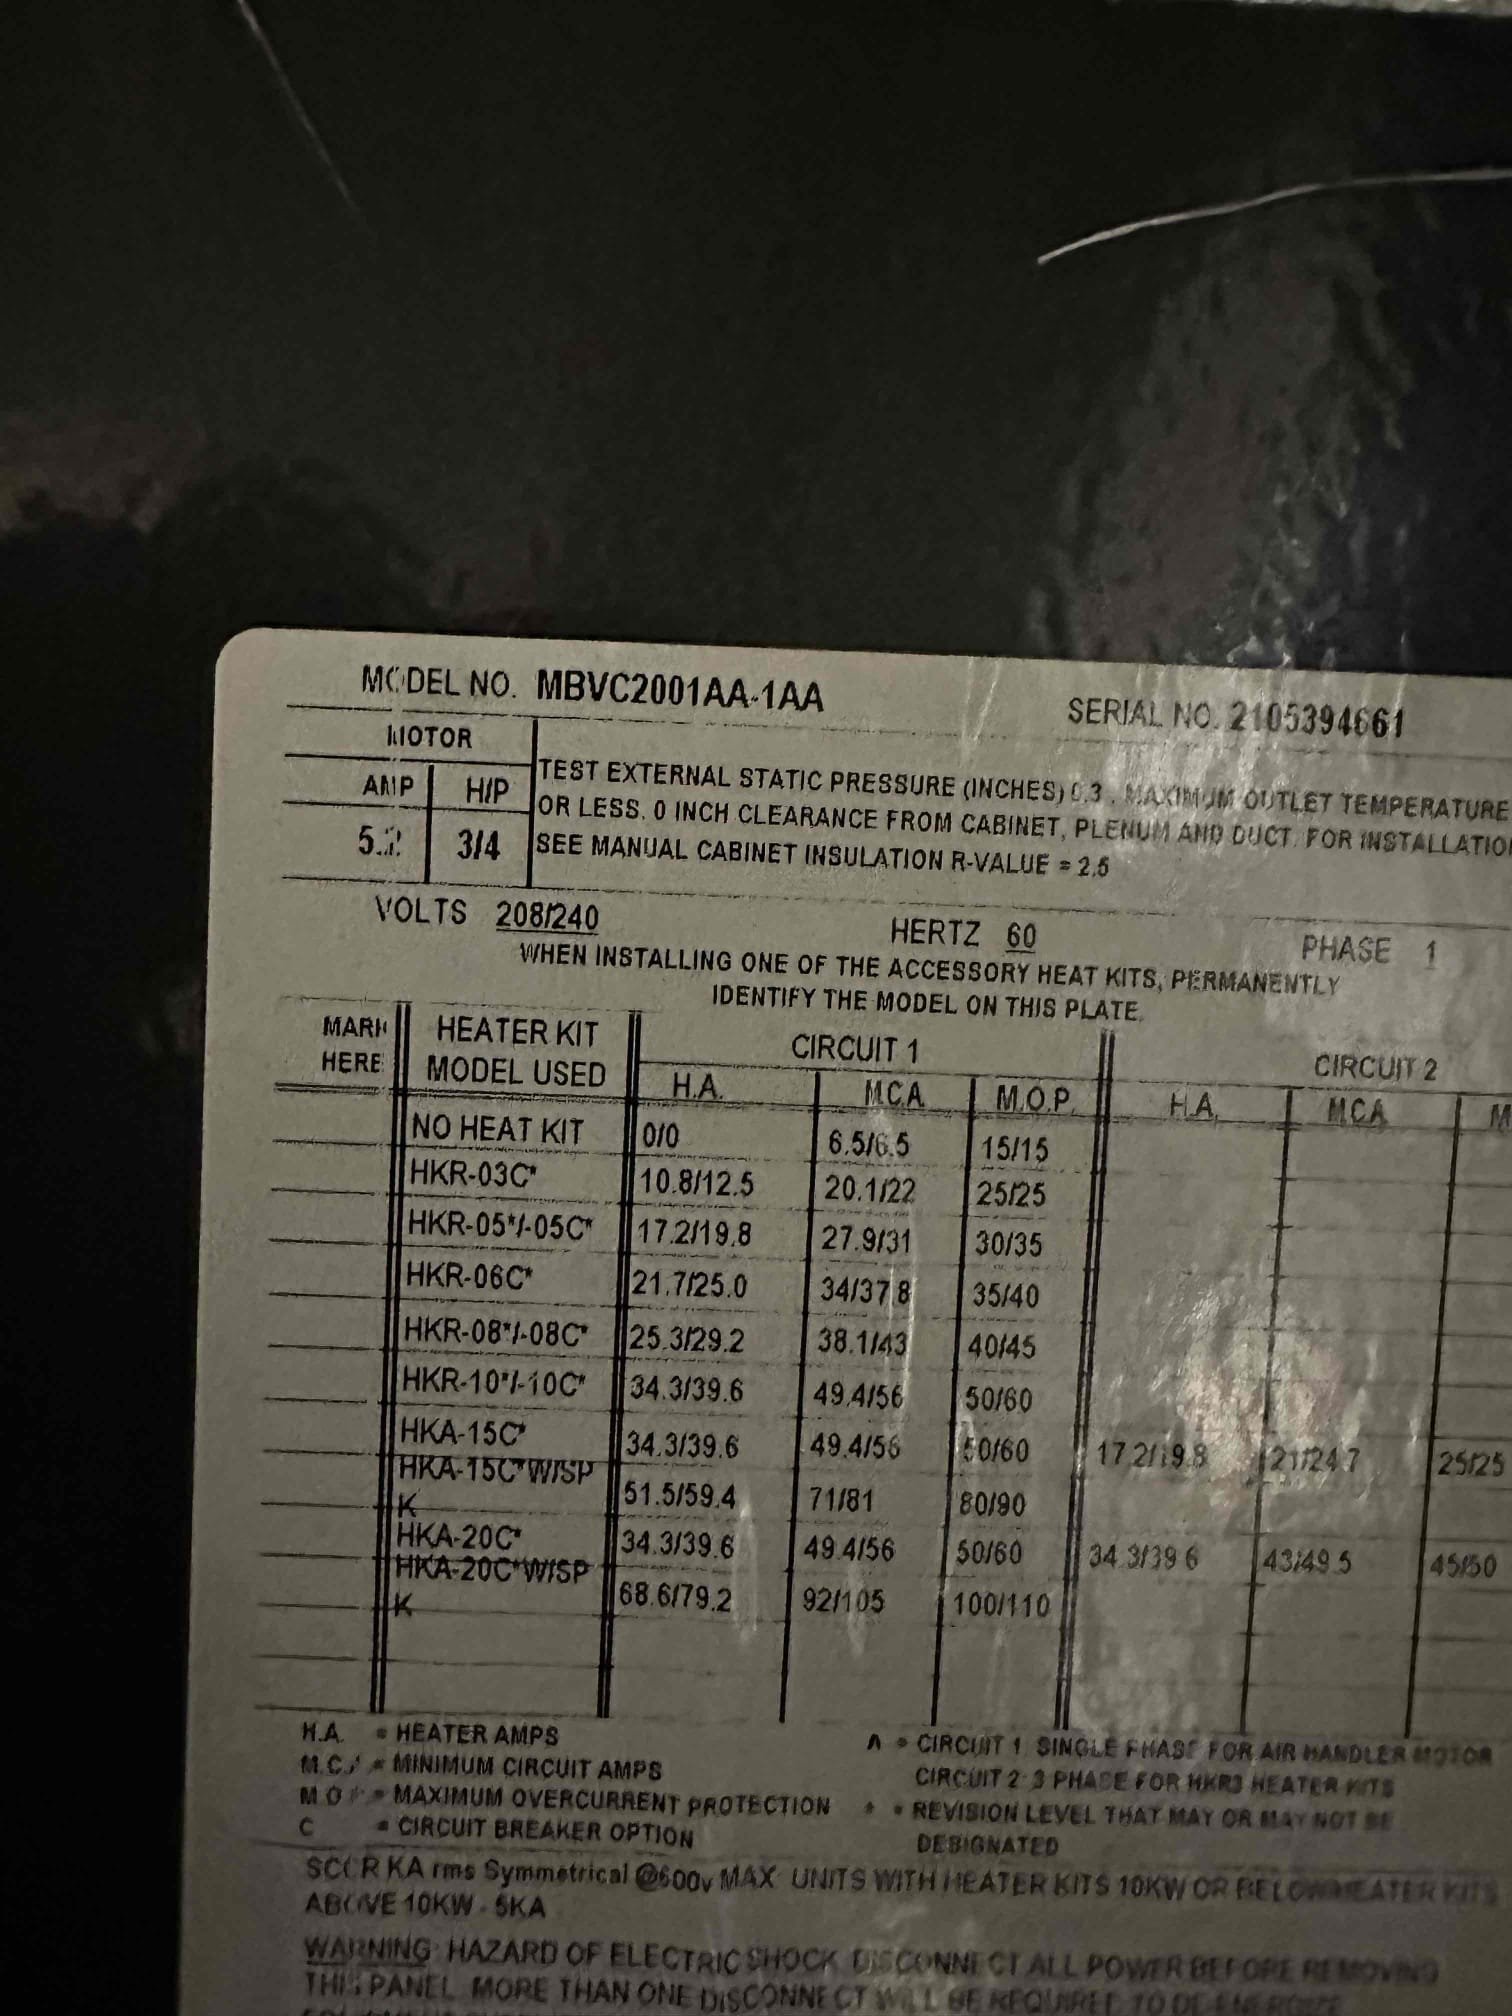
I performed a single system heating maintenance on a 2021 zoned communicating heat pump. I checked amps, capacitor, filter, electrical, and cleanliness. I found the system to being heating fine in heat pump mode. Customer mentioned that the outdoor would turn off and it would get cold. He would reset the system and it would work for a time then turn off again. This was likely due to the outdoor temperature sensor turning the system off. However, I discovered that when I installed the control board I didn’t have the heat kit fully programmed into the system. I corrected this mistake during maintenance.
Found bad contactor and x2 bad fuse link for the heat kit causing 2 of the 3 legs of electric heat to not function. Replaced contactor under warranty and advise homeowner. We would order the fuse links and give him an update as soon as we have more information.
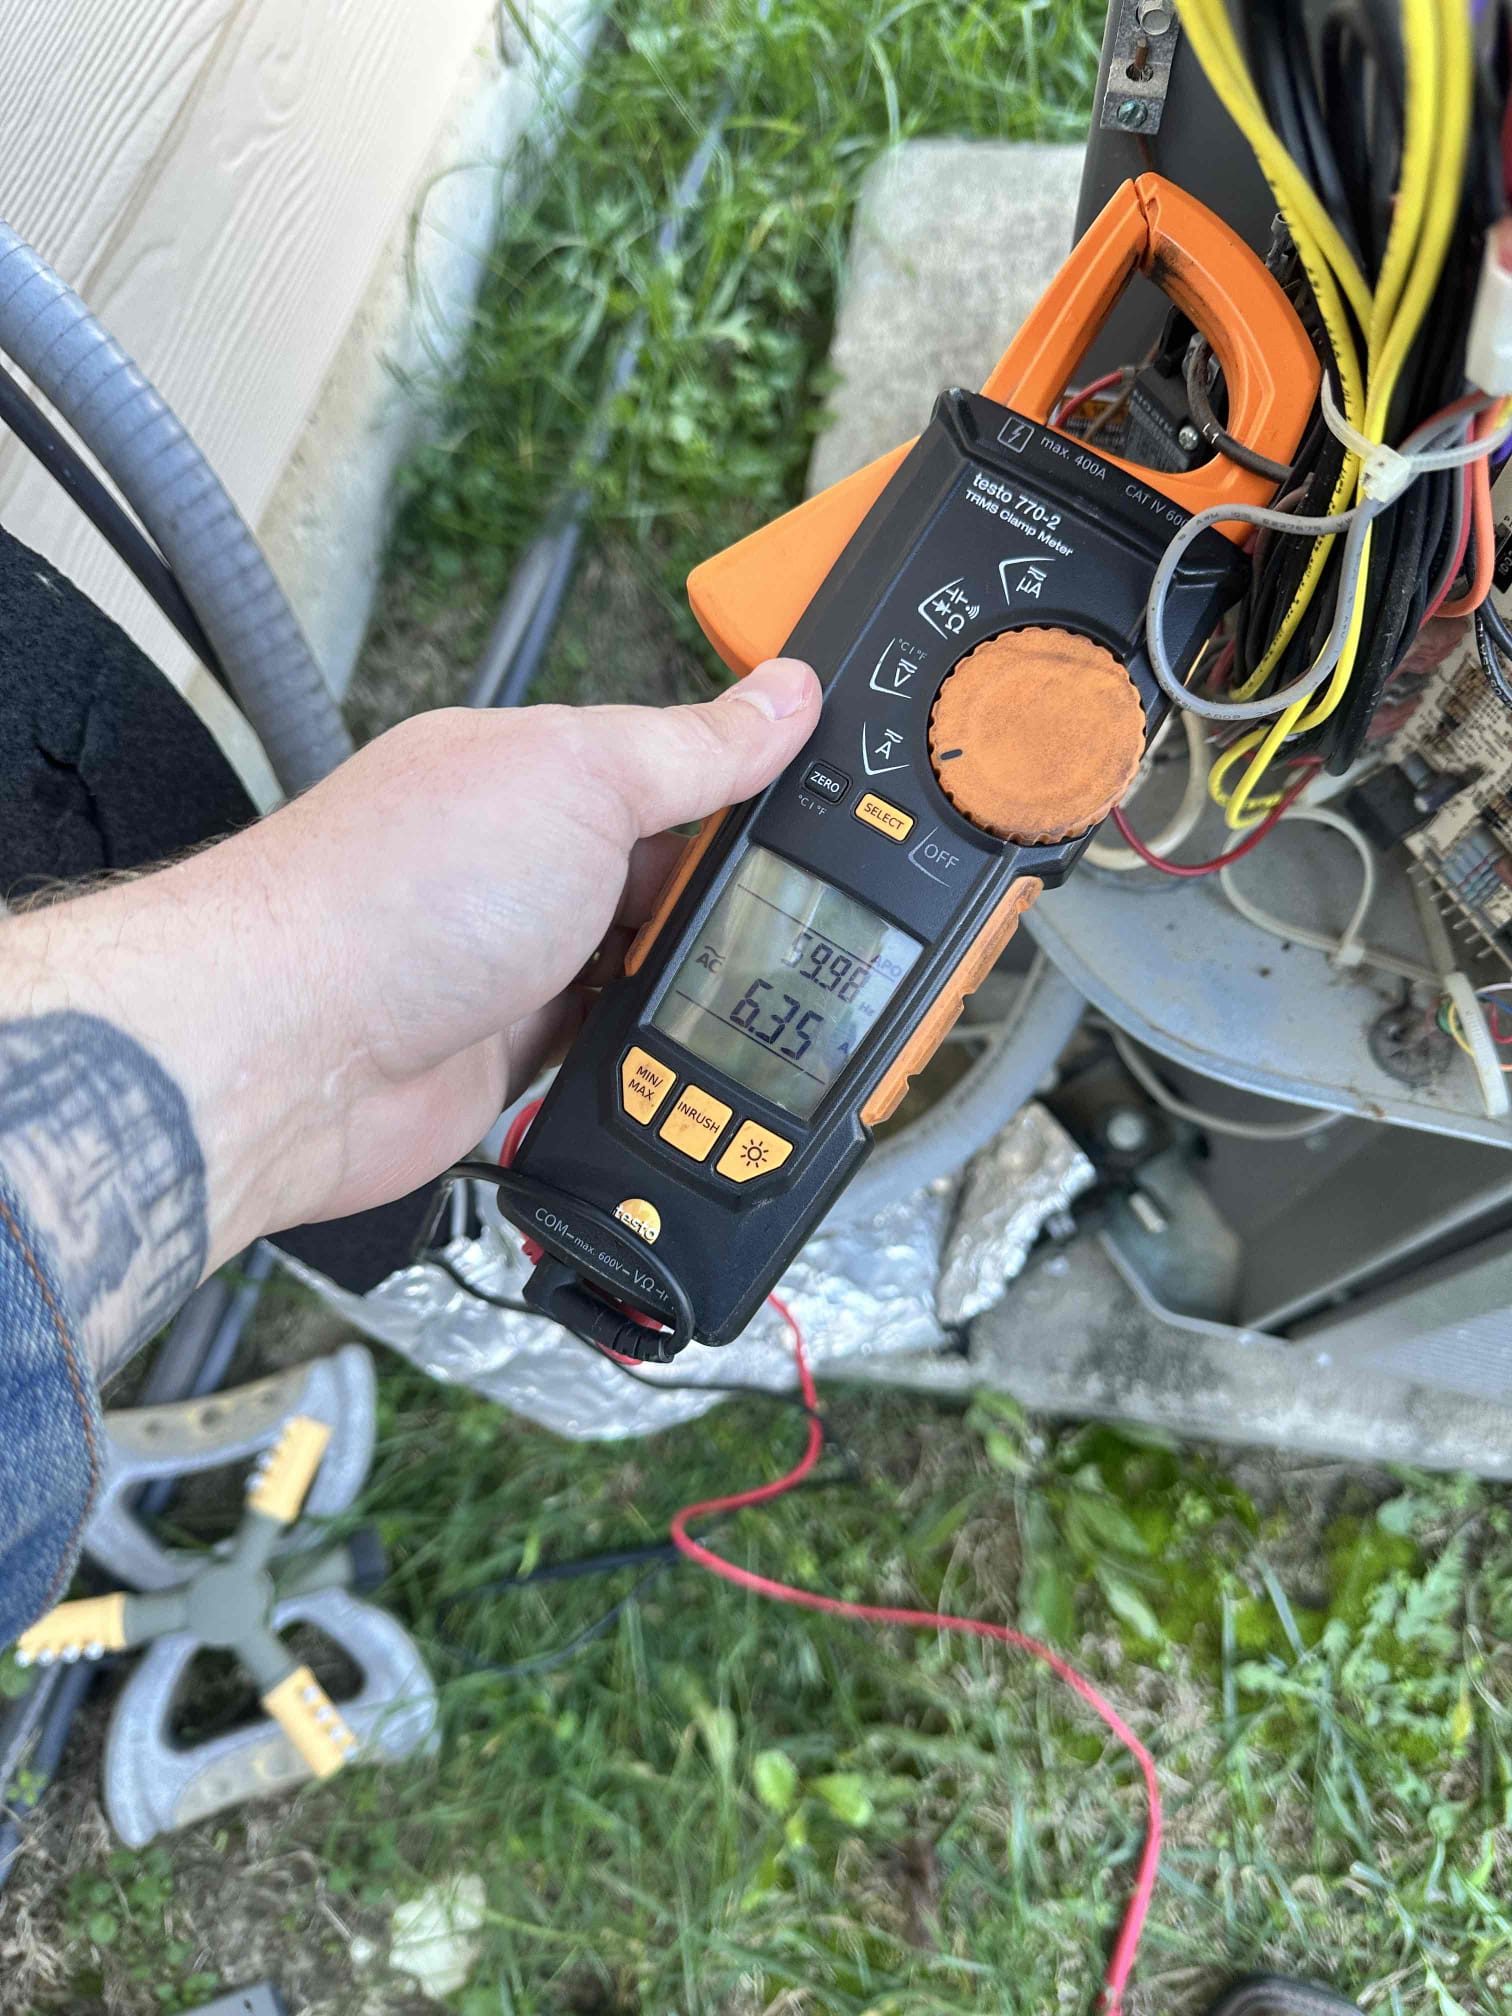
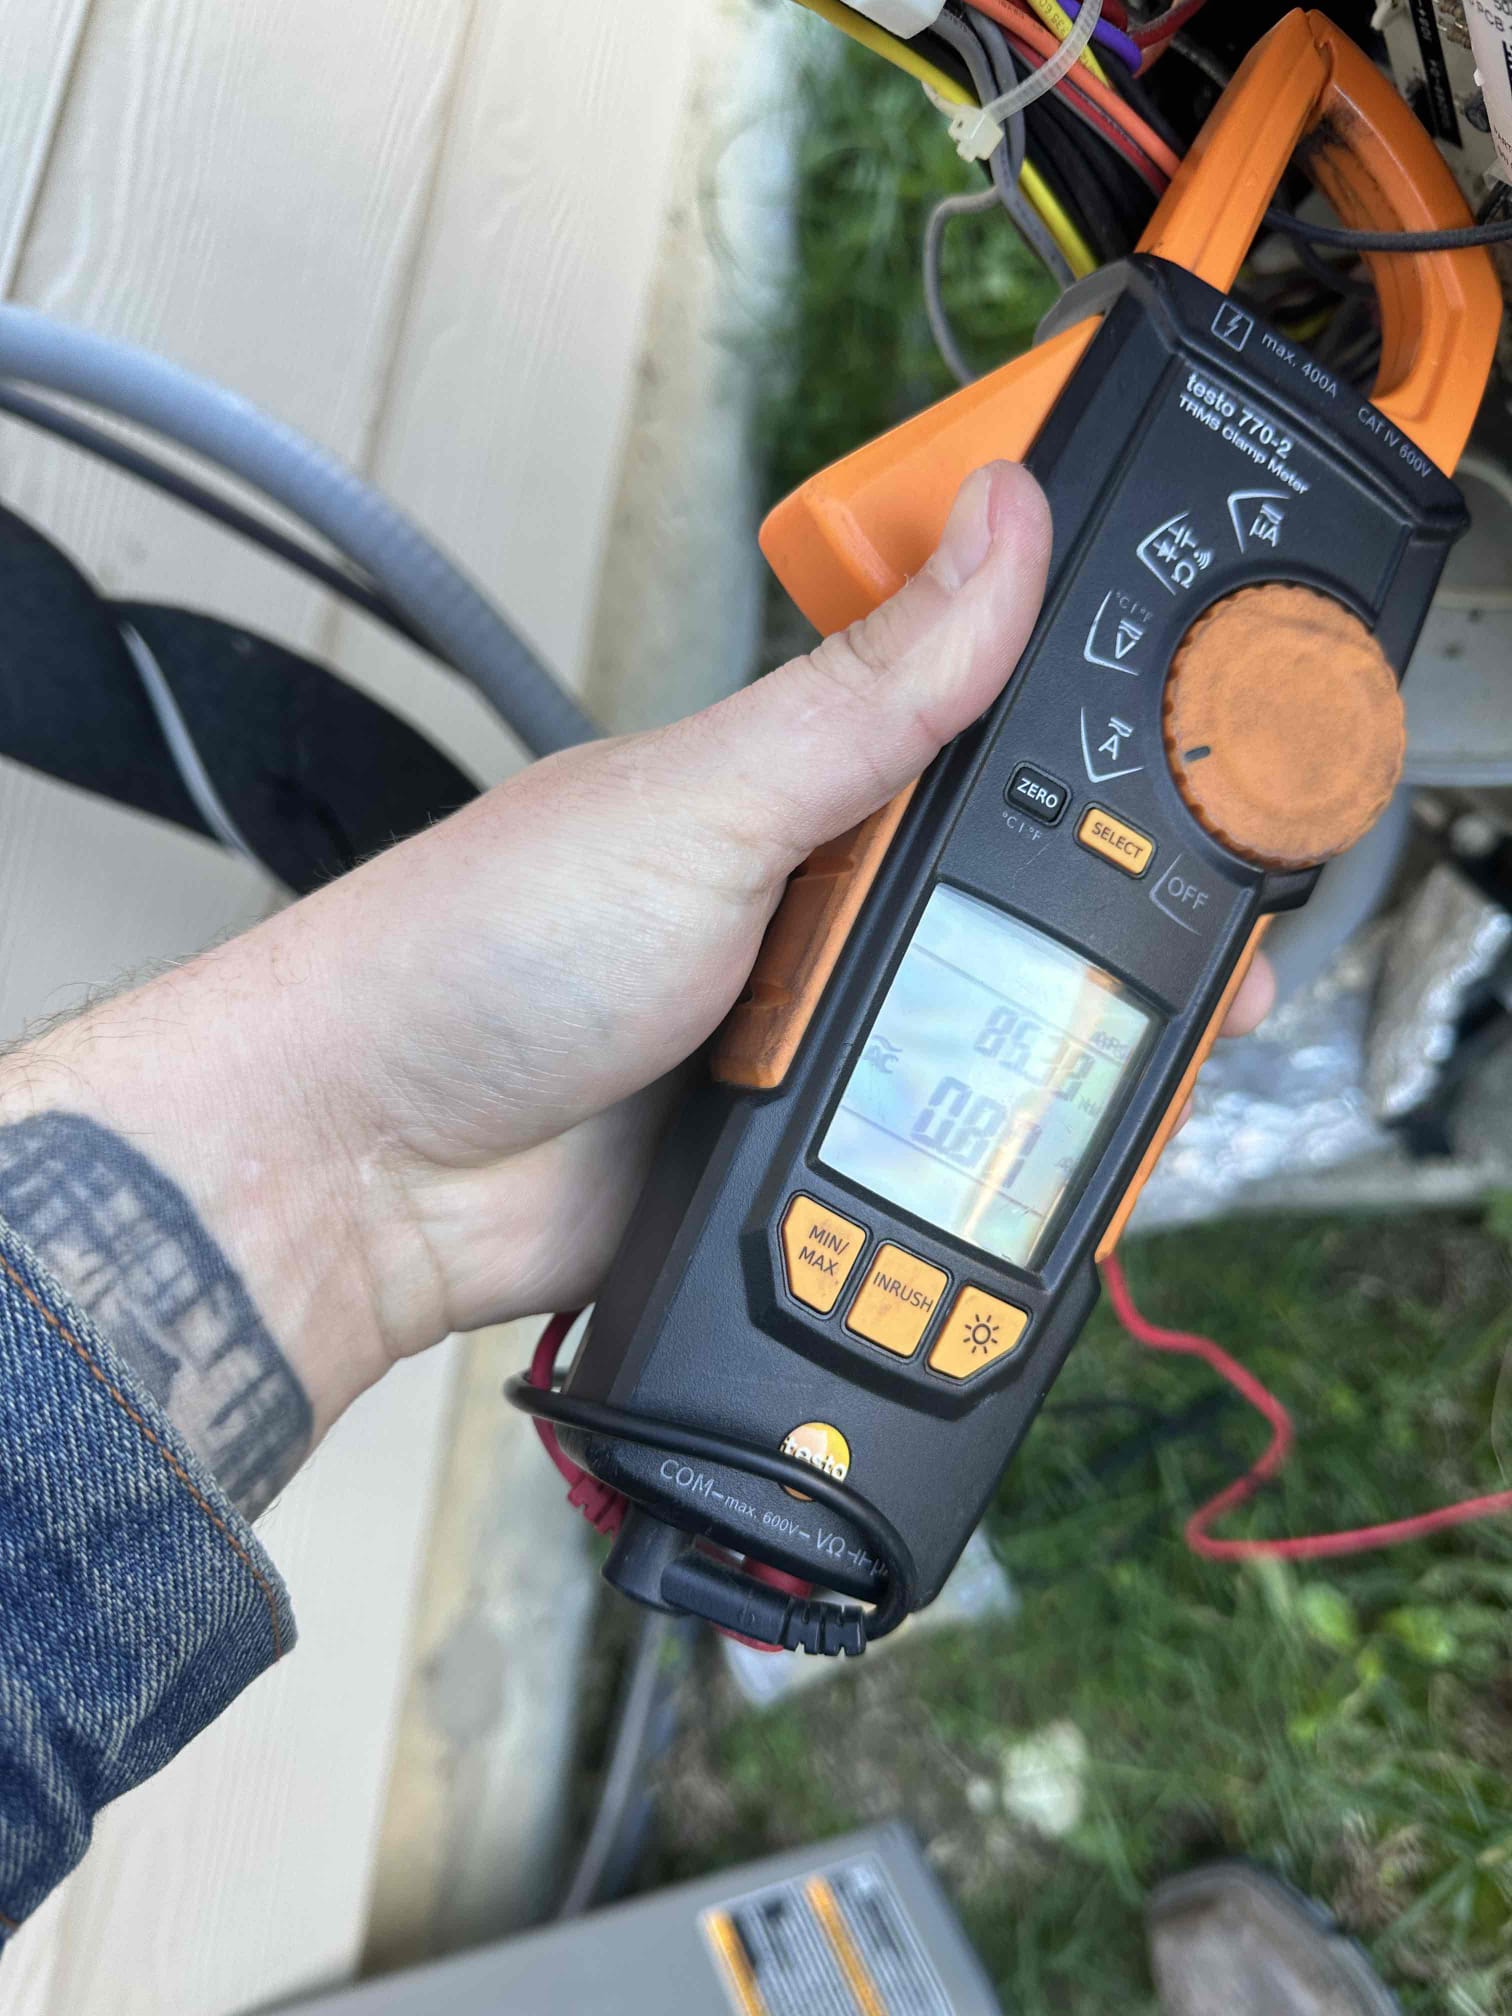
I performed a single heating maintenance on a Heatpump system. The outdoor unit is from 2016 and the indoor unit is from 2023. I checked amps, capacitor, filter, electrical, cleanliness, and safeties. During my evaluation, I noticed that the compressor is pulling close to its maximum rated amps when it starts. Also, I noticed that the capacitor 45/5 is outside of the manufacture specification for the fan motor side 4.2/5. The customer is interested in getting the work done, but we need to reach out to verify the route to payment.
Returned to install outdoor temperature sensor and control board. I programmed the board and started the system up. The system was heating upon departure.
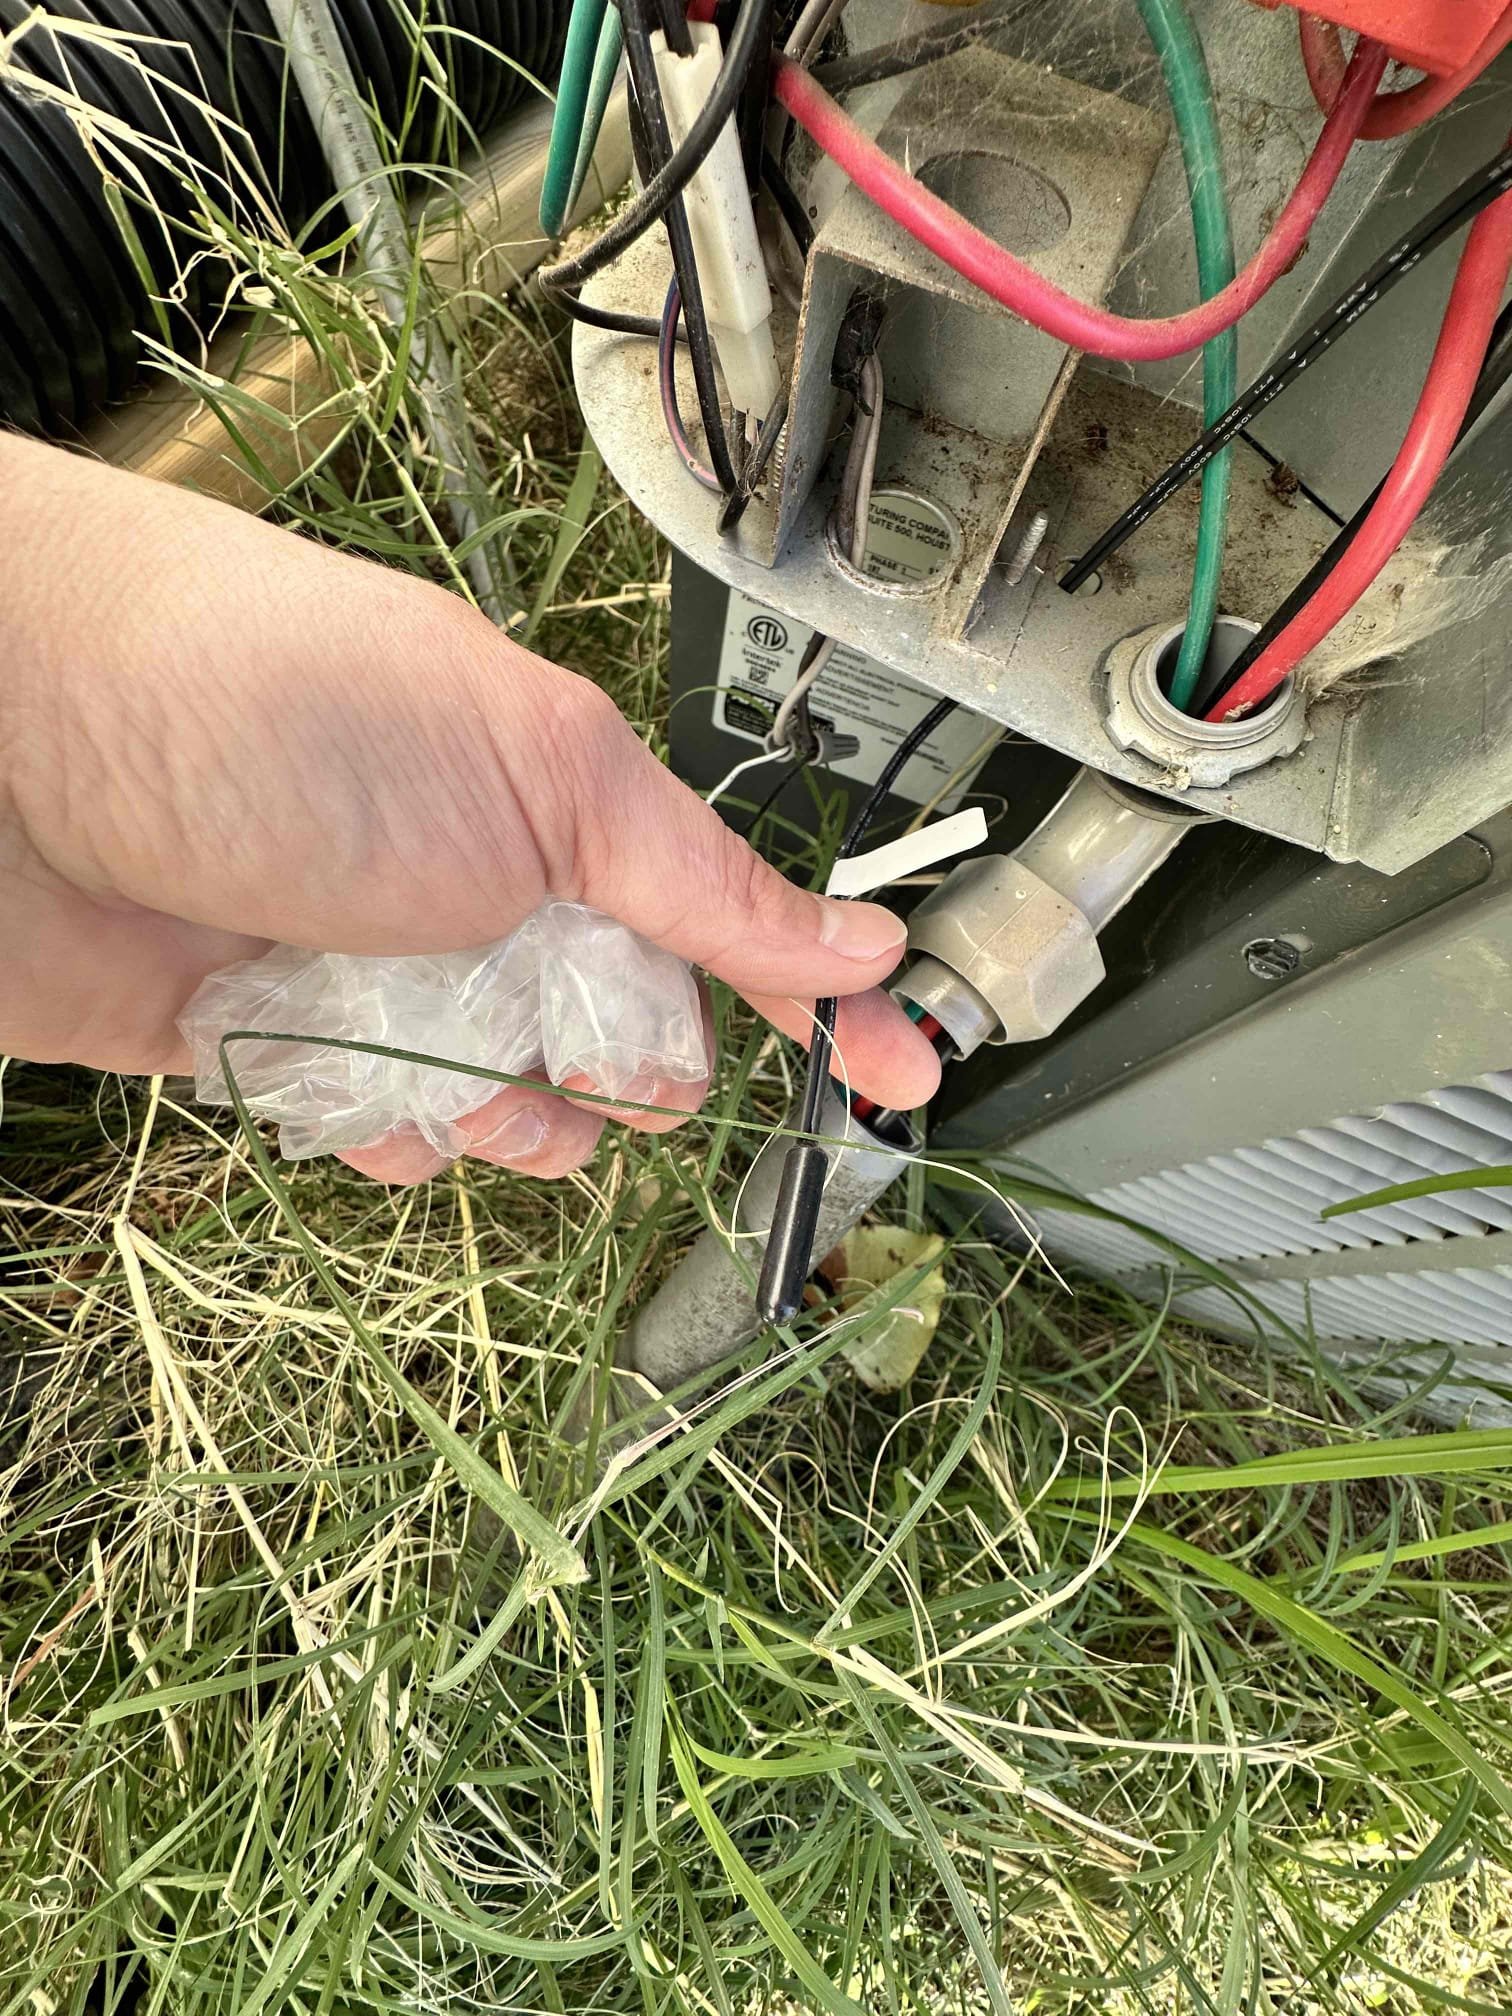
Upon arrival, I found the outdoor unit not running. I found that the outdoor sensor was no longer functioning causing an A2 code on the outdoor. I proceeded inside and found a A08 code on the indoor board. This indicated a communication fault. I noticed a small burn spot on the board and that it wasn’t sending voltage to the outdoor unit. I ordered the control board and sensor at Standard Supply in Allen. The sensor is being shipped in and should arrive some time tomorrow. The unit is currently heating in electric heat.
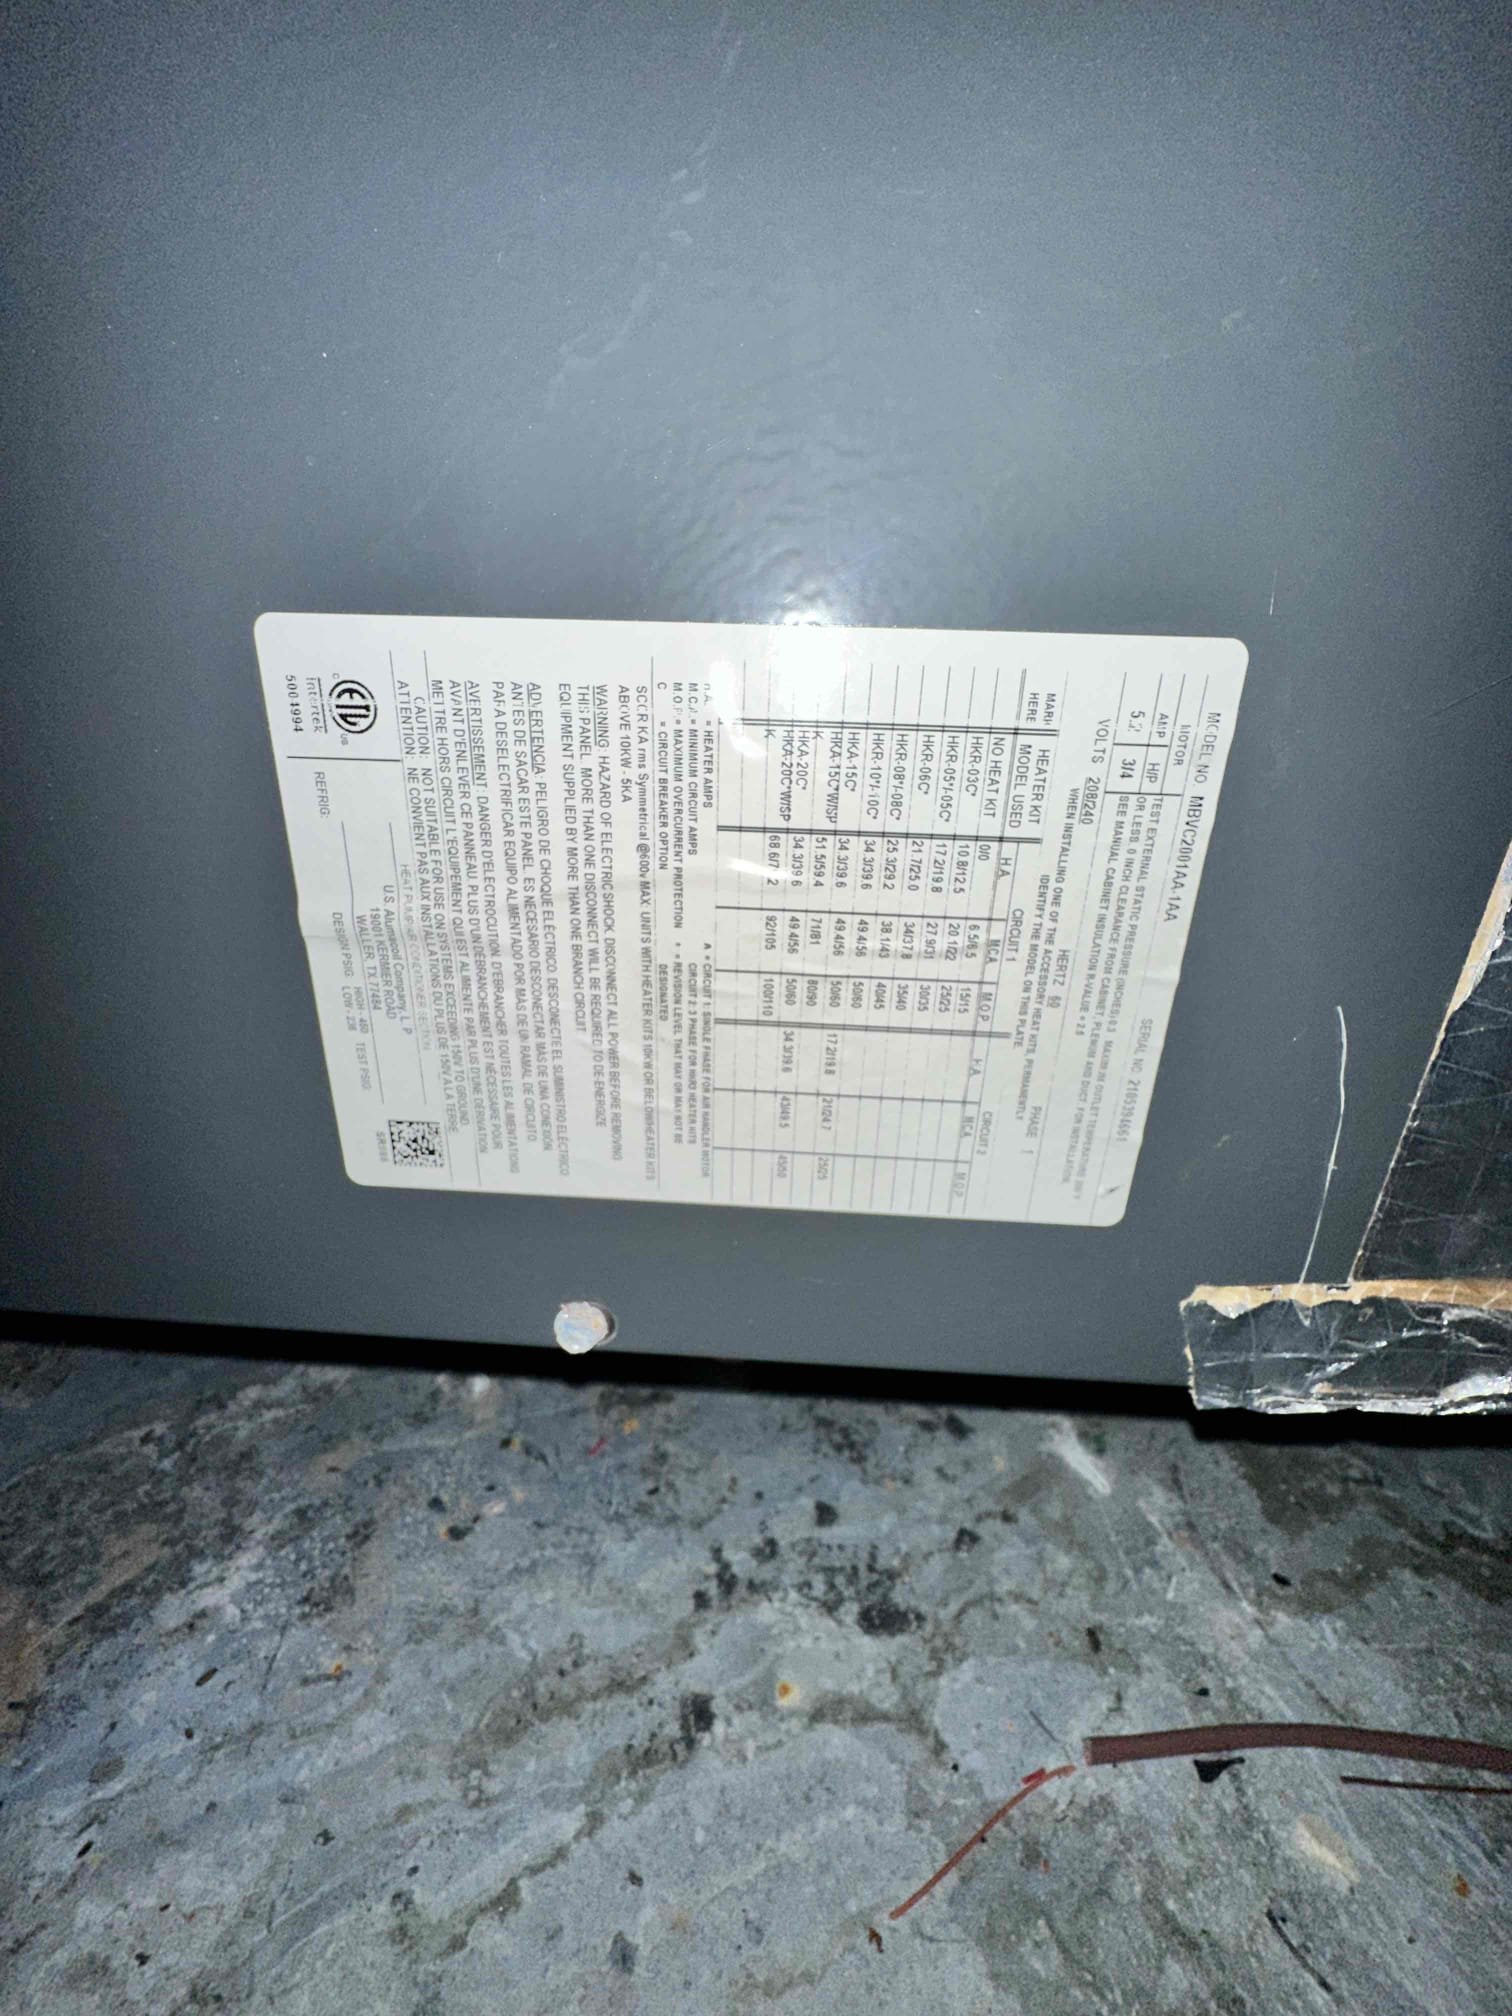
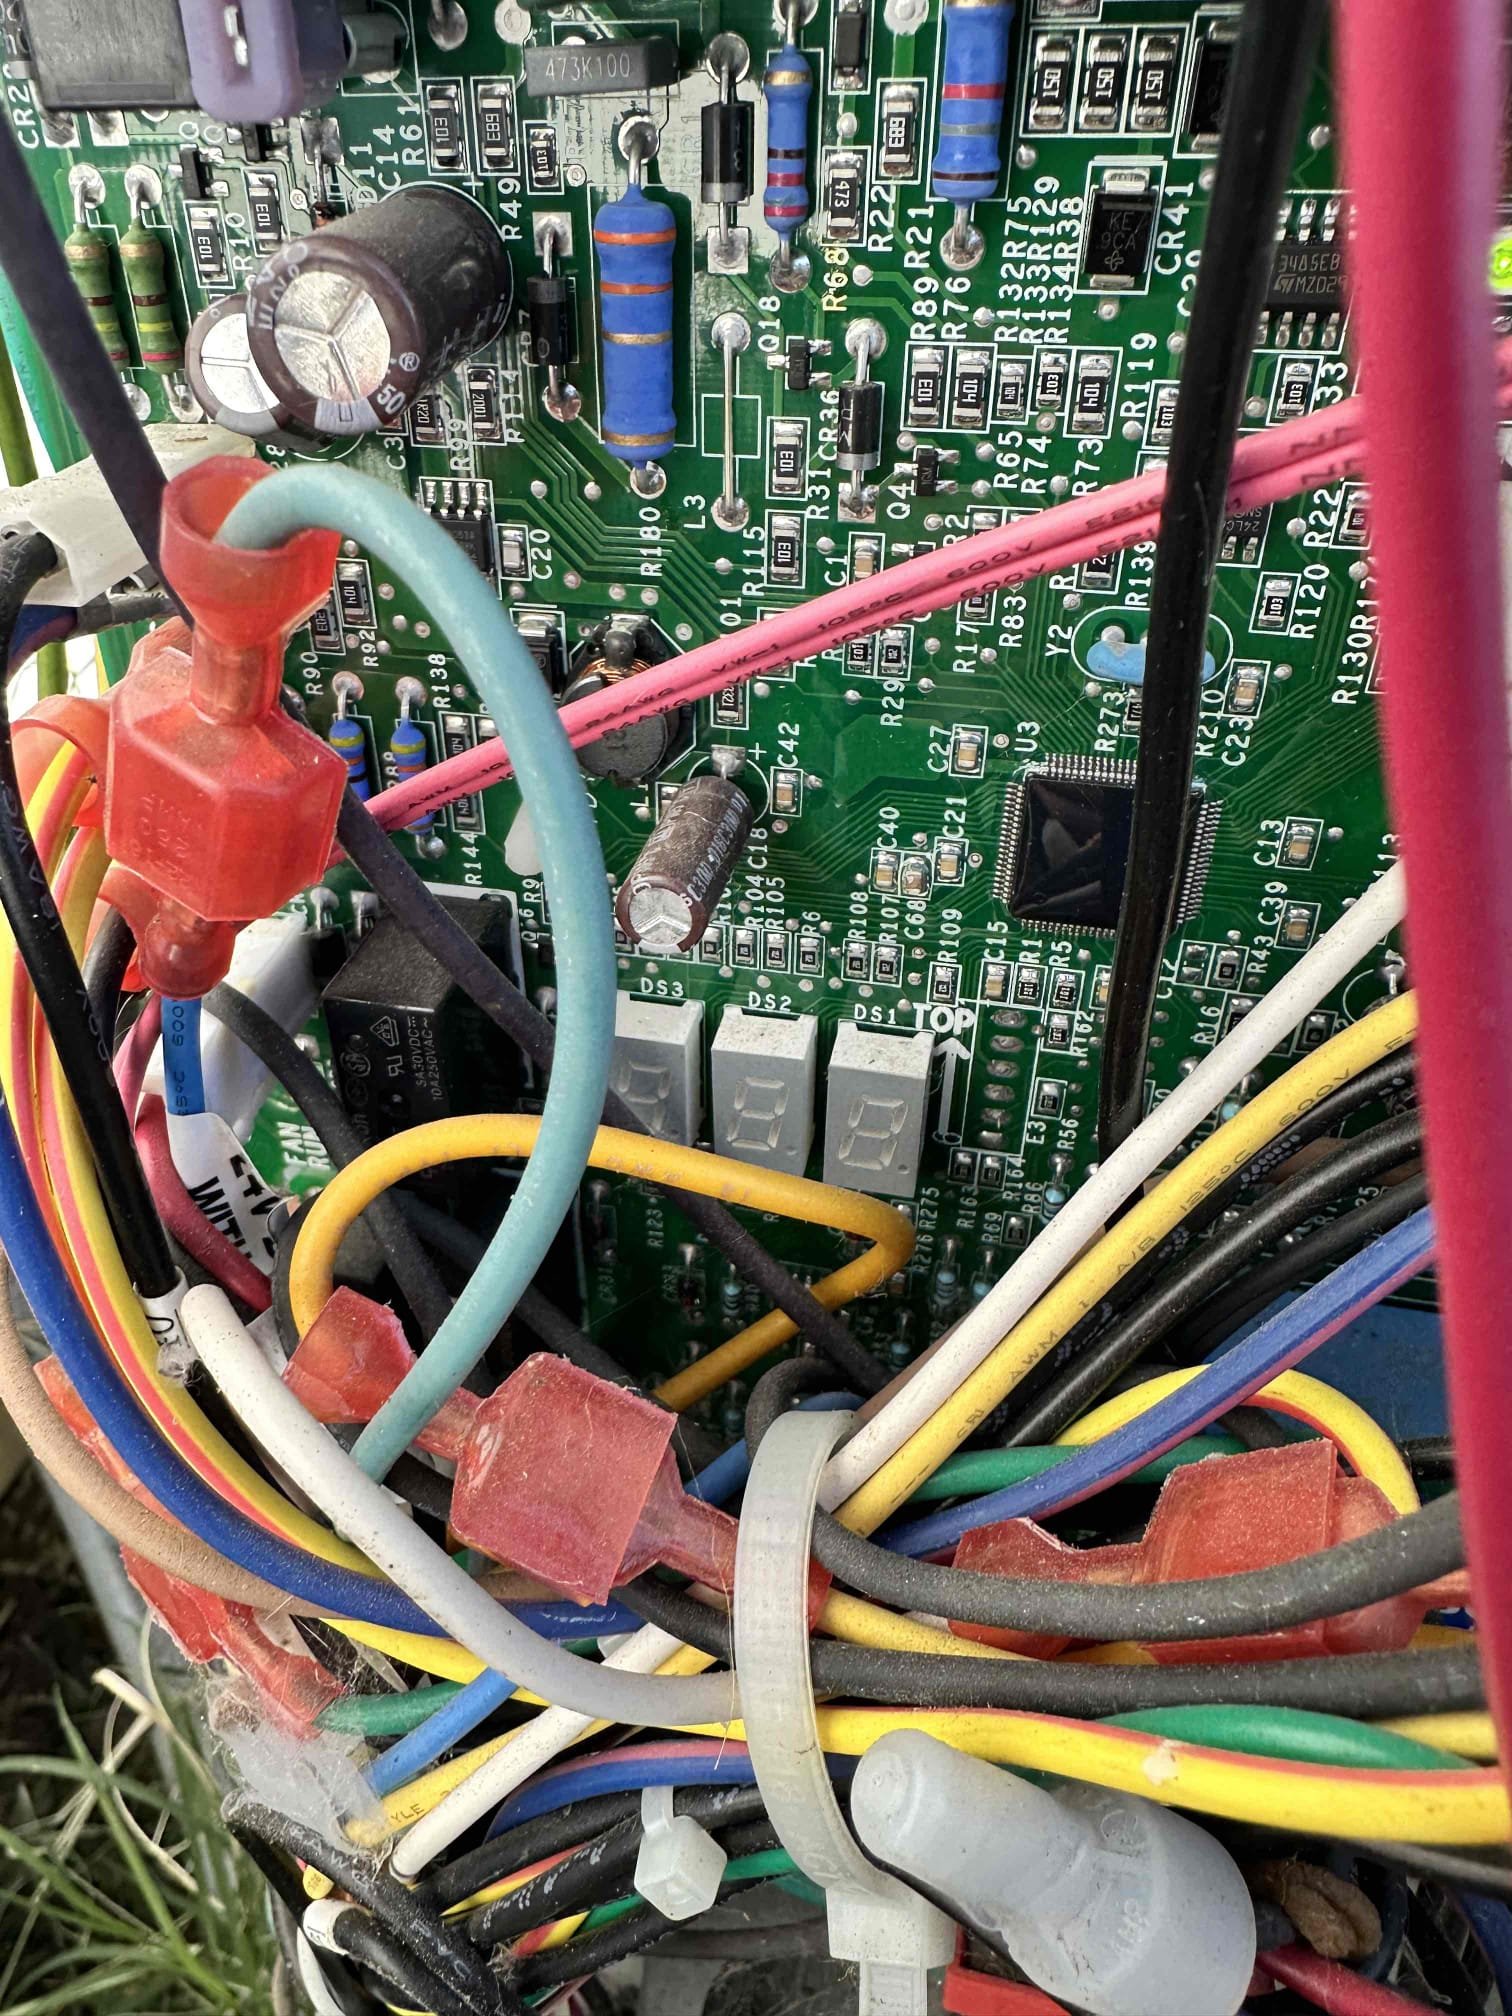
I performed a single heating check on a 2022 gas system. I checked amps, capacitors, cleanliness, electrical connections, and safeties. The system is heating inside of manufacture specifications. I proposed installing a surge protector and chemically washing the outdoor unit it. This is to serve as an added protection and to remove oxidation on the outdoor coil. Customer stated he would be interested in the chemical cleaning on his next cooling visit.
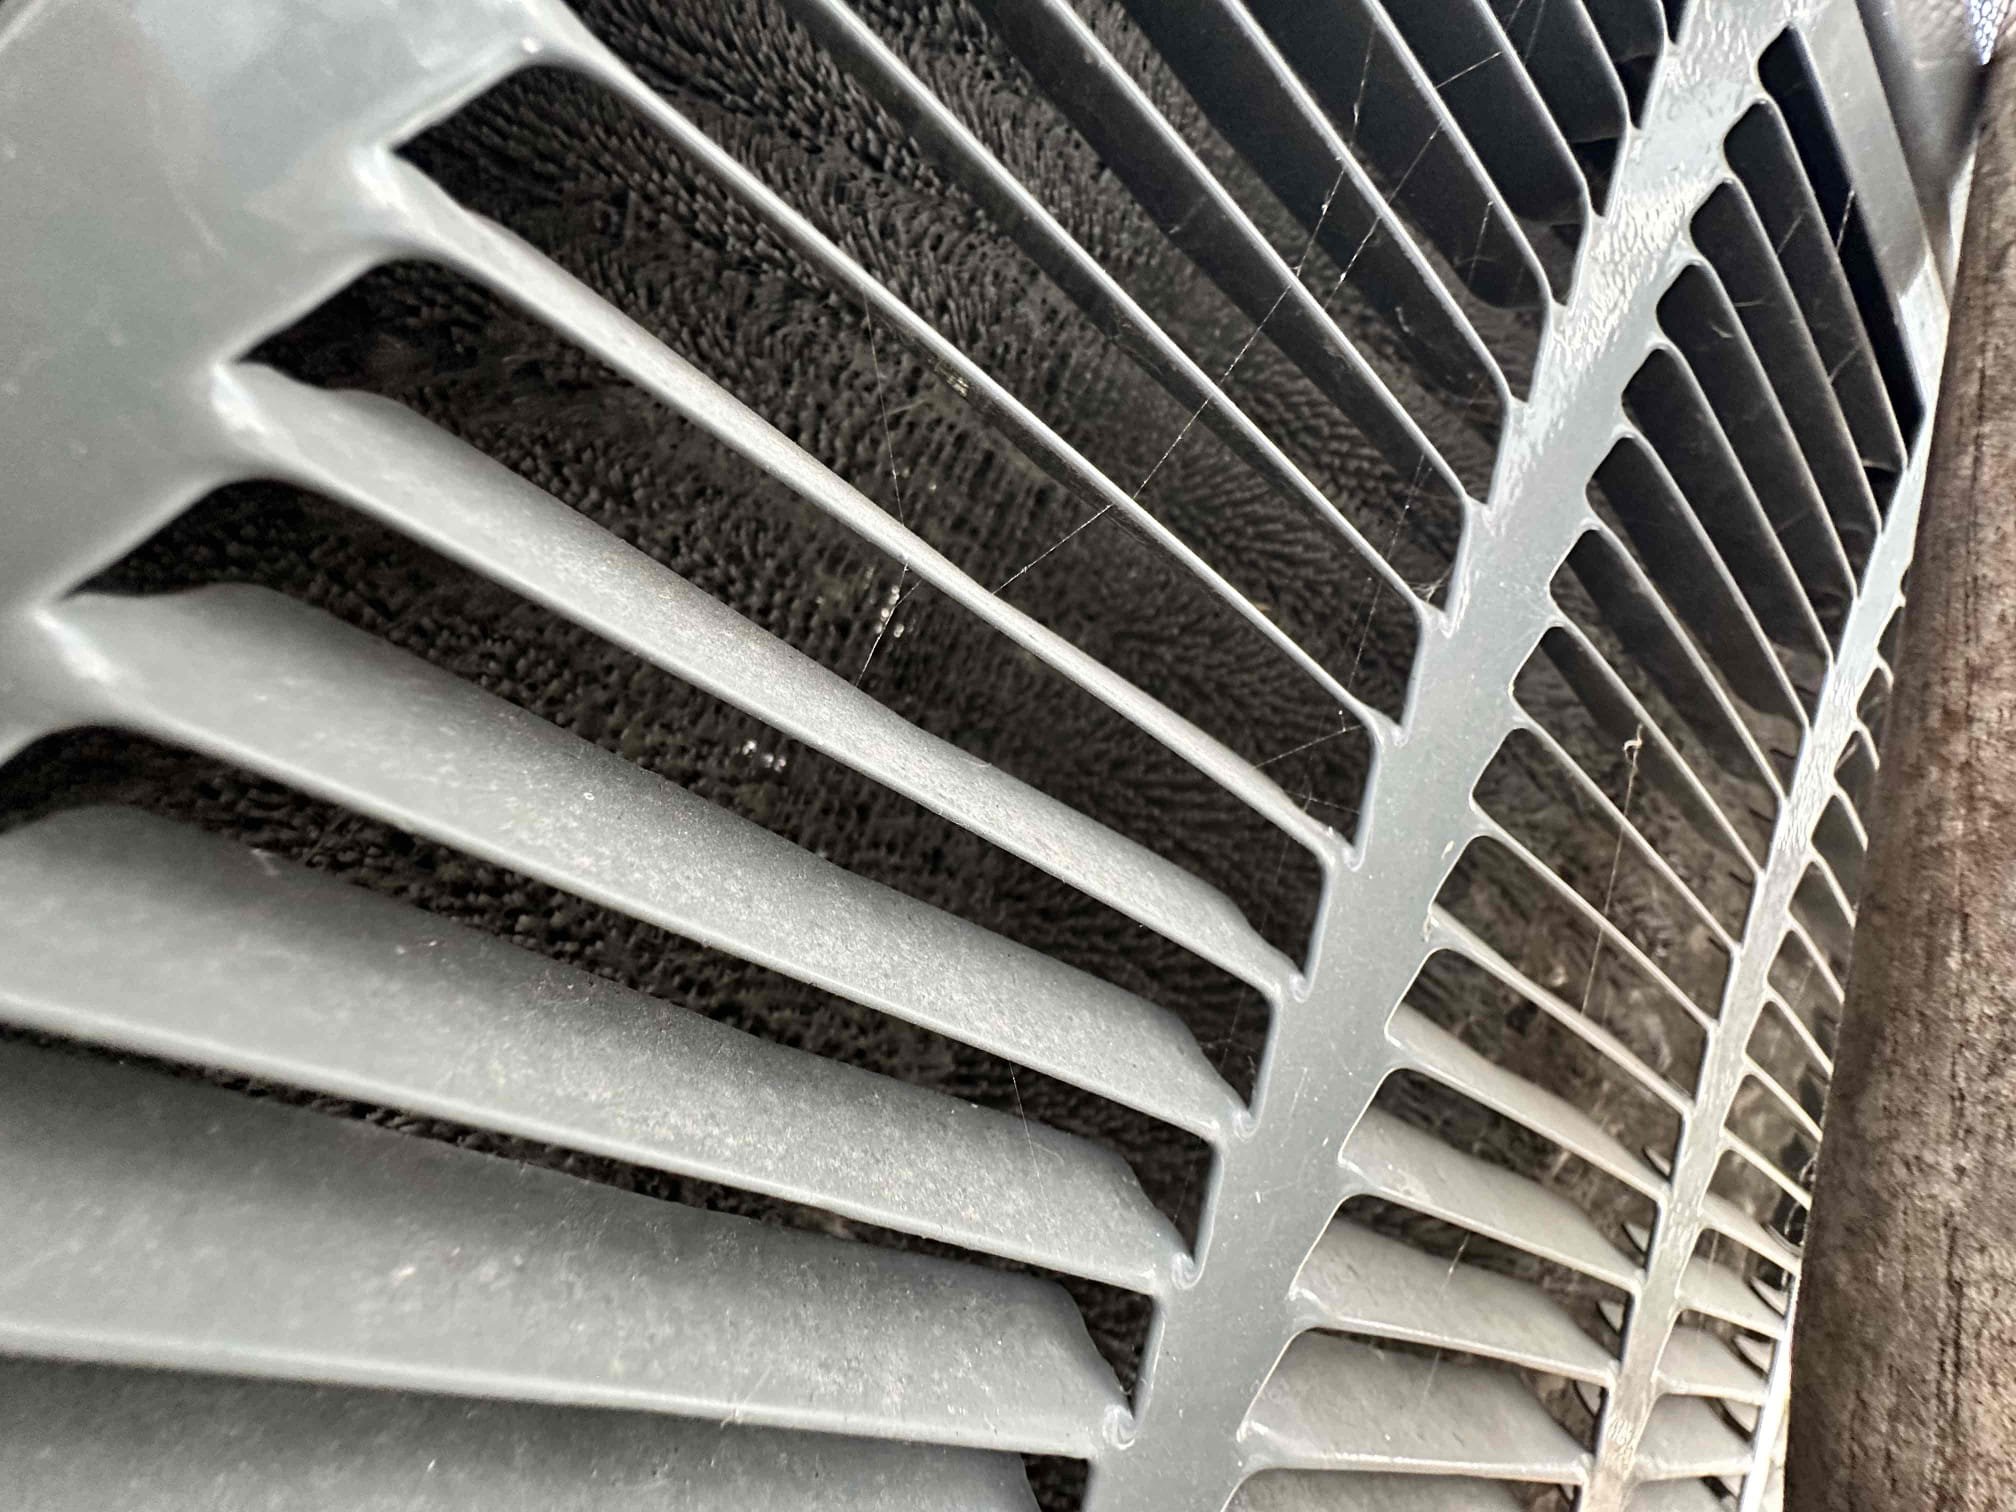
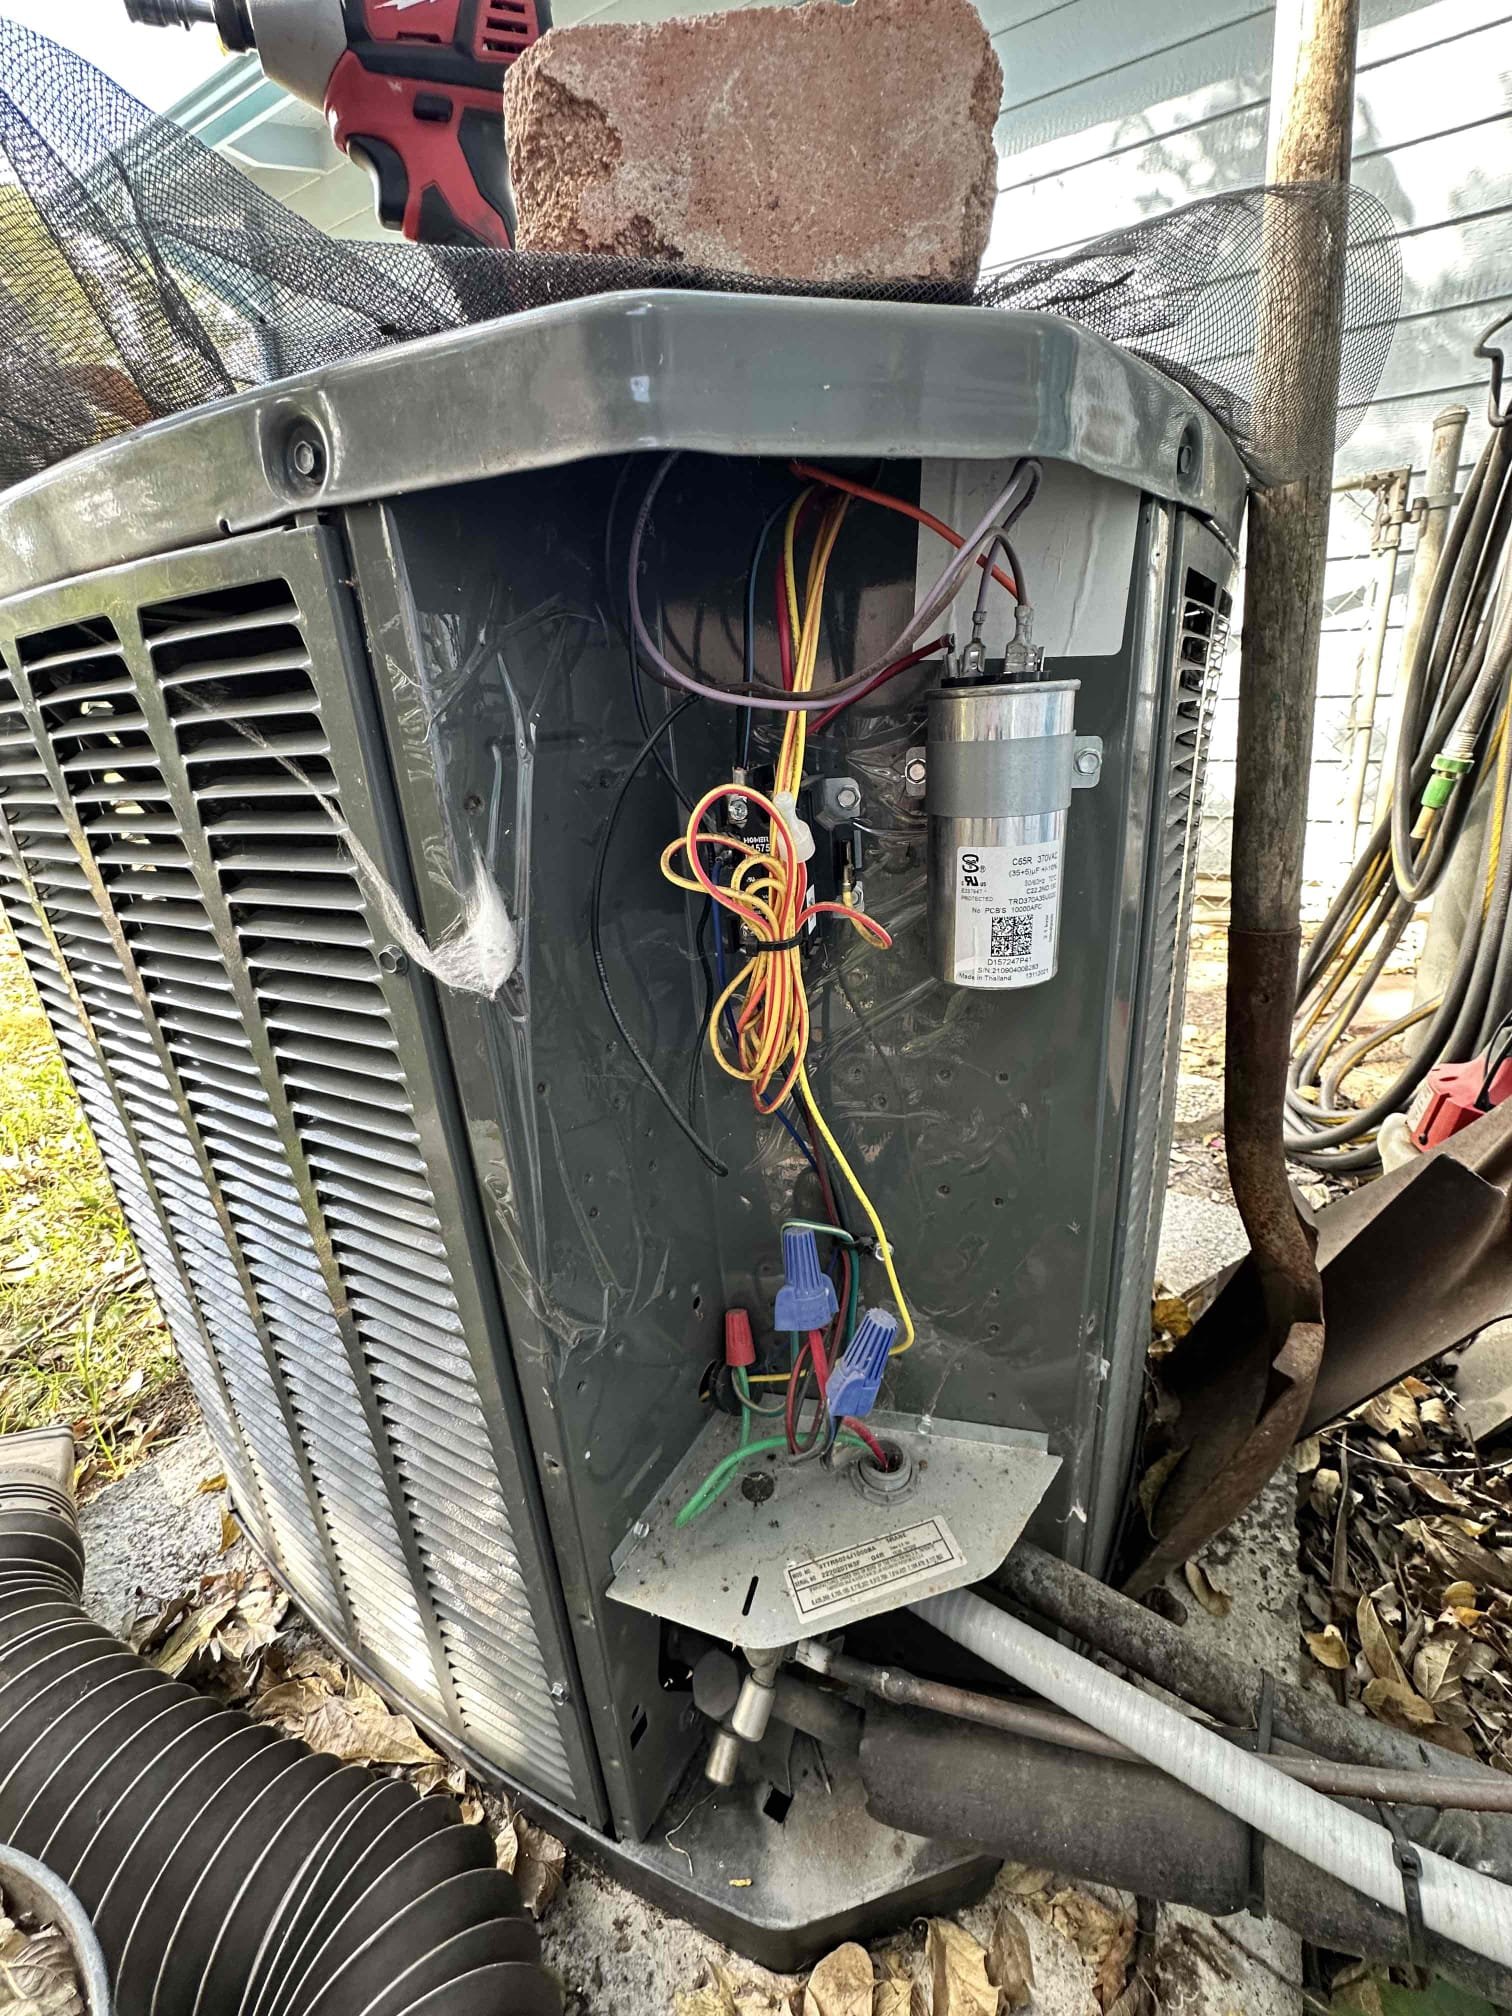
Upon arrival we spoke to the homeowner about her concerns with the air having to be turn down more than her old thermostat. We began by place three temperature probes in the home. One at the thermostat, one in the living area and one in the clients bedroom. While we allowed those thermostats to settle and read the room temperatures, we proceeded outside to insure there wasn’t anything going on with the refrigerant levels of the system. After placing our gauges on the outside unit we found that the pressures of the system were dialed in perfectly for the conditions outside the home. After returning inside we checked all thermostats we had placed around the home and there were all reading within a degrees of the systems thermostat. We explained to the client that the system thermostat was the same brand but different model, also explained that our findings were within the ranges of the thermostat set point. Client was satisfied after seeing the results. We also discussed getting her a br
AprilAire 210/1410/910 Replacement Filter for AprilAire Whole House Air Purifiers - MERV 11, Clean Air & Dust, 20x25x4 Air Filter (each) Preformed heating maintenance. We tested all electrical components on the inside unit. All tested within manufacturer specifications. Changed the filter. Checked all electrical components on the outside unit all tested within manufacturer specifications. We found that the unit is a heat pump but set up for straight electric heat. We left estimates to covert the unit to a heat pump. Also provided estimates for a IAQ bundle and surge protection. Unit was cooling upon departure.
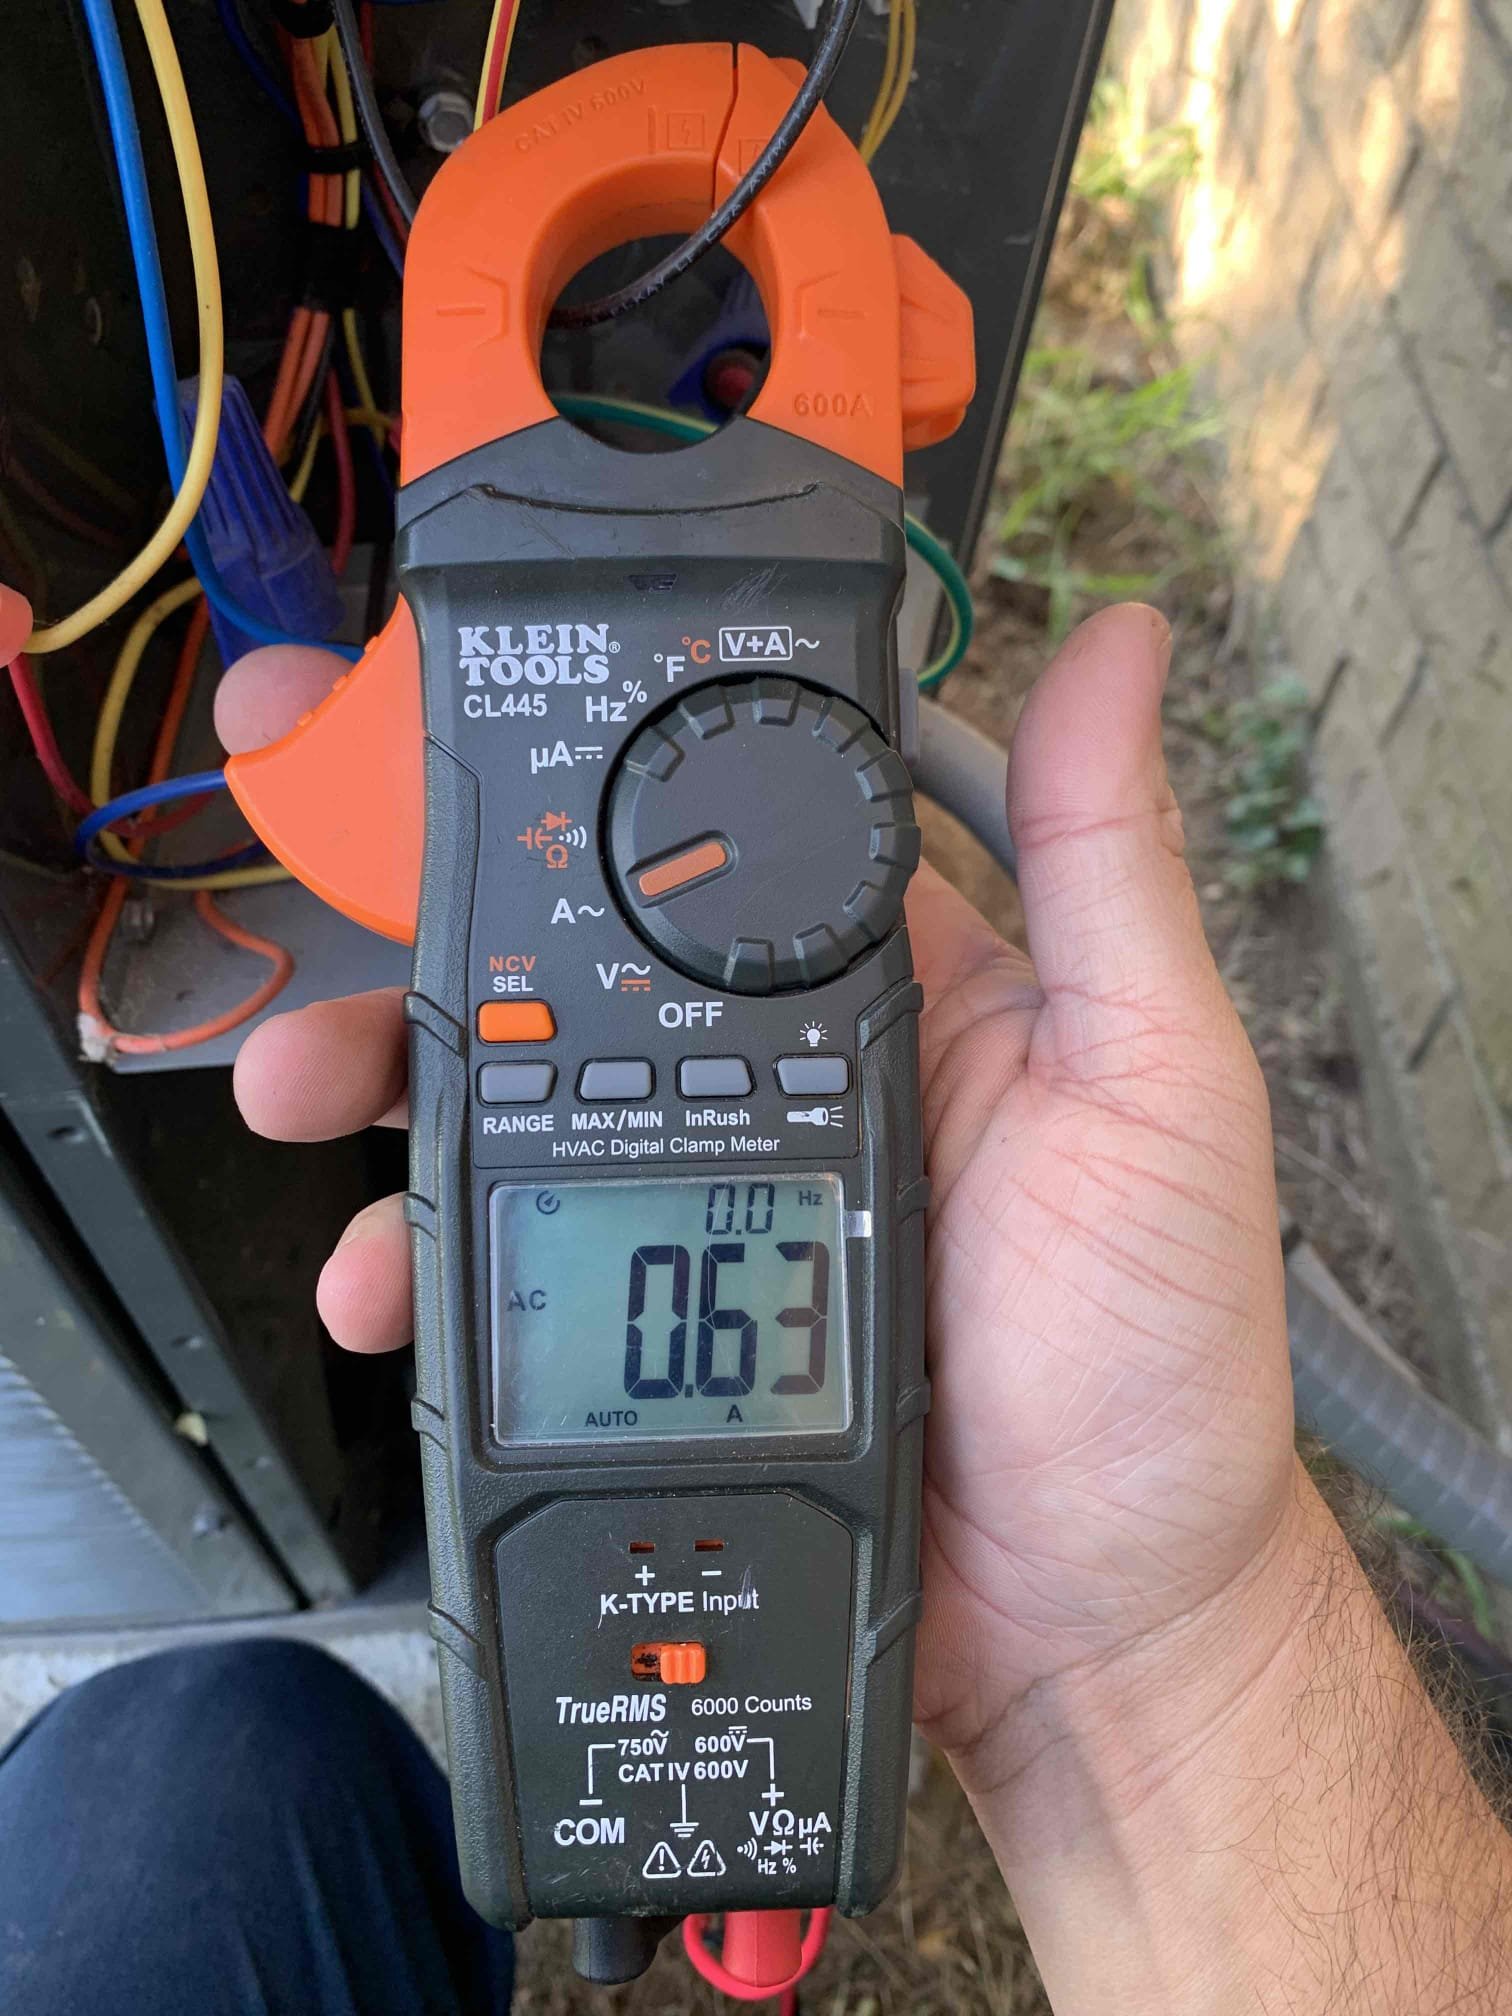
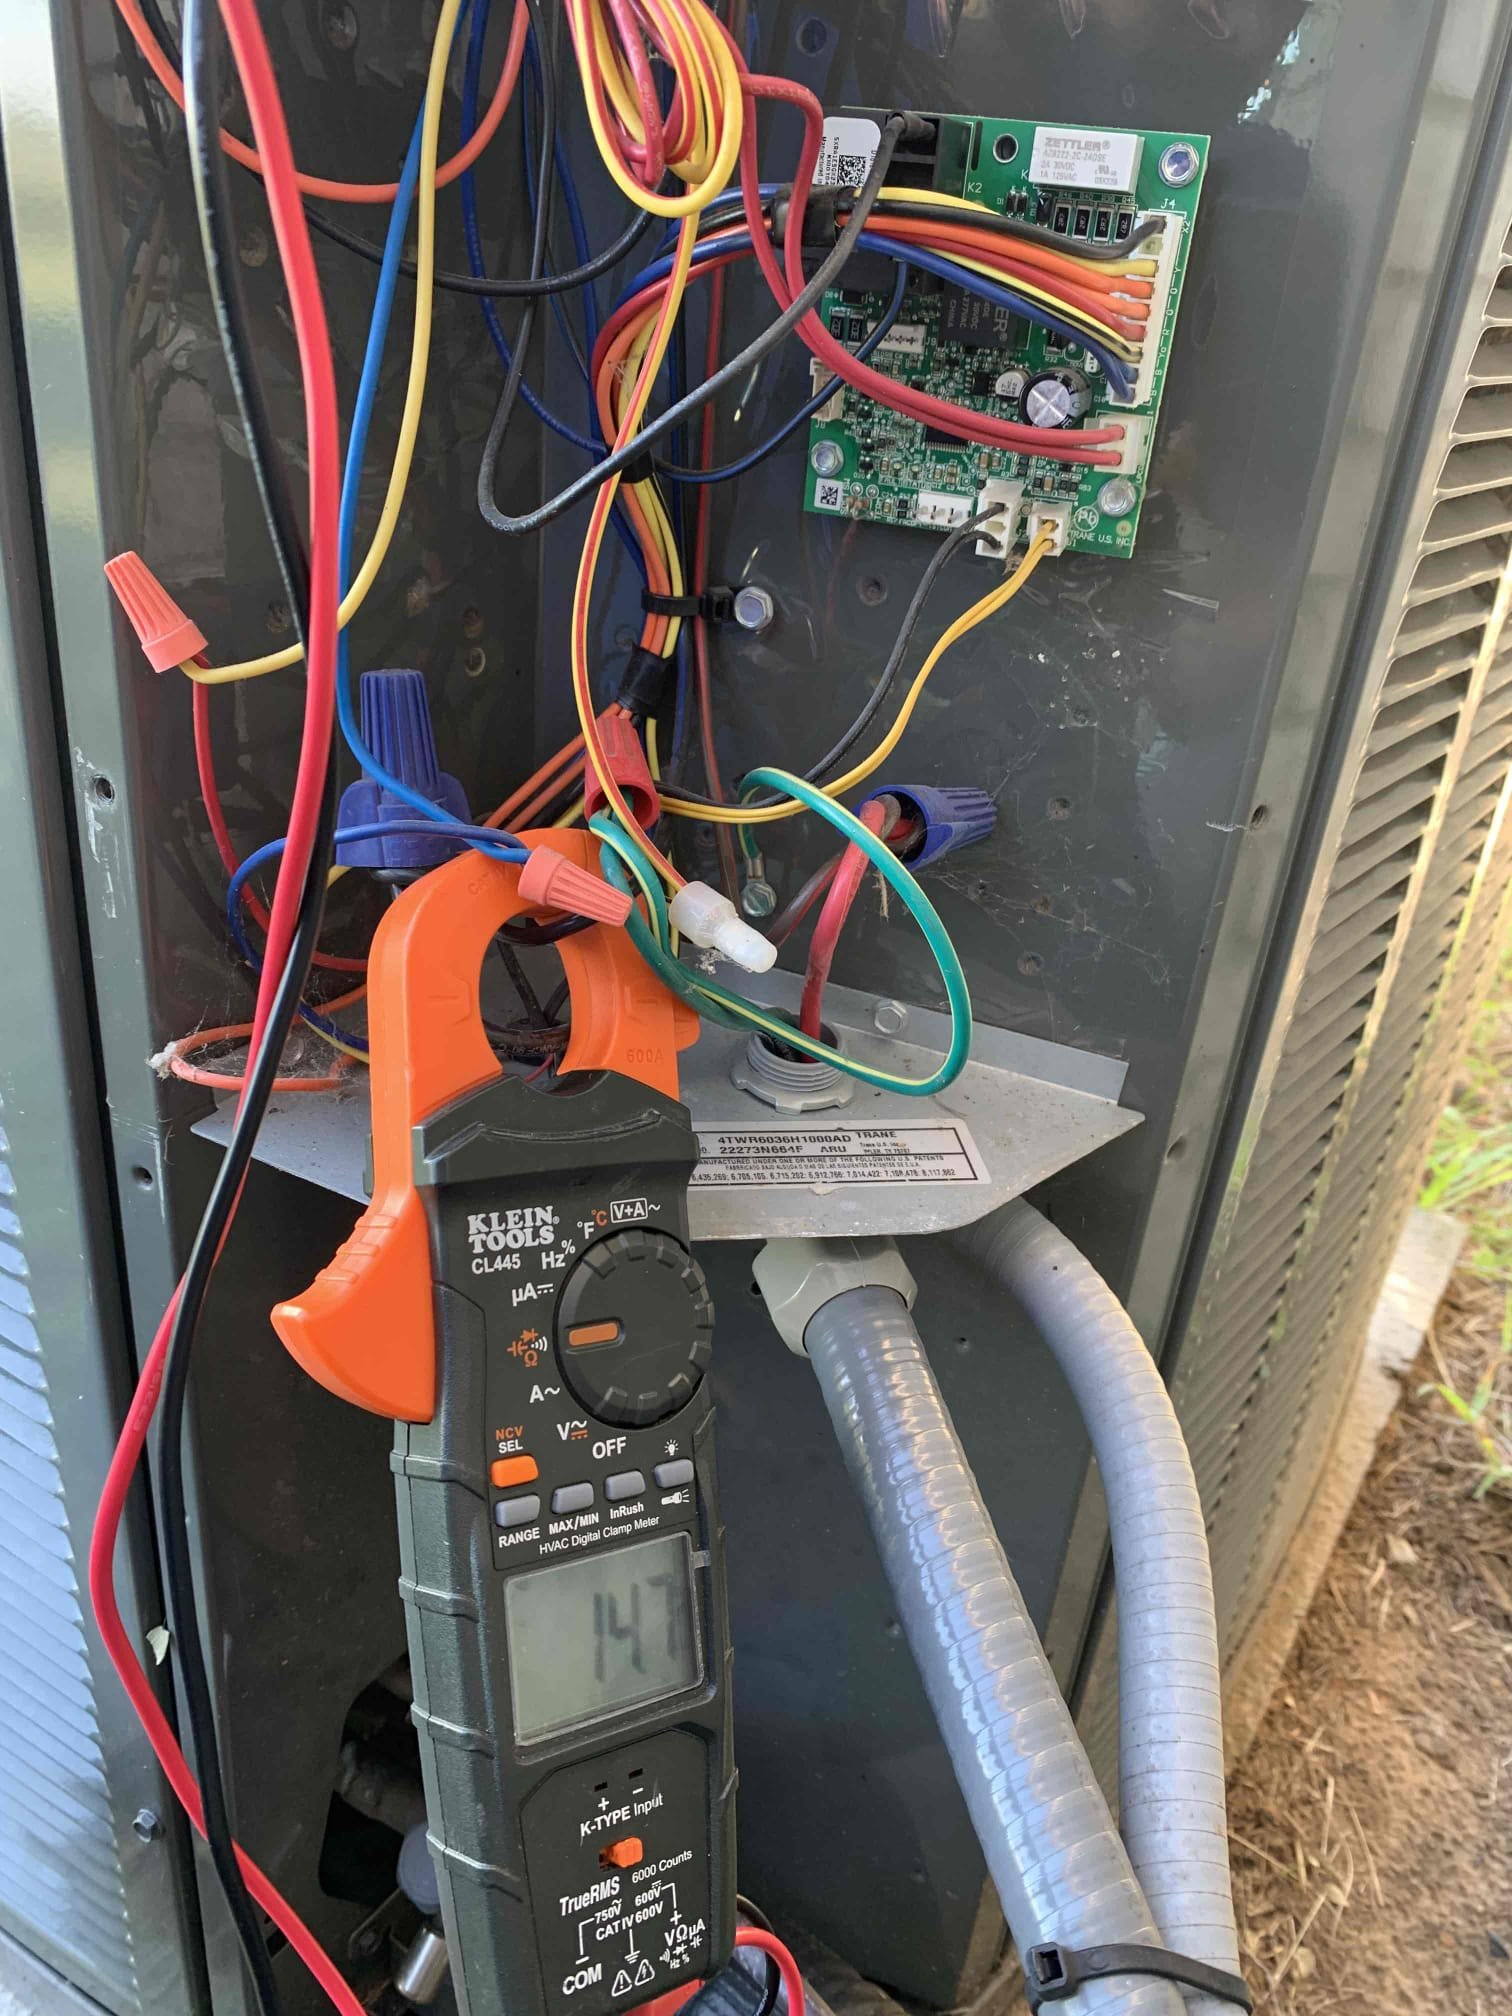
Upon arrival, I found that the system was fully operational and cooling with a 23 degree temperature drop. Customer mentioned her room is not comfortable. I went over options for addressing it. We spoke about mini splits, zoning, and adding a return to her room. While in the attic, I can hear the TXV opening and closing causing the refrigerant flow to change constantly.
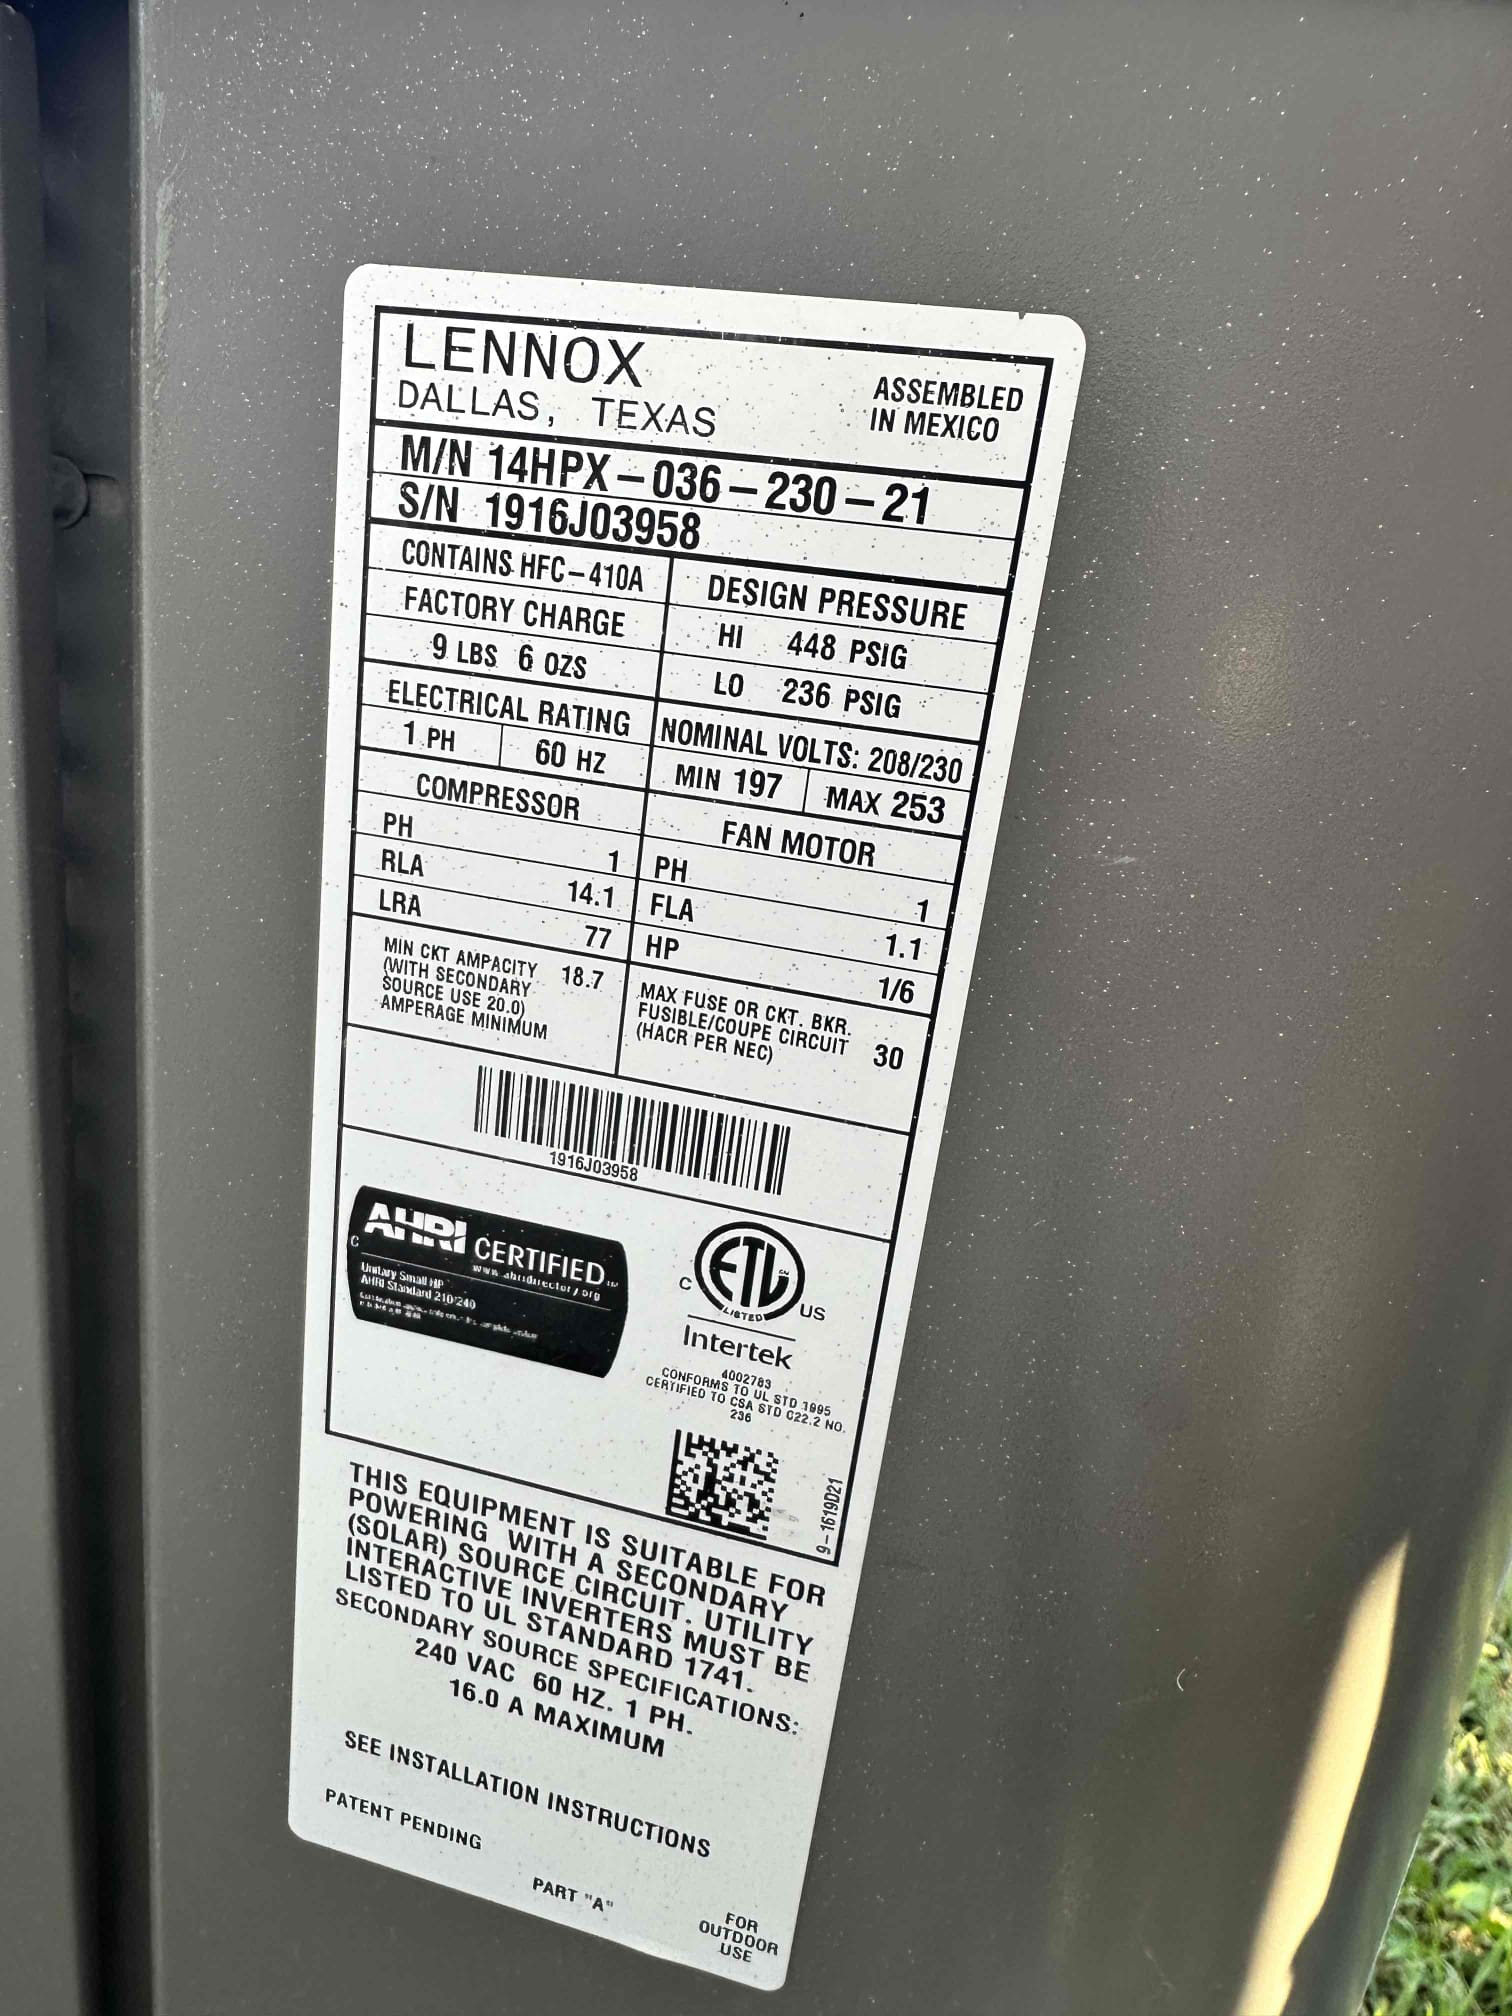
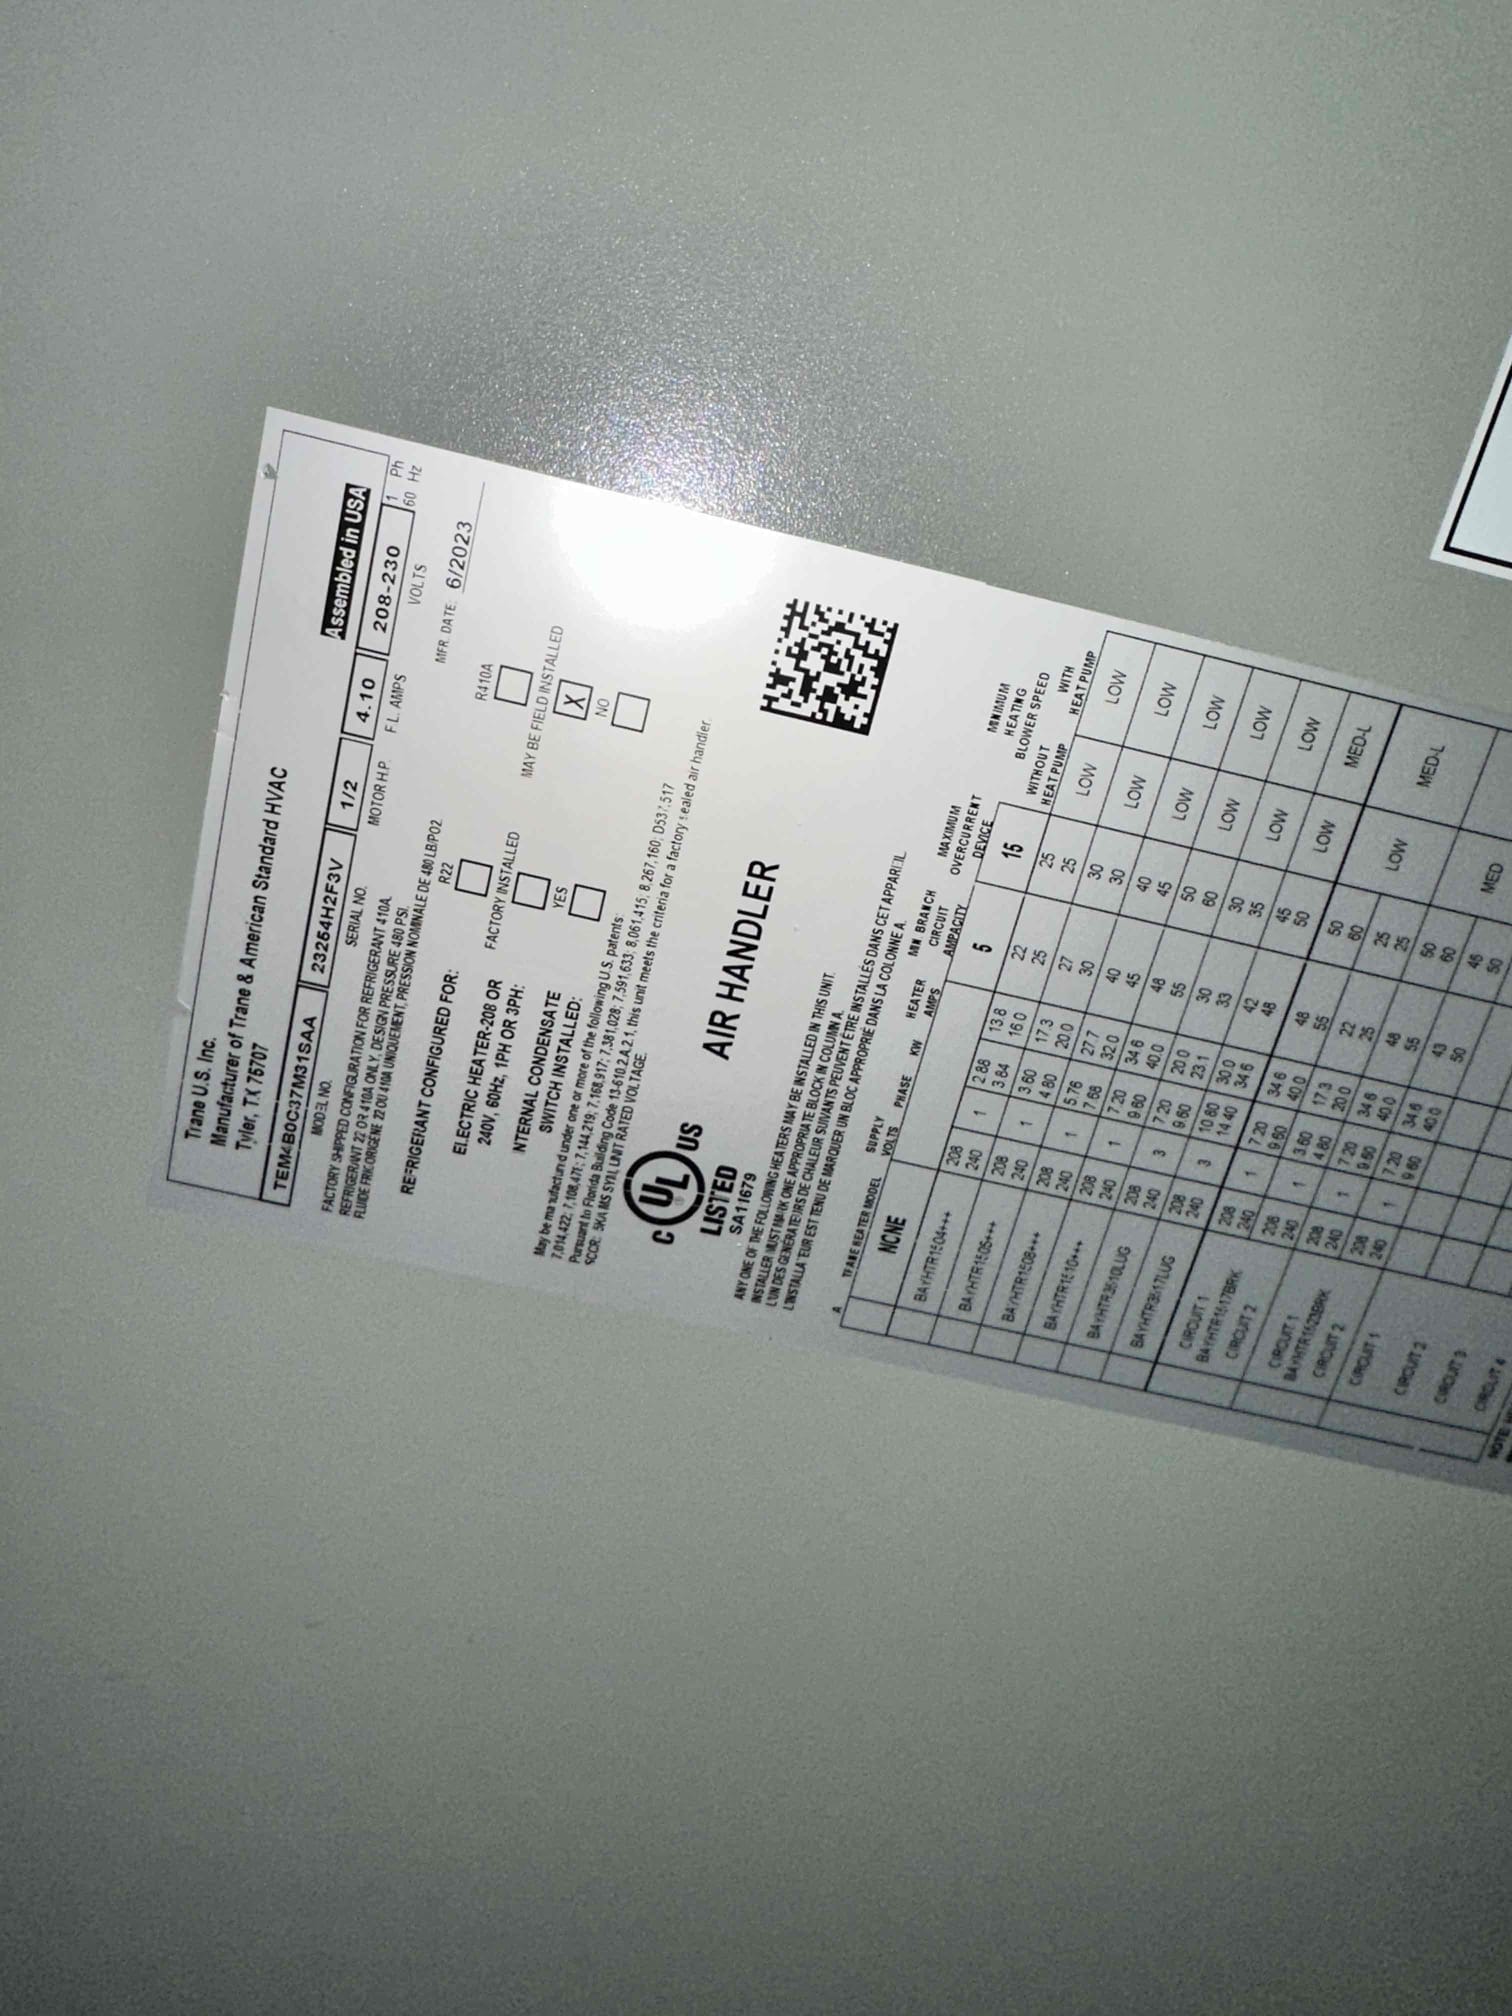
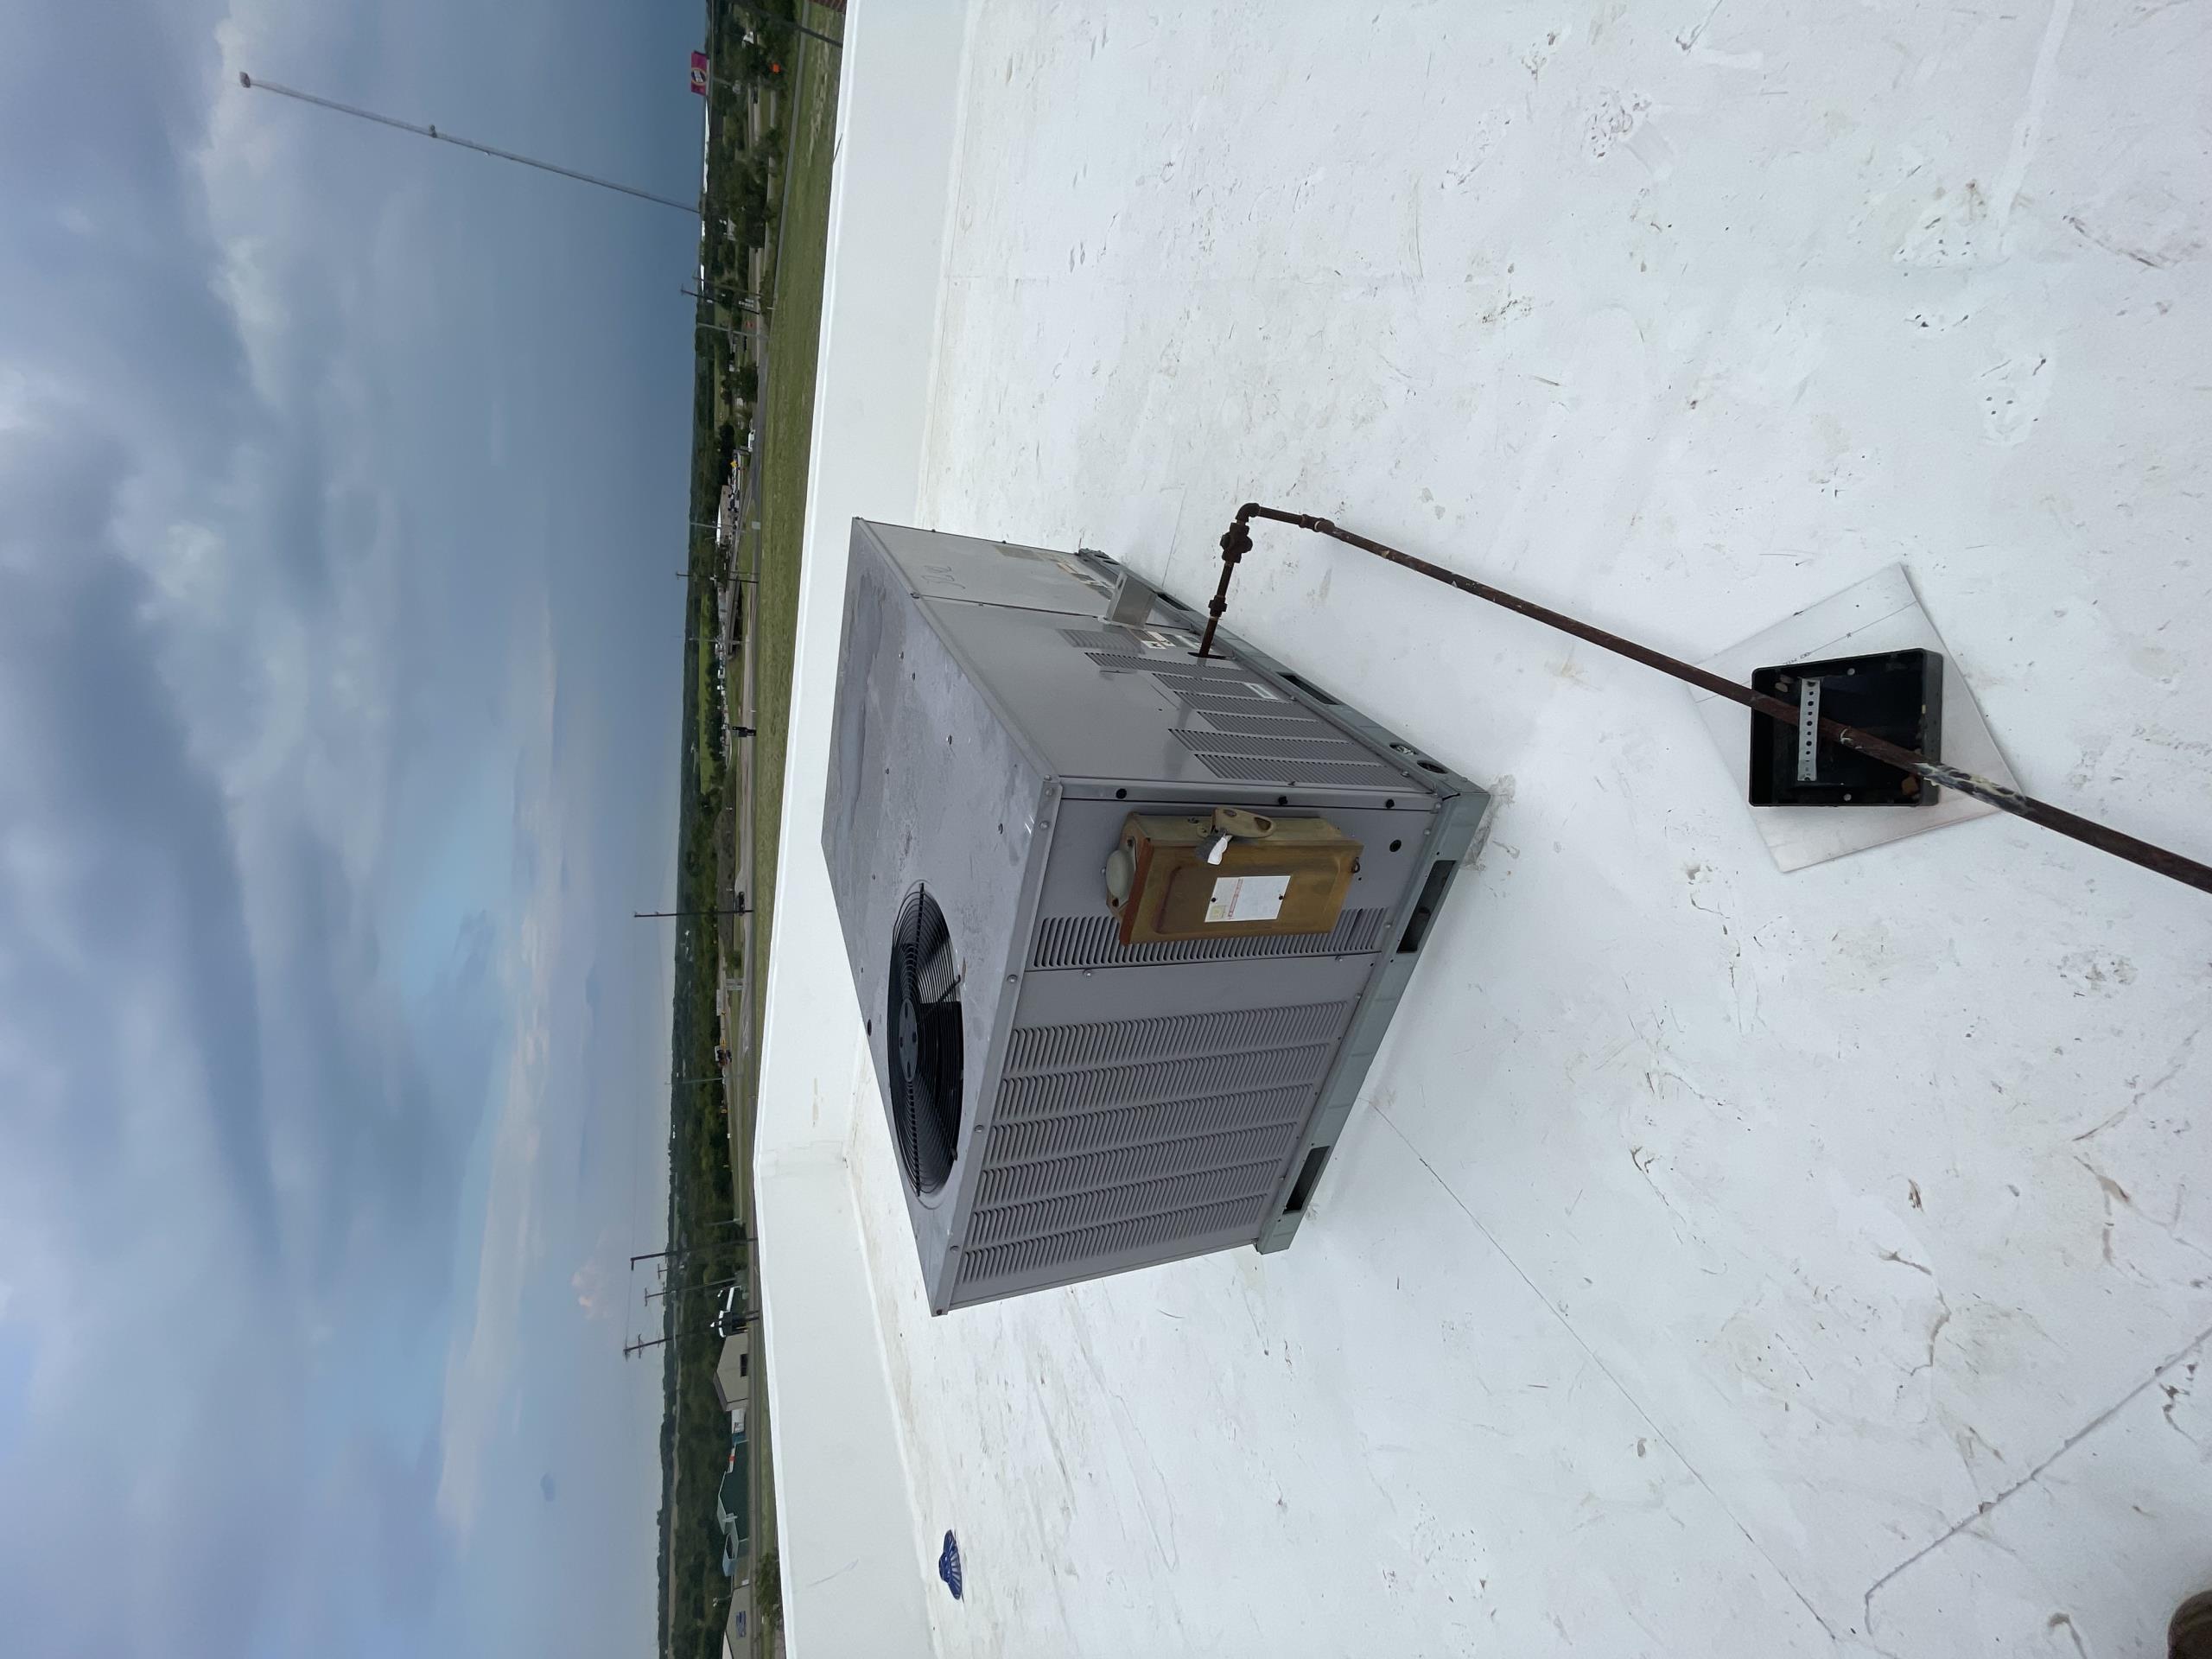
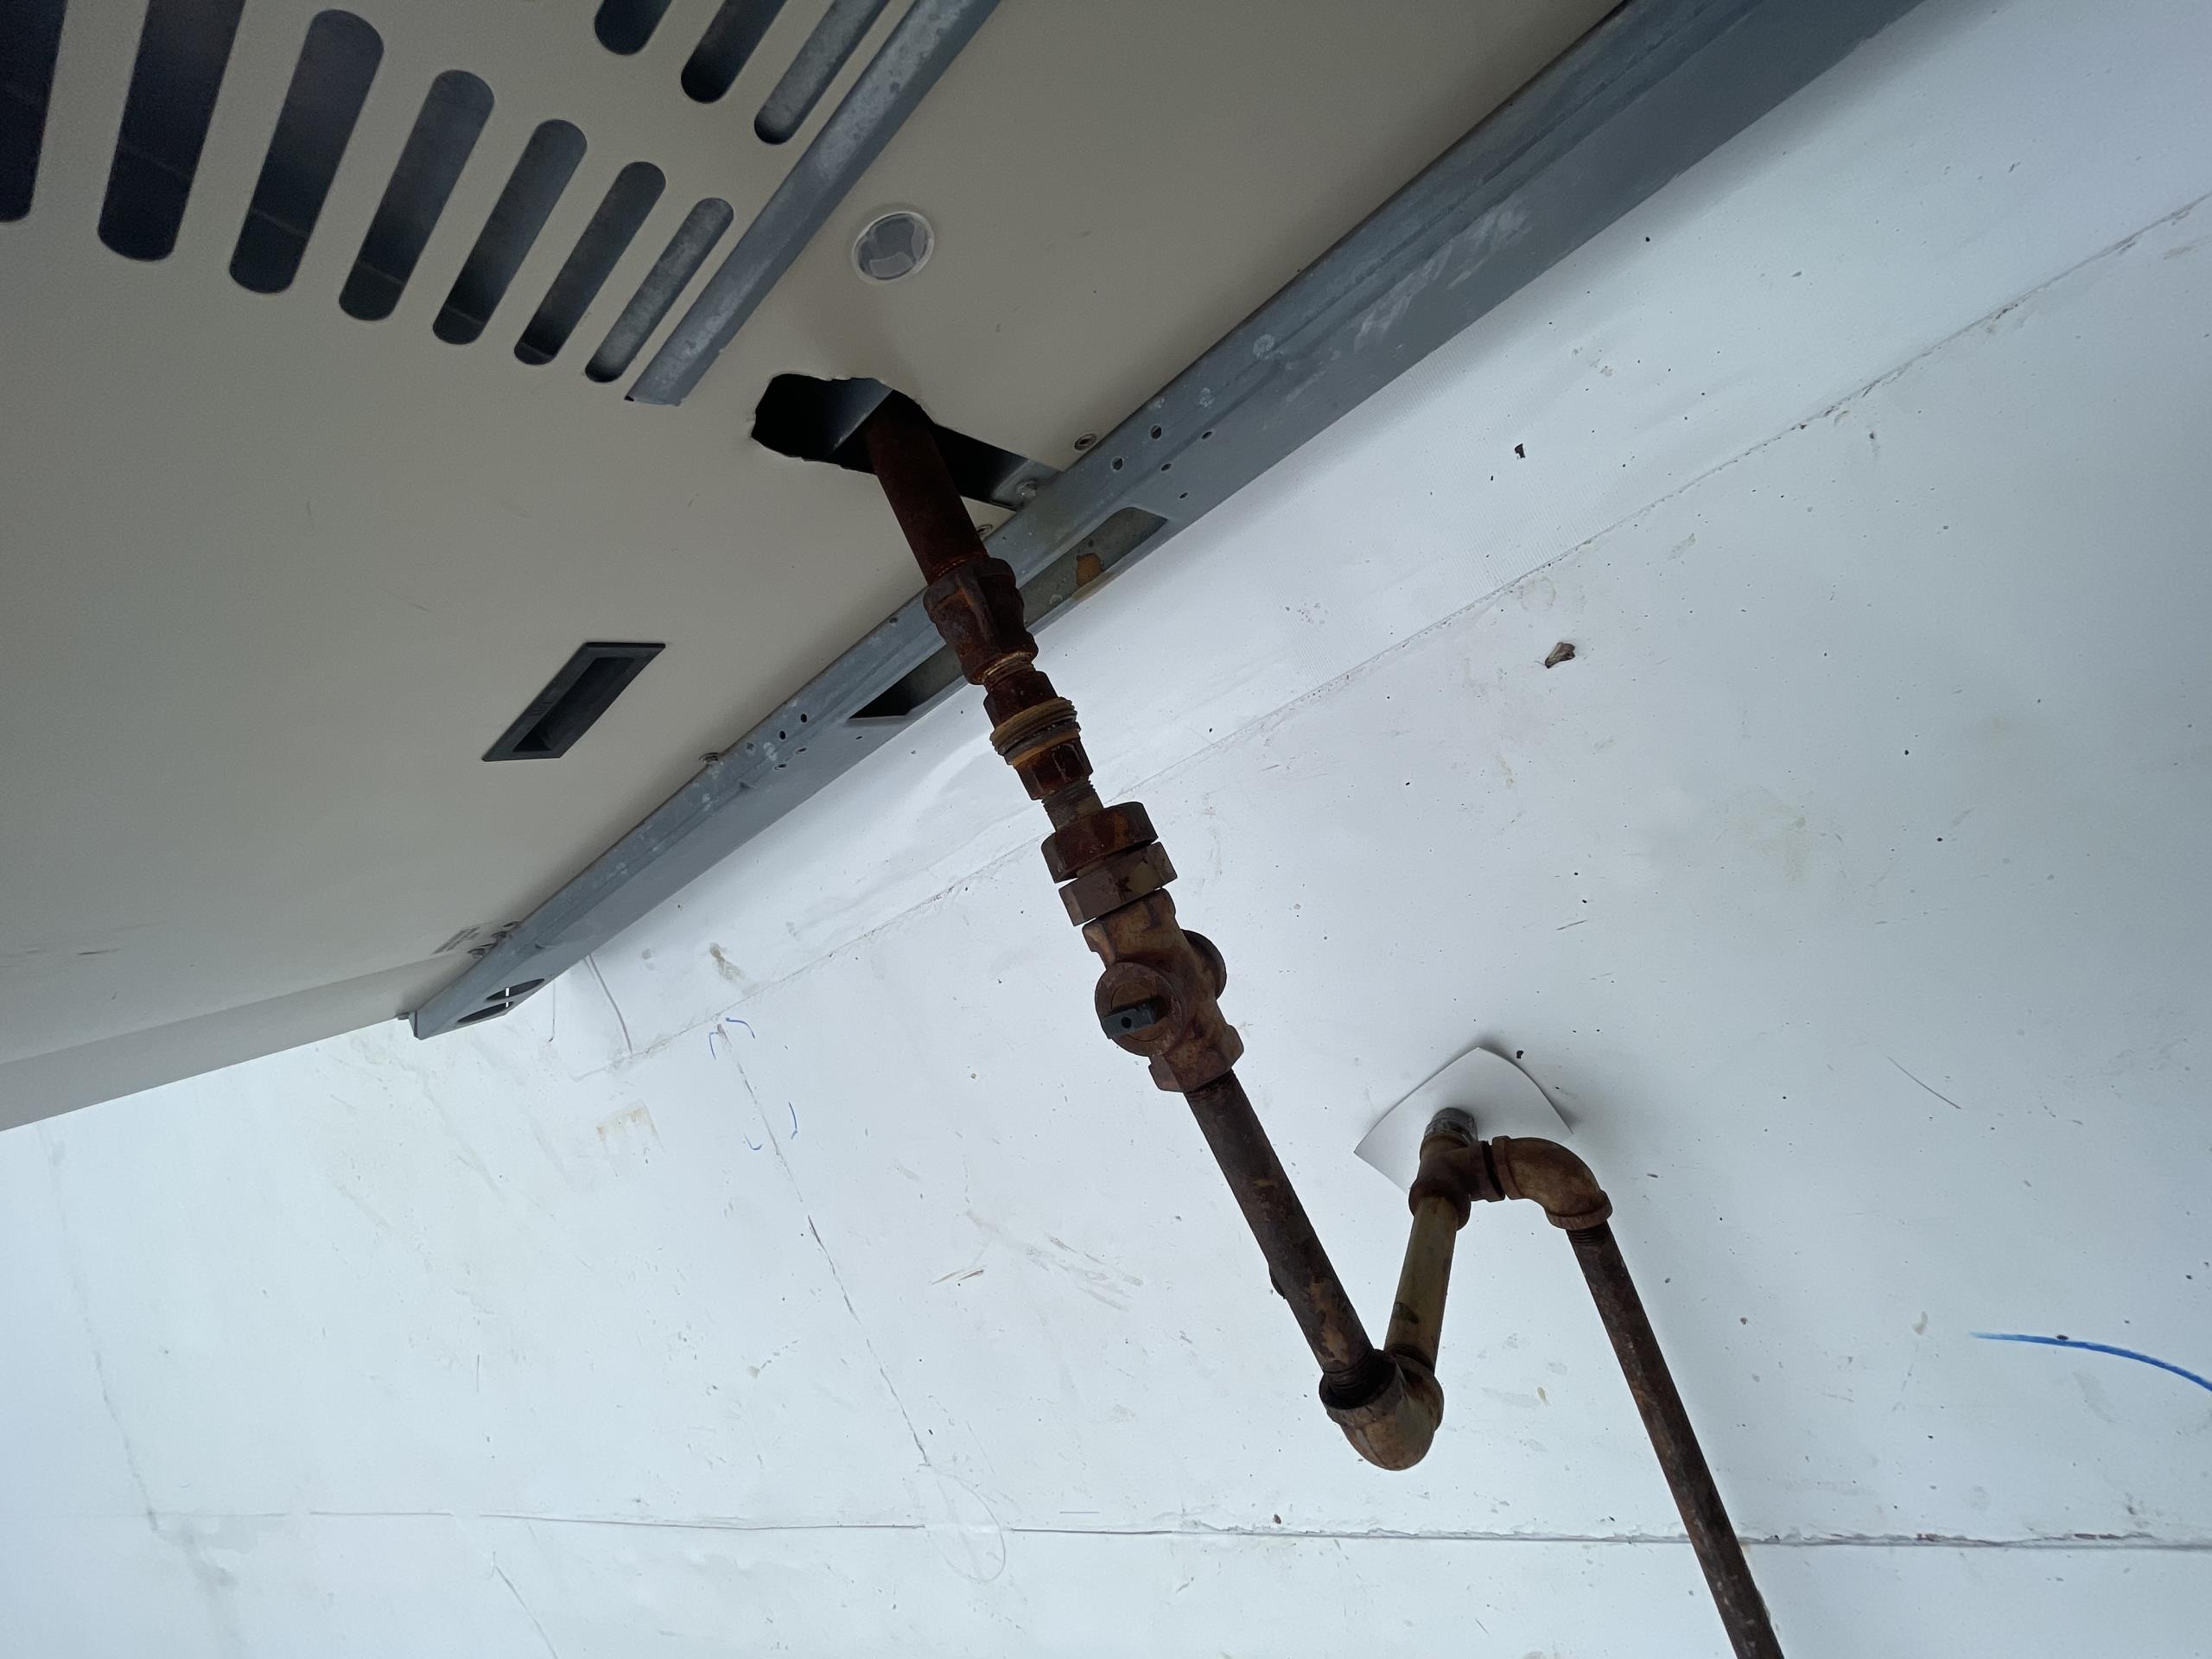
The following estimate is to repair and connect existing gas lines to existing RTU’s. The gas nice have been disconnected or broken and been to be repaired. We are proposing to eliminate the hard pipe into the units and replace them with gas flex lines. We are also proposing to replace the existing gas shut-offs and relocate/ rebuild the needed gas sediment traps to each individual unit. After making all necessary connections we will also preform a gas line leak test to each individual RTU on site to ensure all connections are still secure. If we find any connection that is compromised we will create another estimate and scope of work needed to repair any issues found. 1- Disconnect gas and electrical connections to the last remaining RTU to allow for roof to work to be completed. - Replace existing gas lines with flex gas line - Leak tests to ensure connections are tight and secure - Splice and connect electrical connections to unit to allow for work to be preformed 2- Remove and re
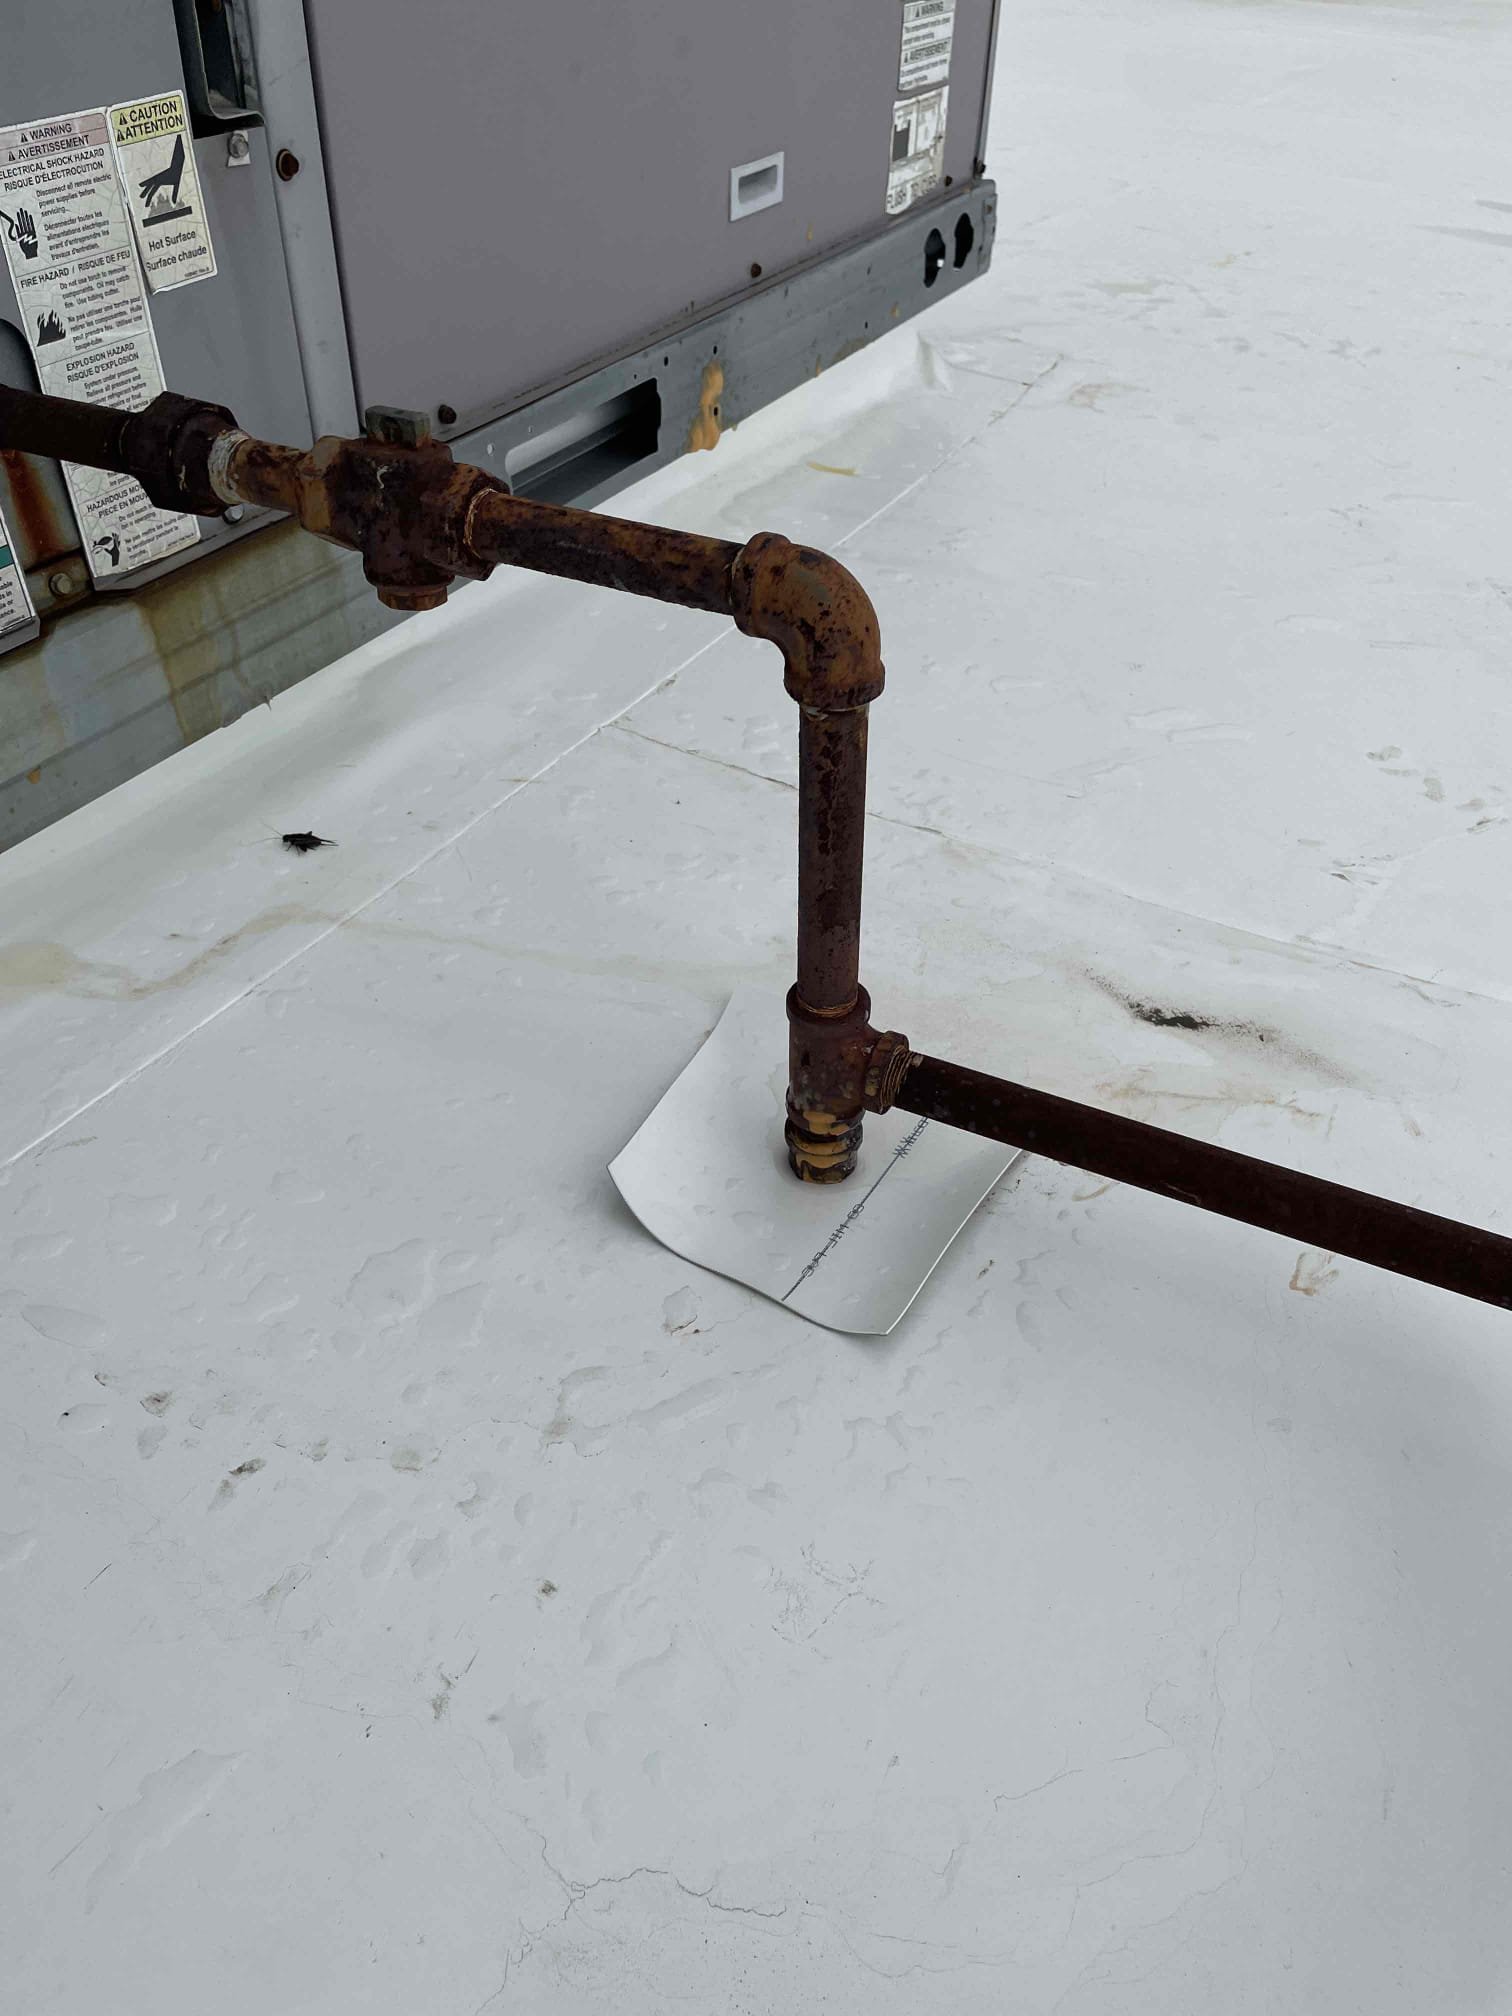
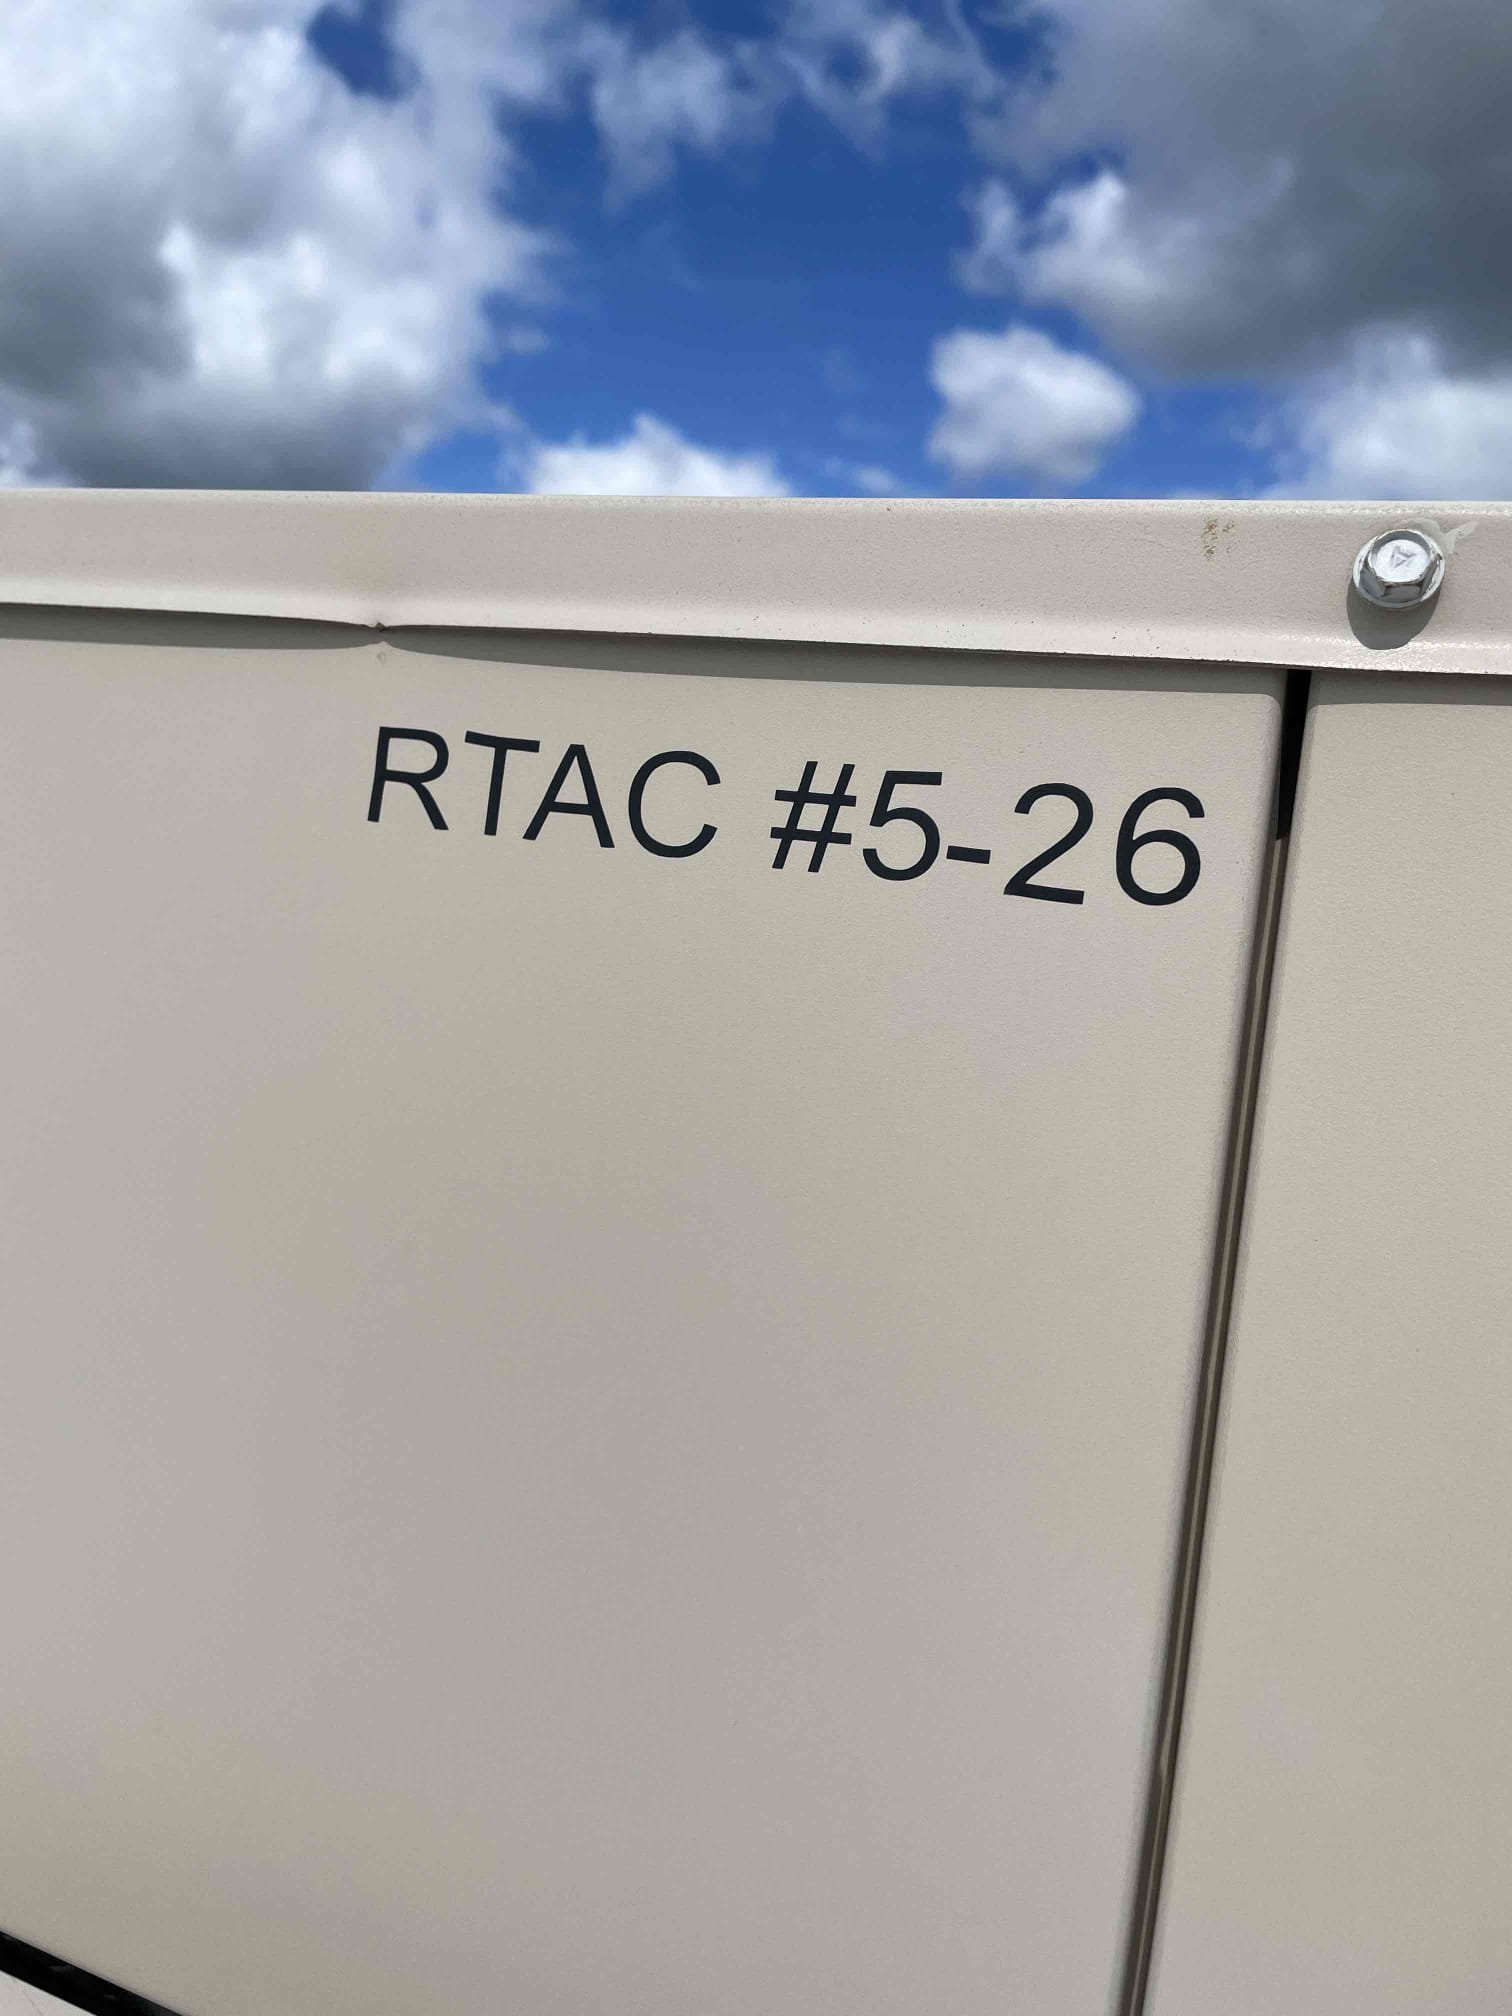
Arrived to job site to evaluate the necessary scope of work needed to repair gas lines to RTU’s
I arrived and replaced the thermostat. Once I replaced it, I powered the unit back on and the fuse popped again. I began evaluating the wiring and isolated it to the outdoor unit. I checked the contactor, pressure switch, and defrost board. At first, I thought the defrost board was bad. I began tracing every wire and isolating the low pressure switch and contactor. I determined that the pressure switch was the issue. I opened the top of the unit and found that the wire was burning. The wire was not exposed, but it was still causing a short. I adjusted the wire and wrapped it with electrical tape. I ohmed it and verified that it was still good. Customer still would like the thermostat and the system is cooling.
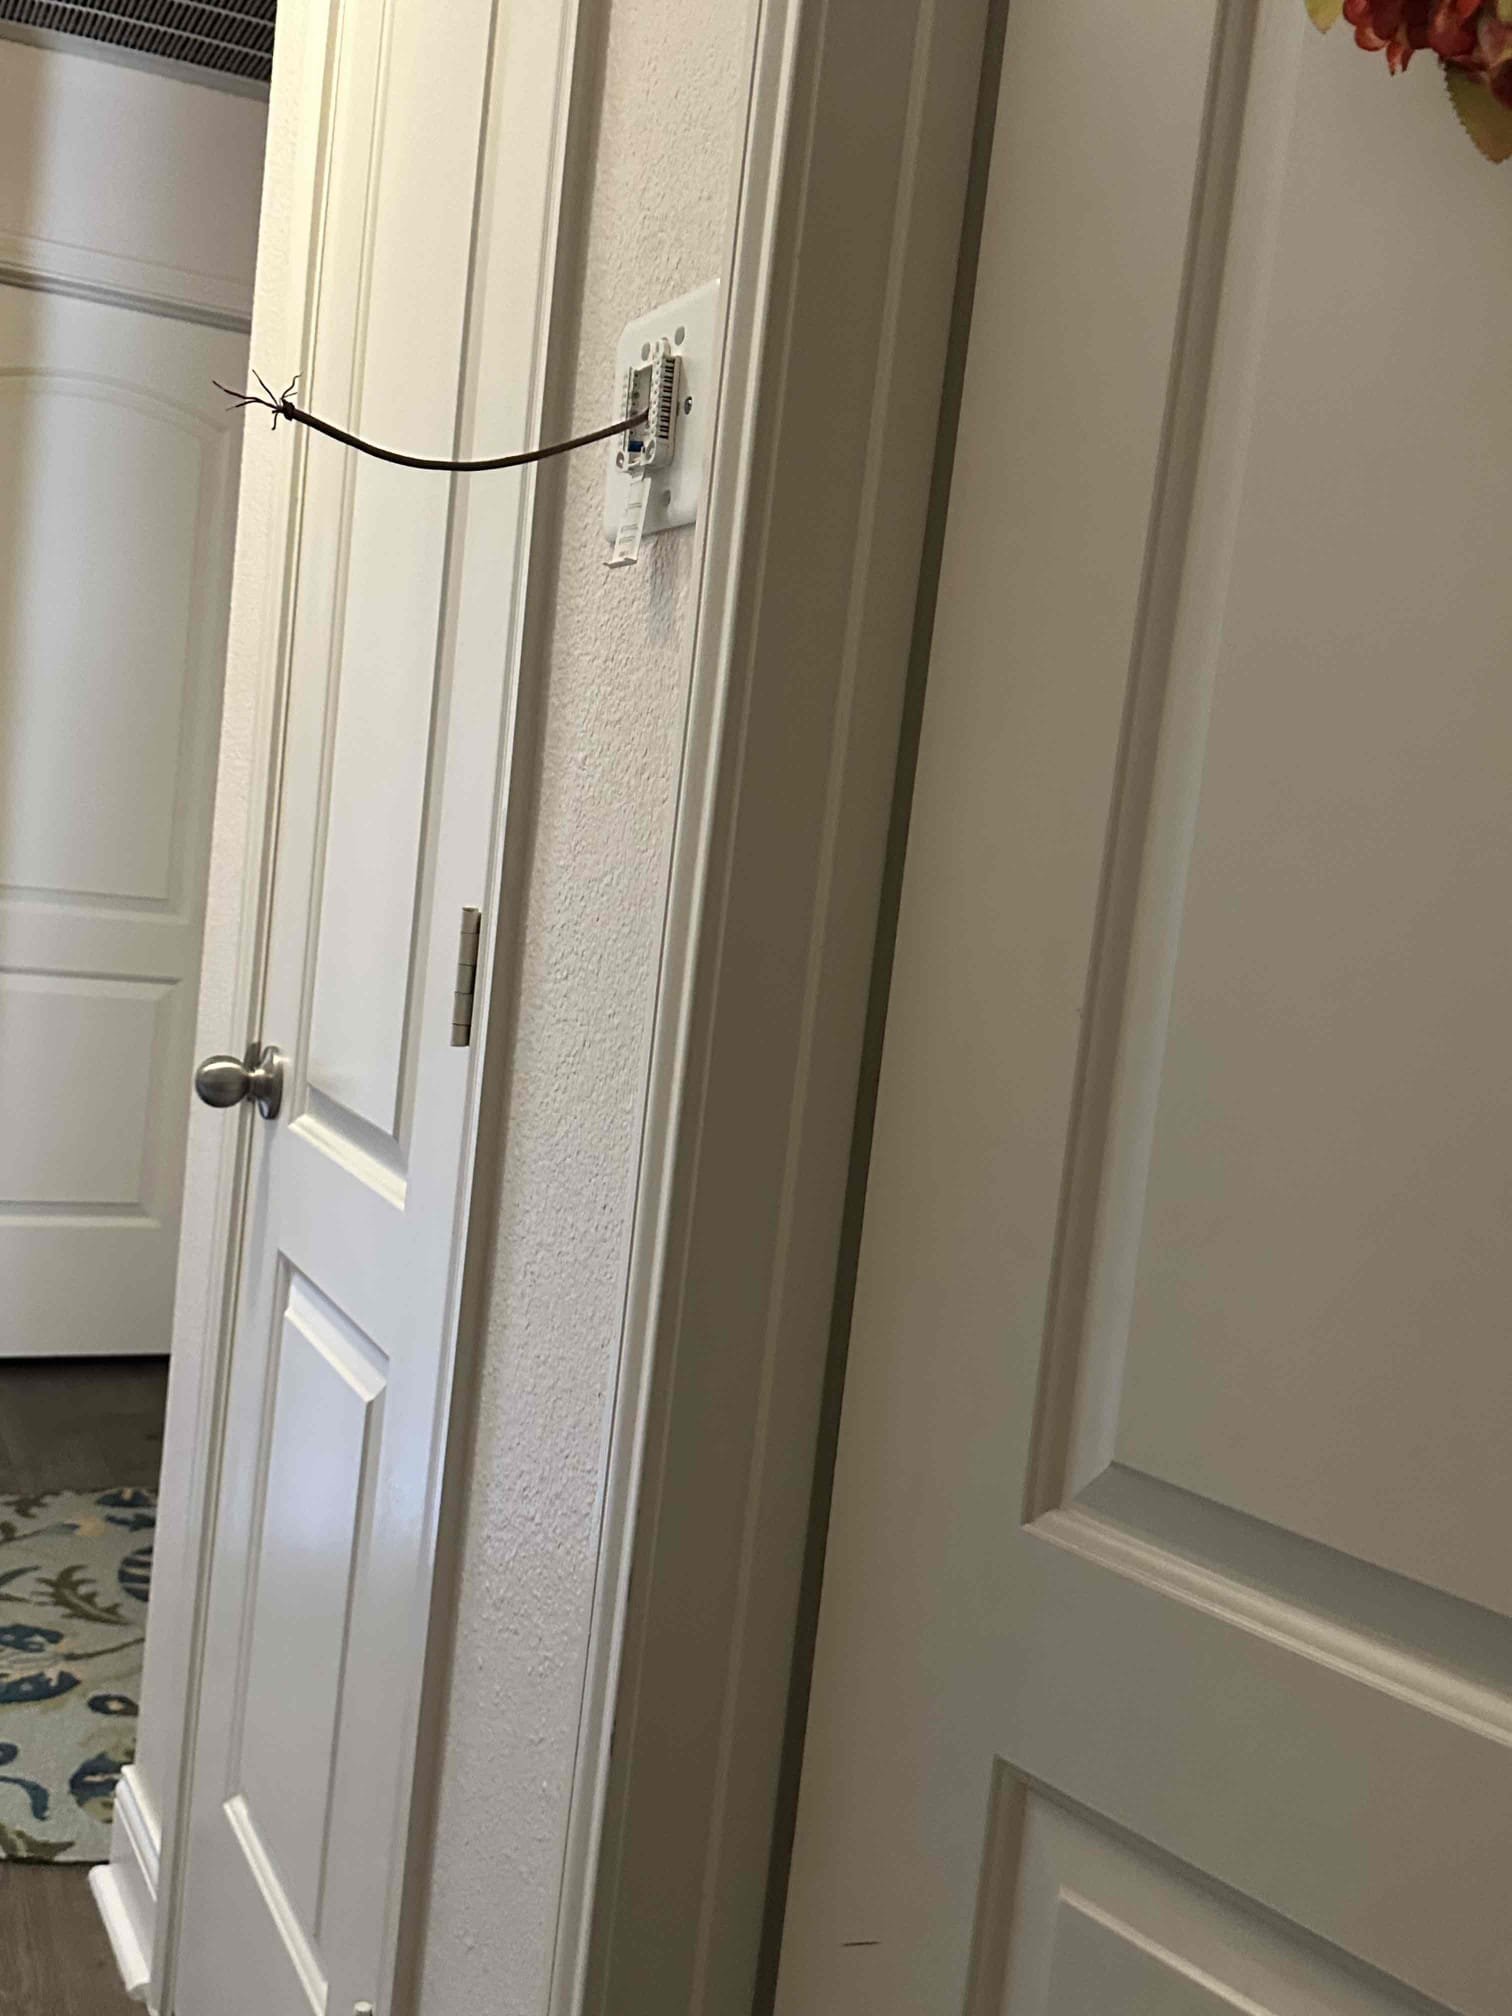
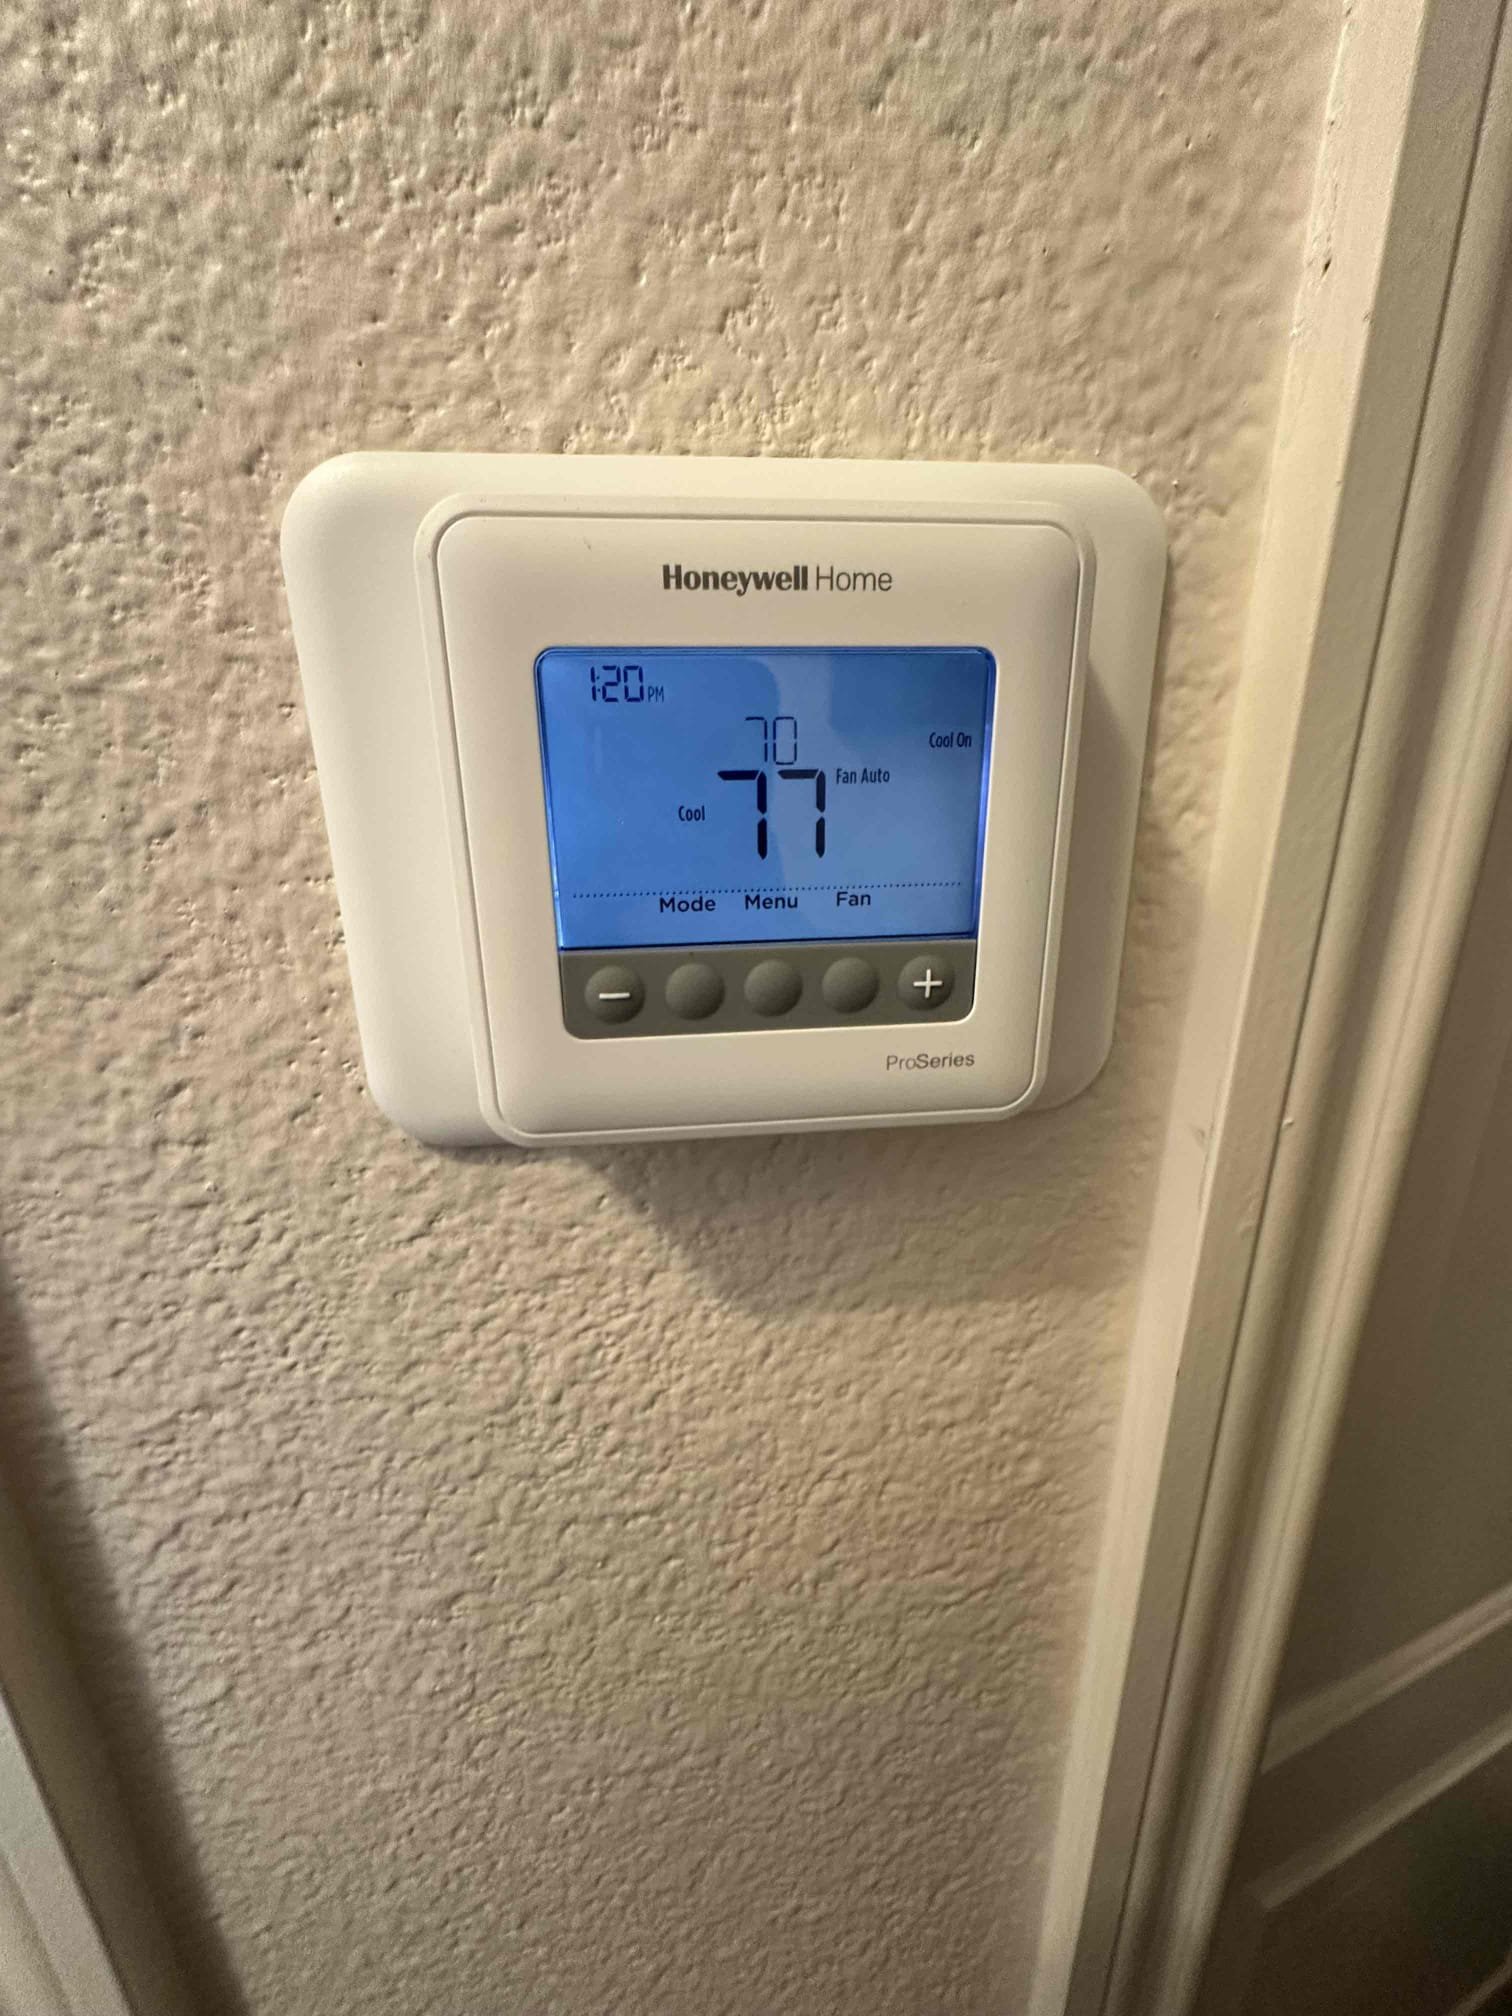
Arrived on site found thermostat powered down. Removed thermostat and found slightly loose common wire and tightened it up. Proceeding to the attic unit I found a blown fuse. All the symptoms of a short are present so I extensively searched for low voltage short and could not find one. Replaced fuse and unit powered on without issue and continued to run for 20 minutes. Discussed with homeowner that this is an intermittent issue which tells me the issue has to be with a circuit board having ruled out a short. The thermostat or the outdoor control board could be causing this issue, but the outdoor control board appears to be in good condition and working properly at this time. This leads me to believe that the thermostat is causing this issue.
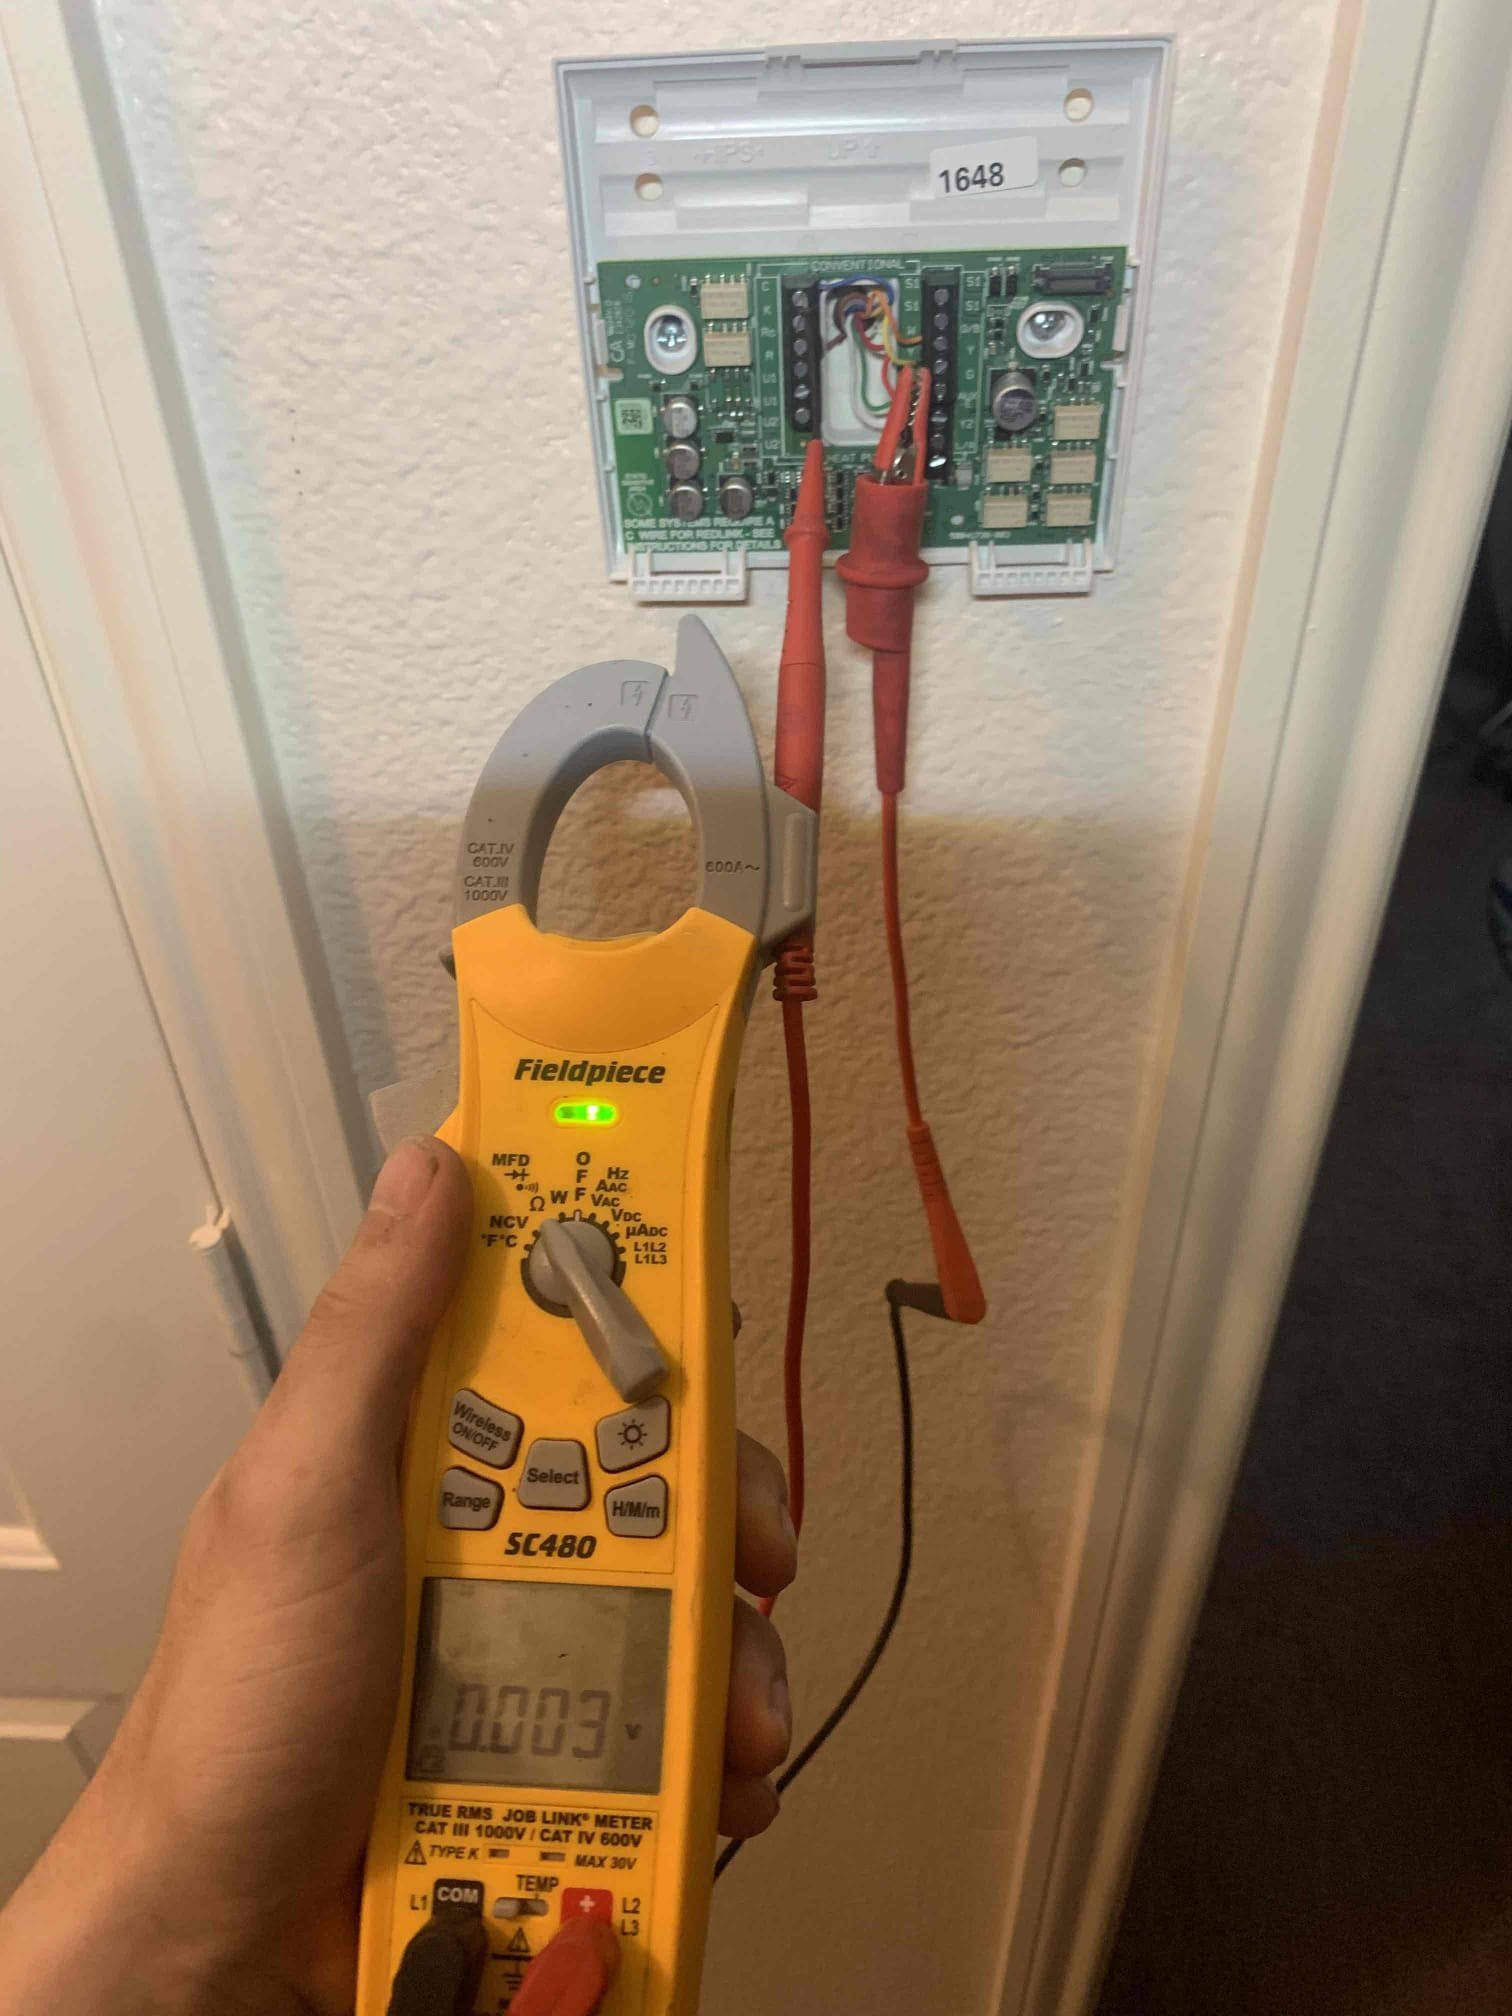
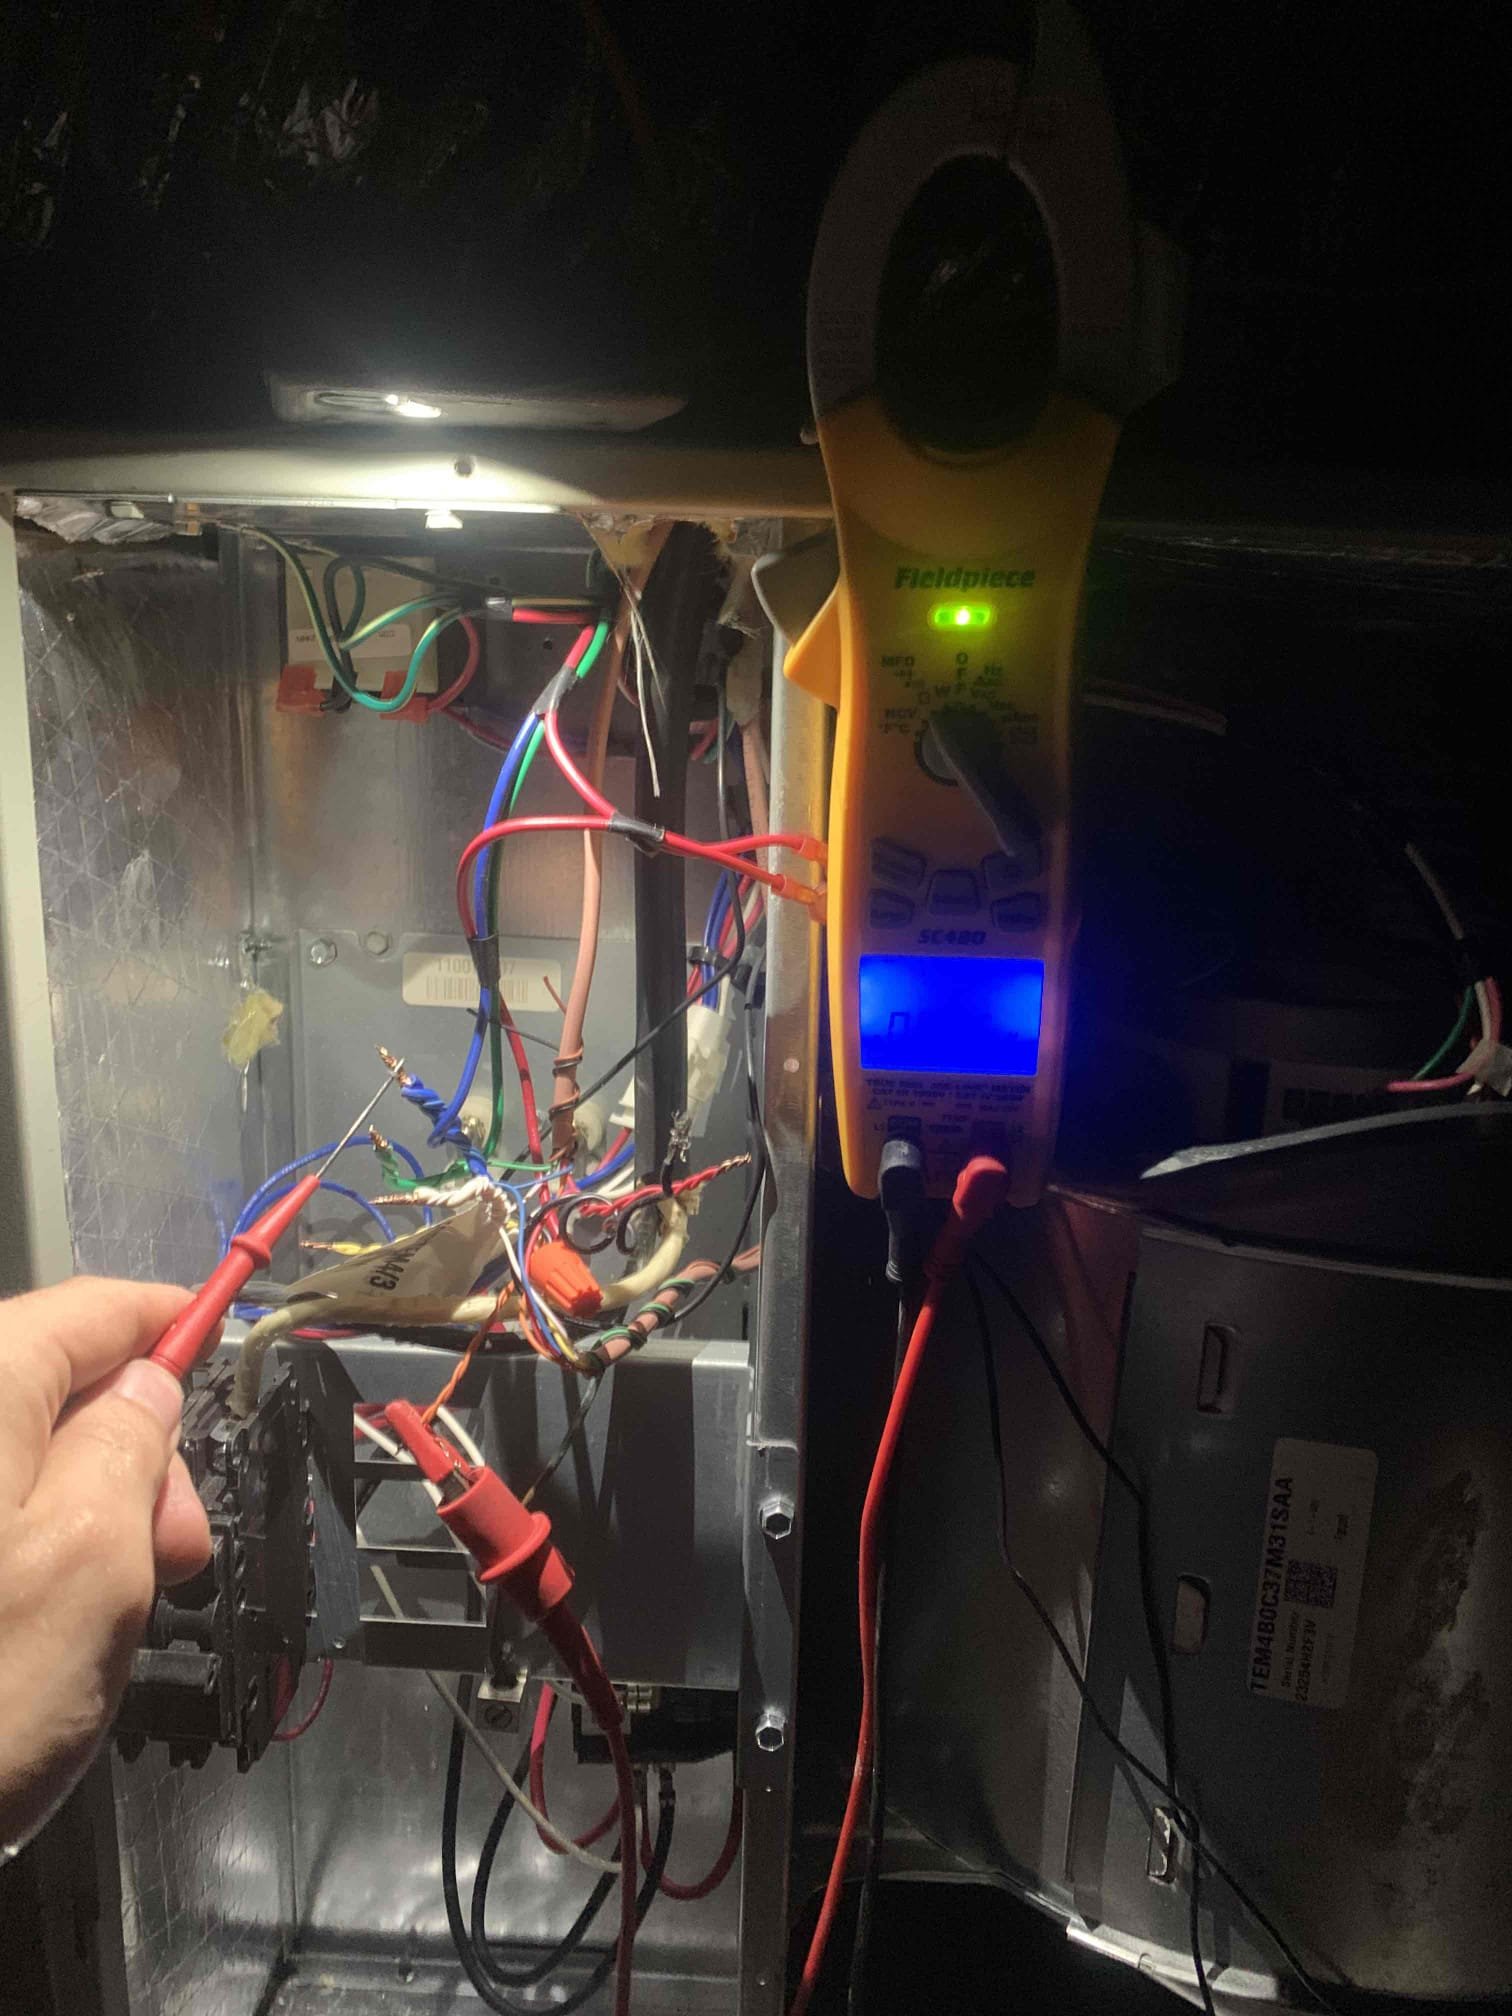
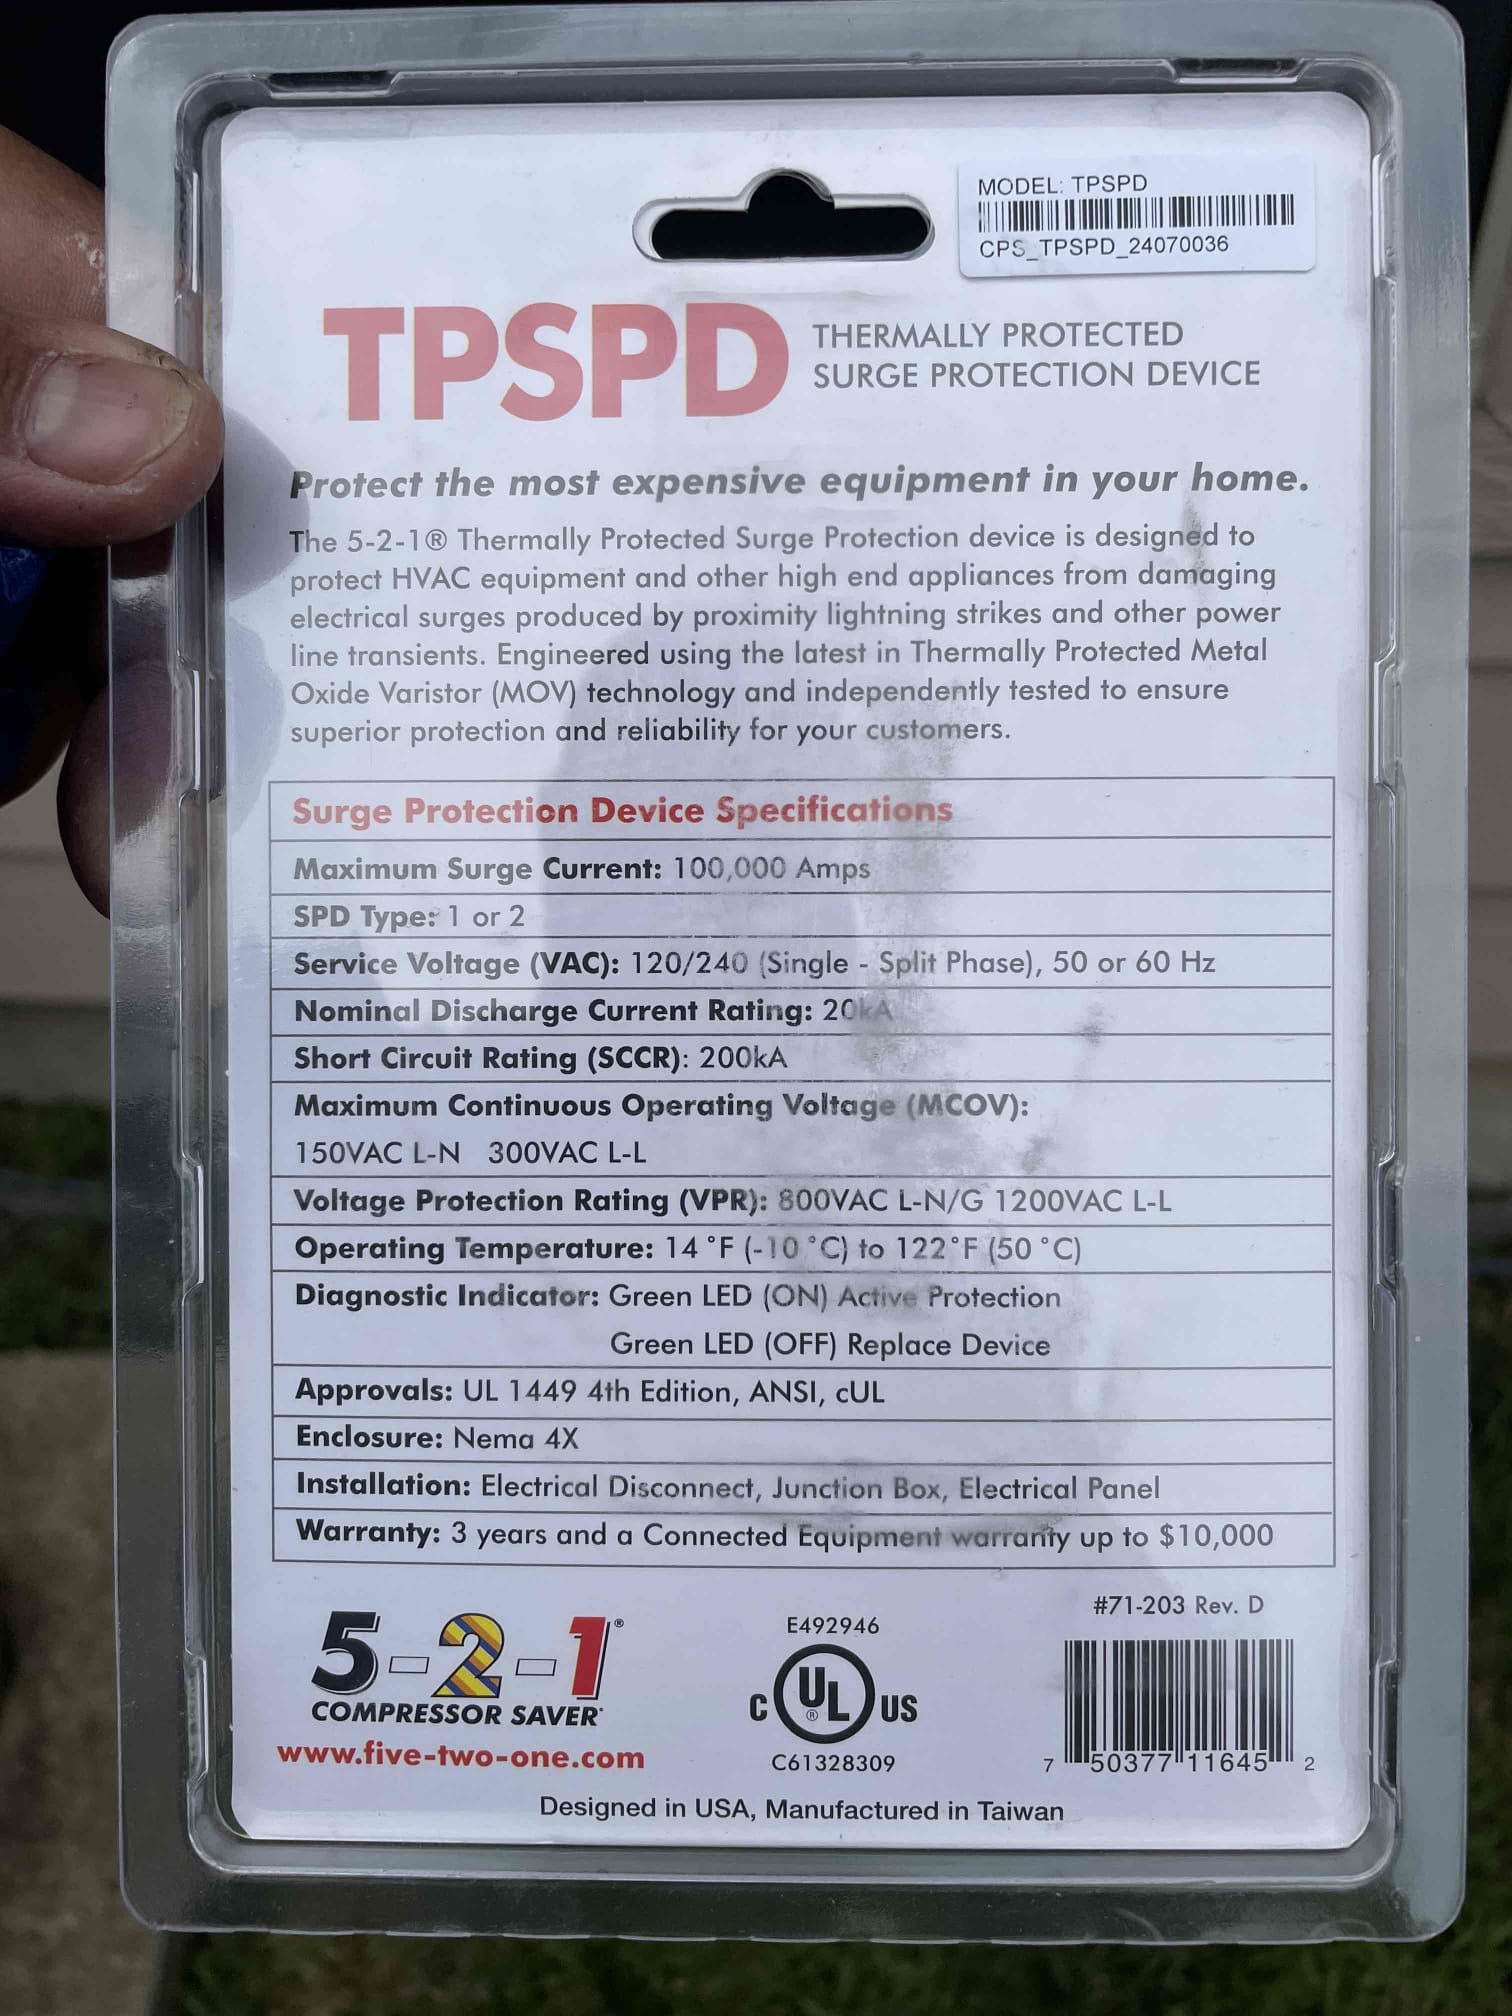
I arrived at our clients home to a blank unresponsive thermostat. Our client had no power for about 2 hours due to last nights storm. I first proceeded to the electrical panel and ensured all the breakers were turned on. I then went into the attic and found a blown fuse. I replaced the fuse but proceeded to test the outdoor heat pumps equipment. I tested the contactor and answered all of the wiring was secure. The unit turned on and began cooling. I discussed with our client how the outdoor contactor and thermostat are directly connected to the failed fuse. We discussed how adding a surge protector could help protect her equipment and she elected to I install one today. I did not charge her for the replaced fuse. After replacing the fuse I tested the system to ensure it was cooling and set the thermostat to 72º.
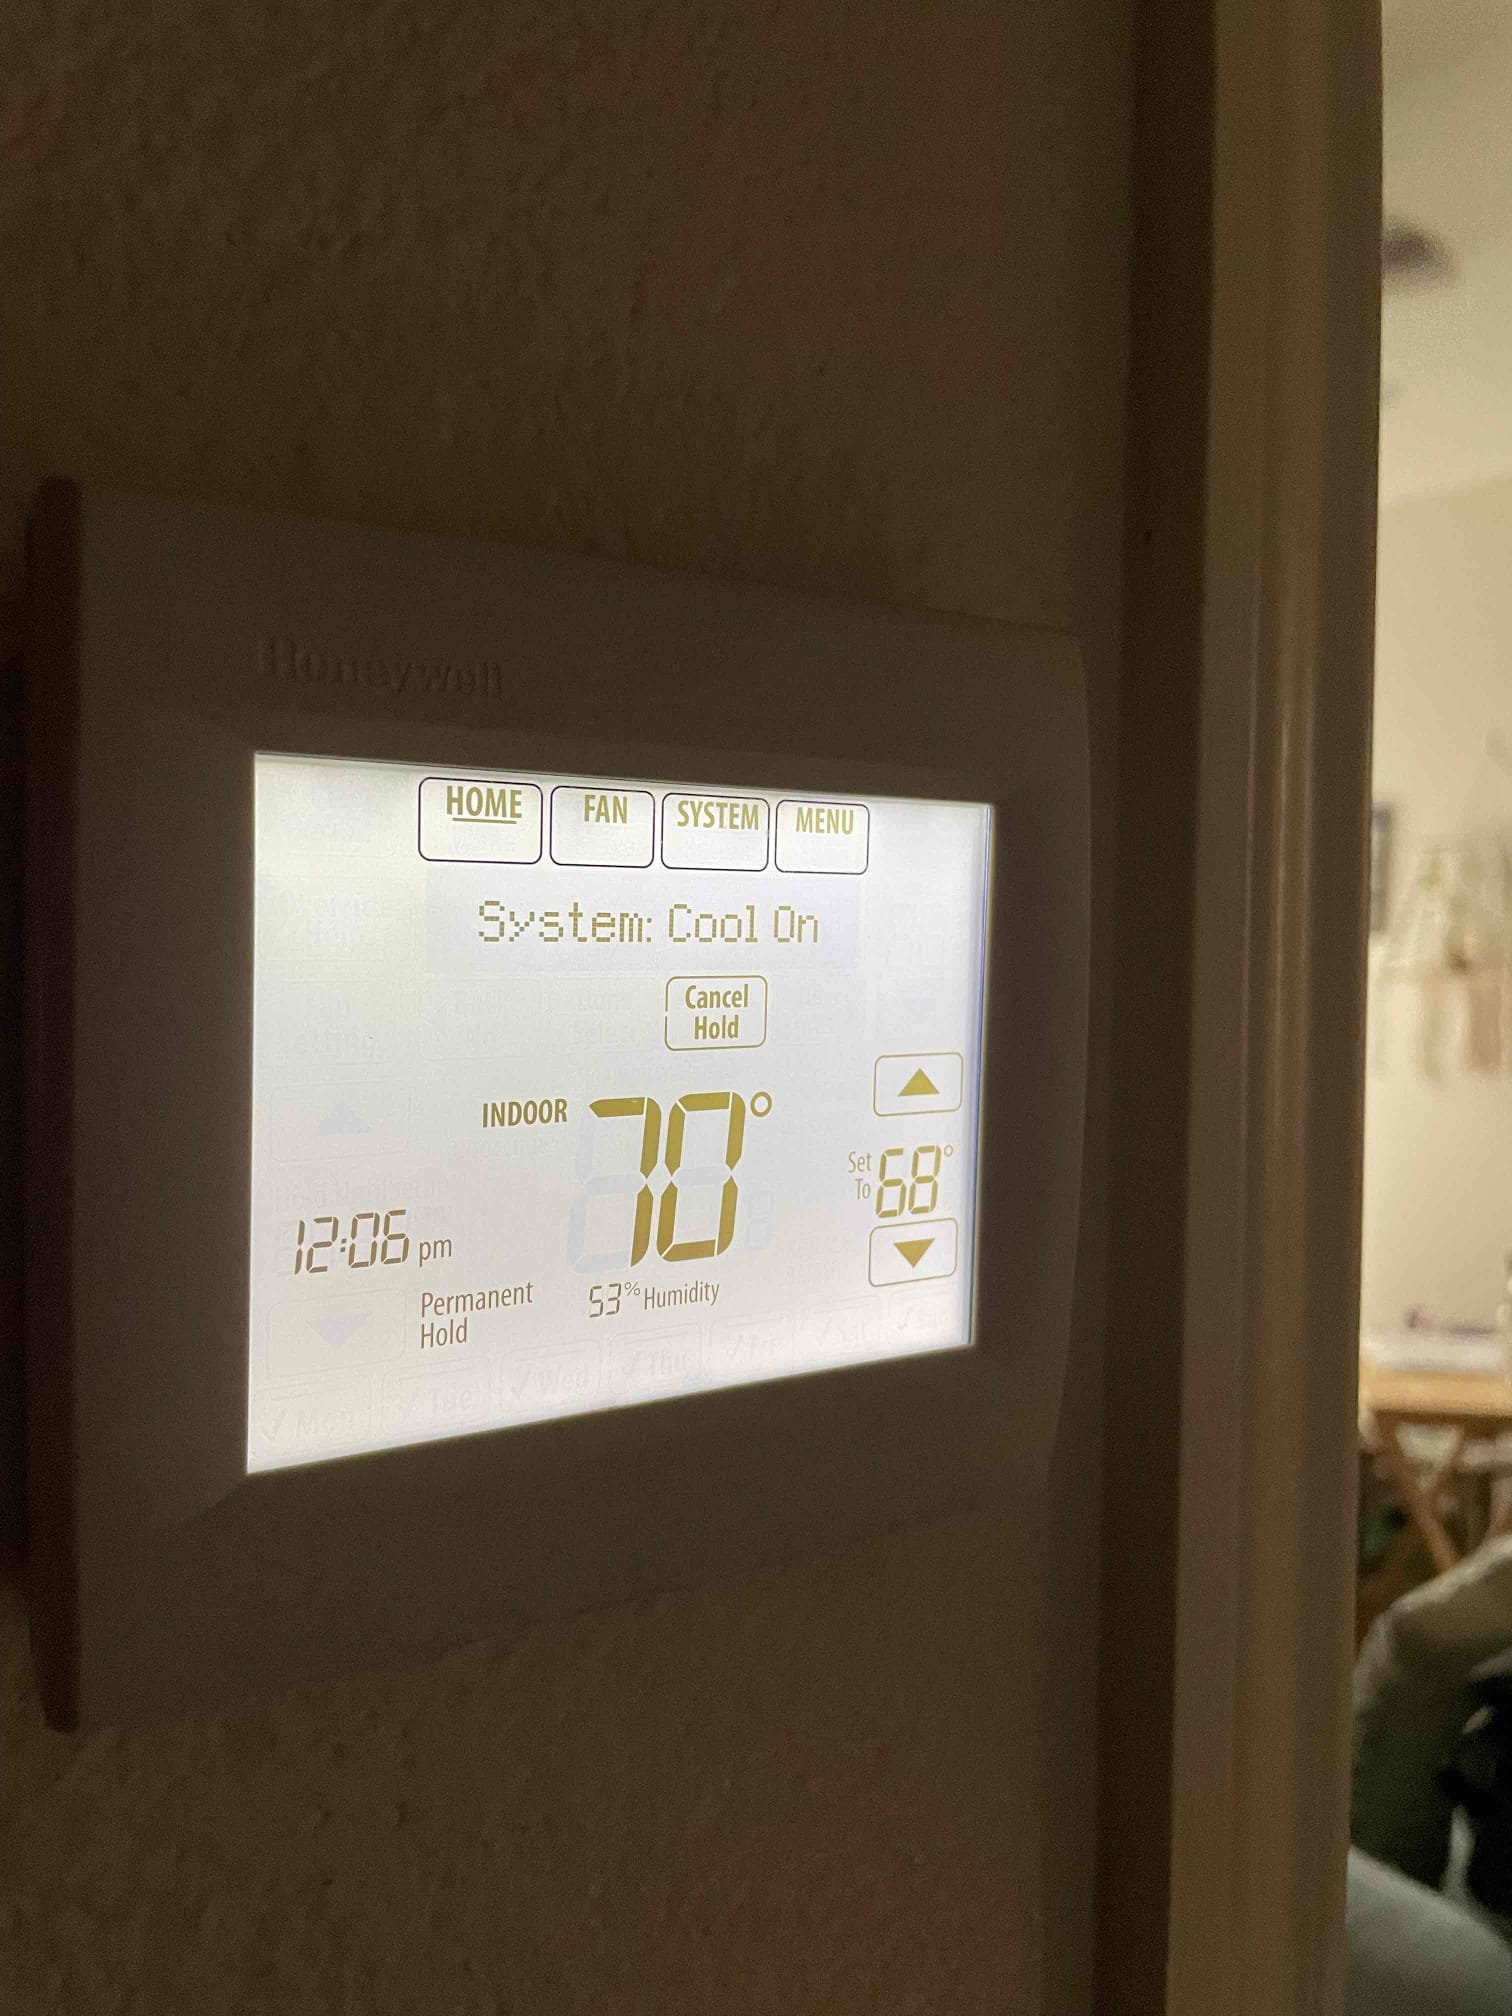
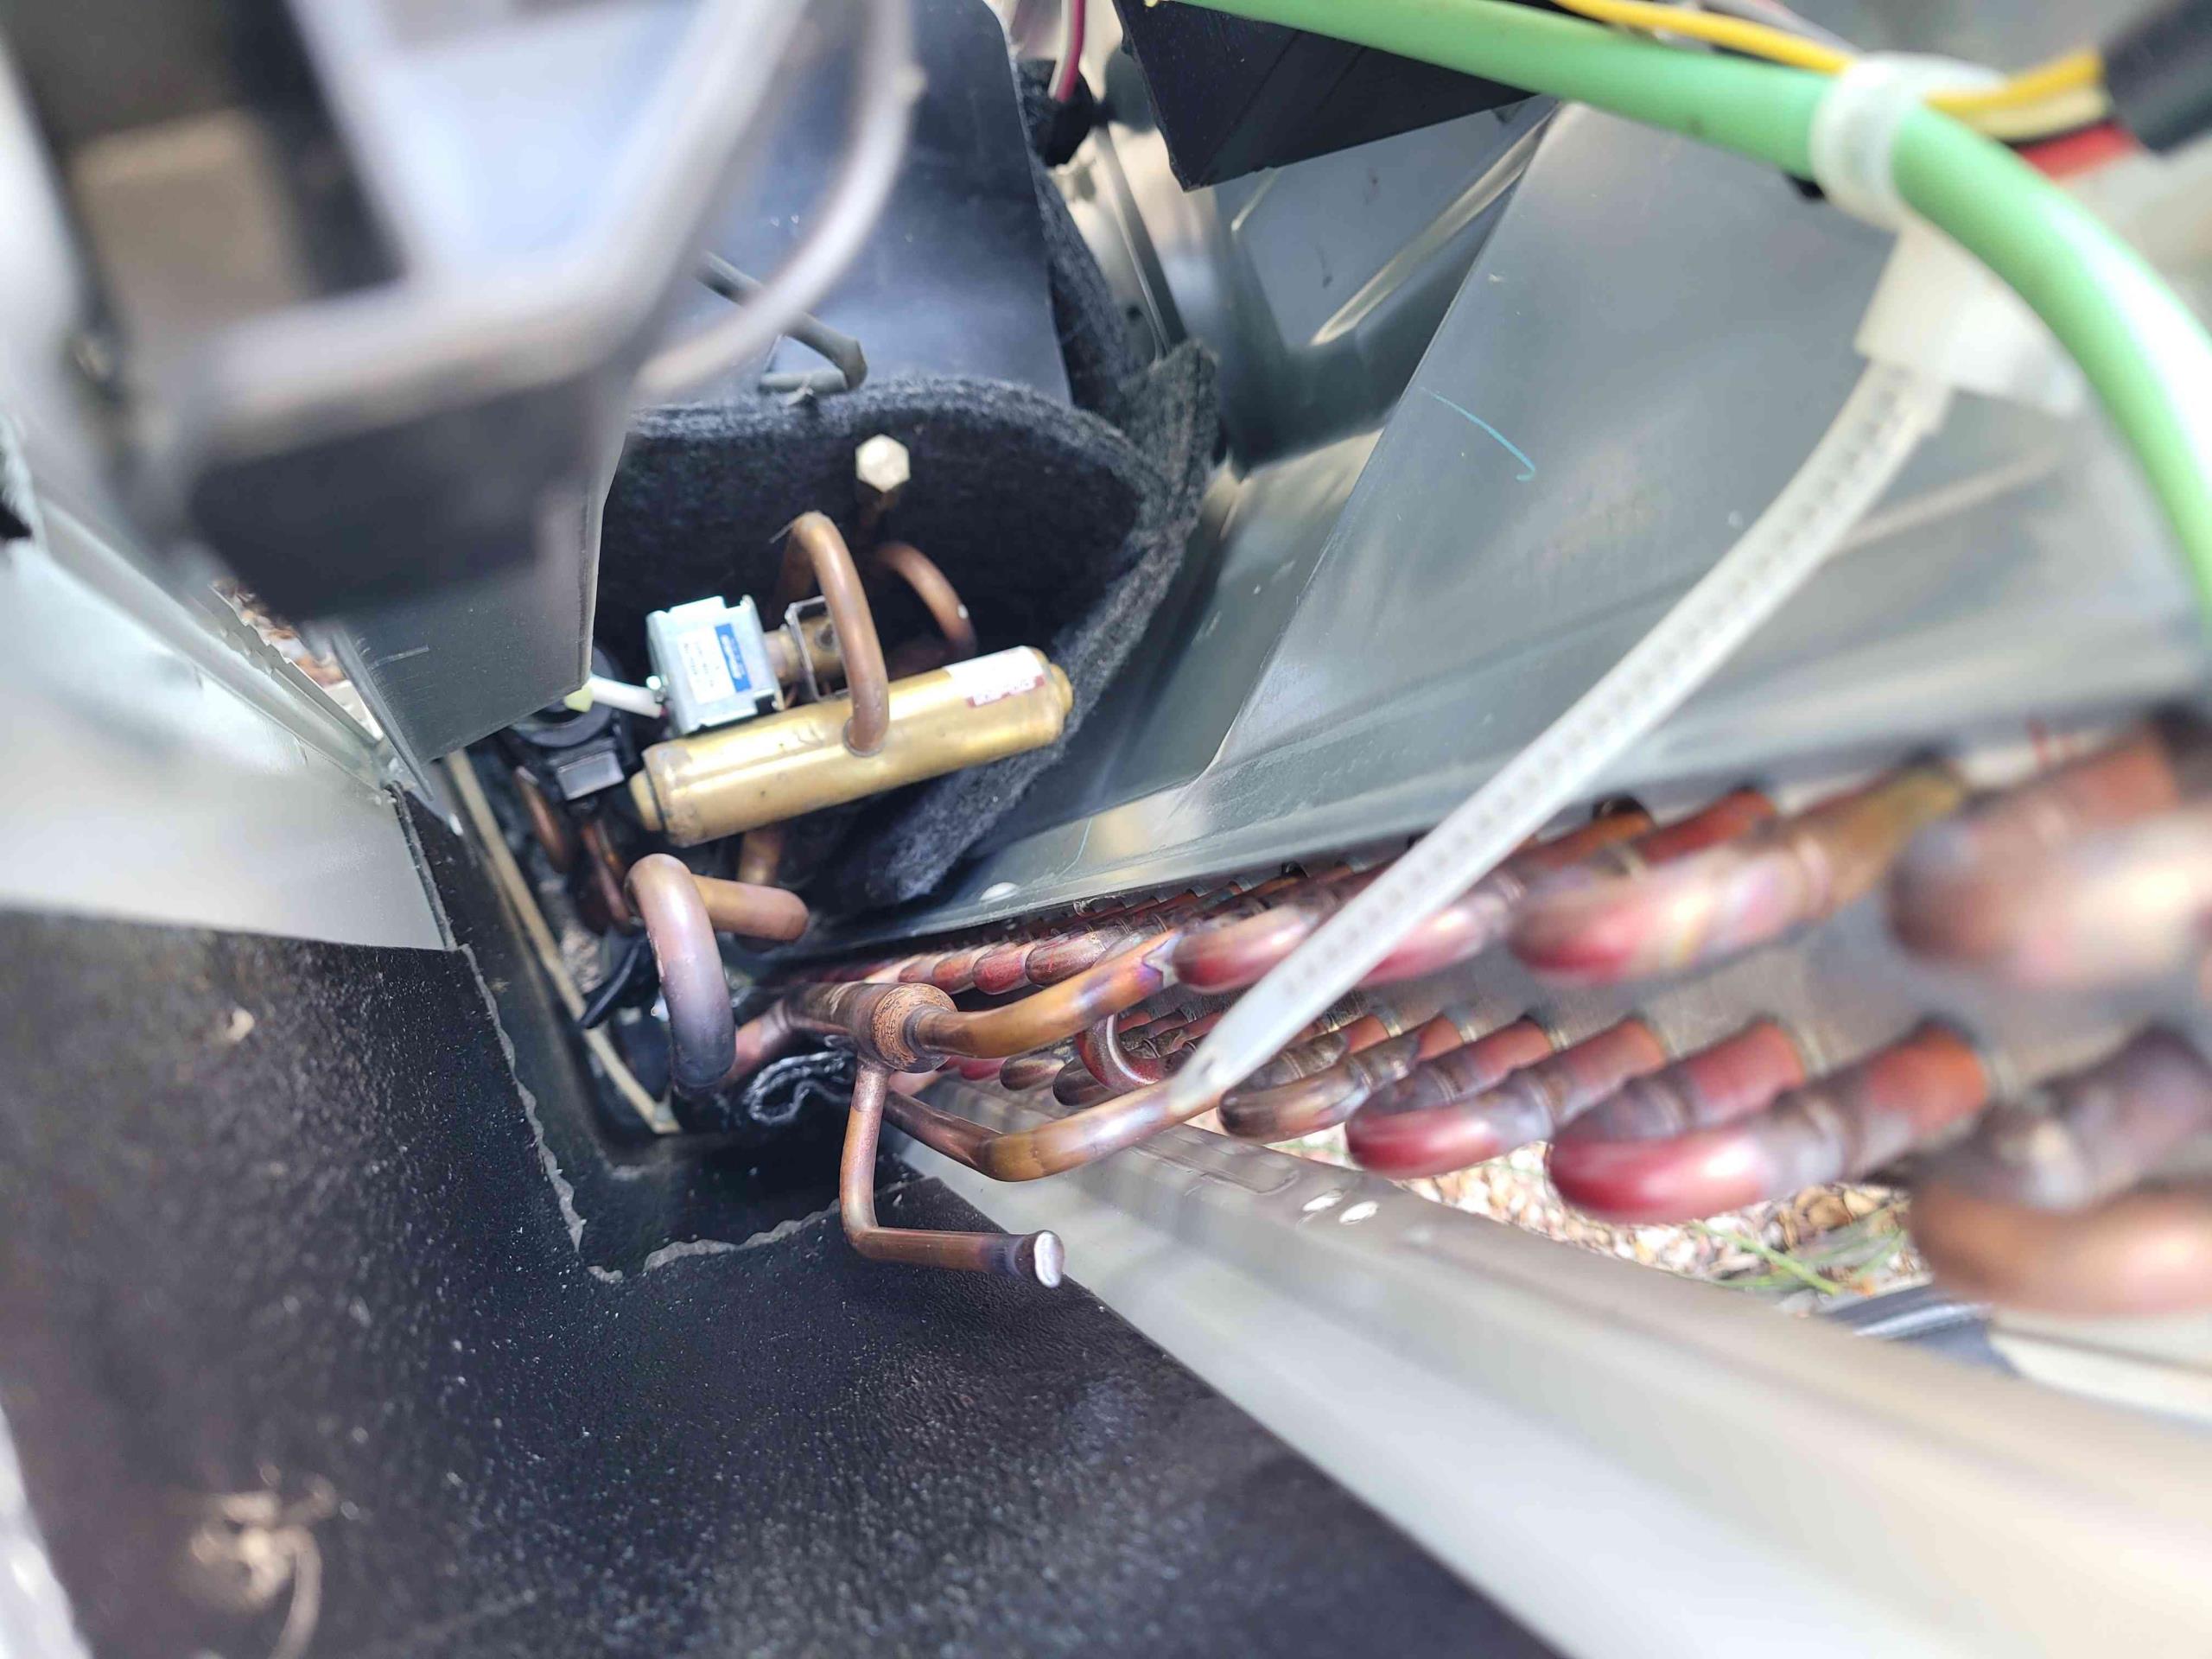
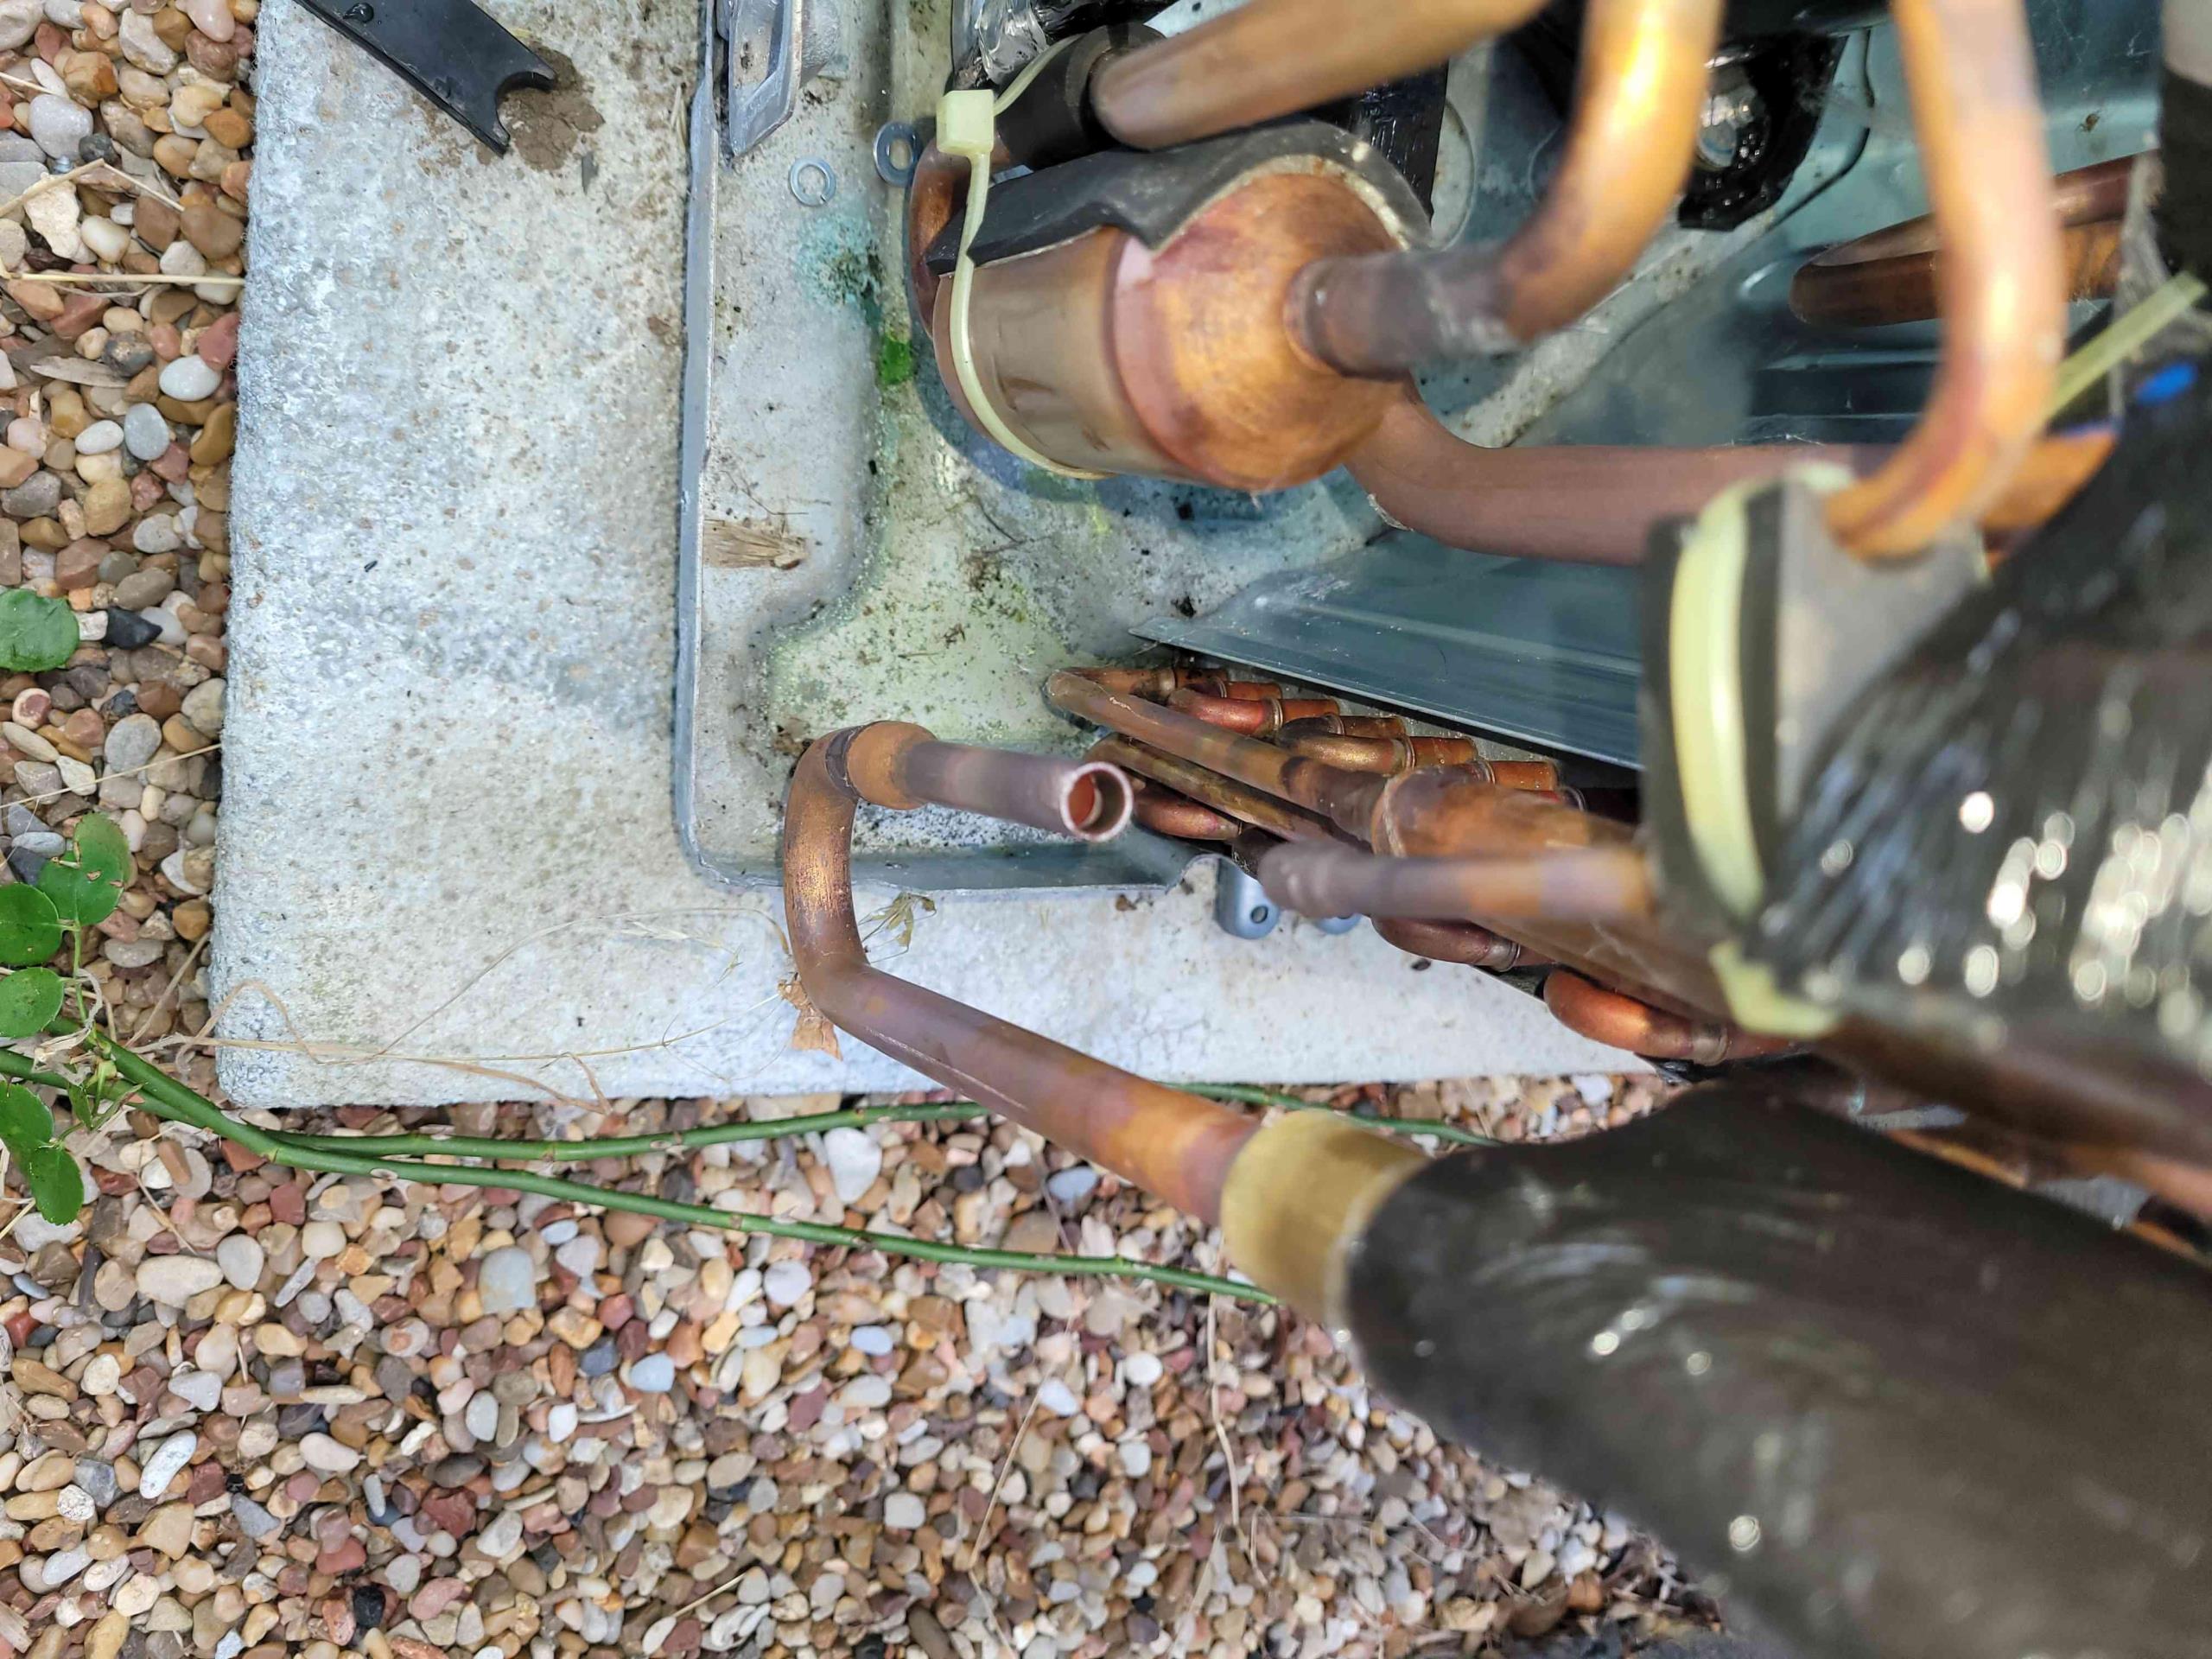
Estimate Summary: Warranty Condenser Coil Change-Out (Mitsubishi) Scope of Work: -Replace condenser coil under Mitsubishi parts warranty. -Includes removal of existing coil, installation of new coil, system evacuation, and recharge. Parts Availability: -Replacement coil is covered under warranty. -Estimated time of arrival from Mitsubishi: 1–3 weeks. Customer Responsibility: -Labor and refrigerant are not covered under warranty and will be billed accordingly. -A $500 deposit is required to initiate the order and secure the part. Final refrigerant charge will be determined during recharge based on system specifications.
