 Overall Experience
 Quality
 Price
Price
 Convenience
He is very polite and patient. Explains all the options I have and provided great service. Thanks!
 Overall Experience
 Quality
 Price
Price
 Convenience
 Overall Experience
 Quality
 Price
Price
 Convenience
 Overall Experience
 Quality
 Price
Price
 Convenience
Our A/C broke when the weather started to get hot. We called Adon Complete, and Charles came. He was experienced and professional. He and his crew replaced our 20-year old unit, and our system is up and running just in time for summer. I would recommend Adon Complete for all my friends and neighbors.
 Overall Experience
 Quality
 Price
Price
 Convenience
 Overall Experience
 Quality
 Price
Price
 Convenience
I performed a single heating maintenance on a 2015 heat pump system. I checked amps, capacitors, filter, electrical connections, cleanliness, and safeties. Also, I removed leaves from the top and around the sides of the outdoor unit. I failed to take a picture afterwards. I discovered that the blower has a substantial amount of build up present. This causes higher electric bills and added wear on the motor. I noticed that the unit does not have surge protection either. I presented solutions to the customer, and he declined at the time of service. The system is heating upon departure.
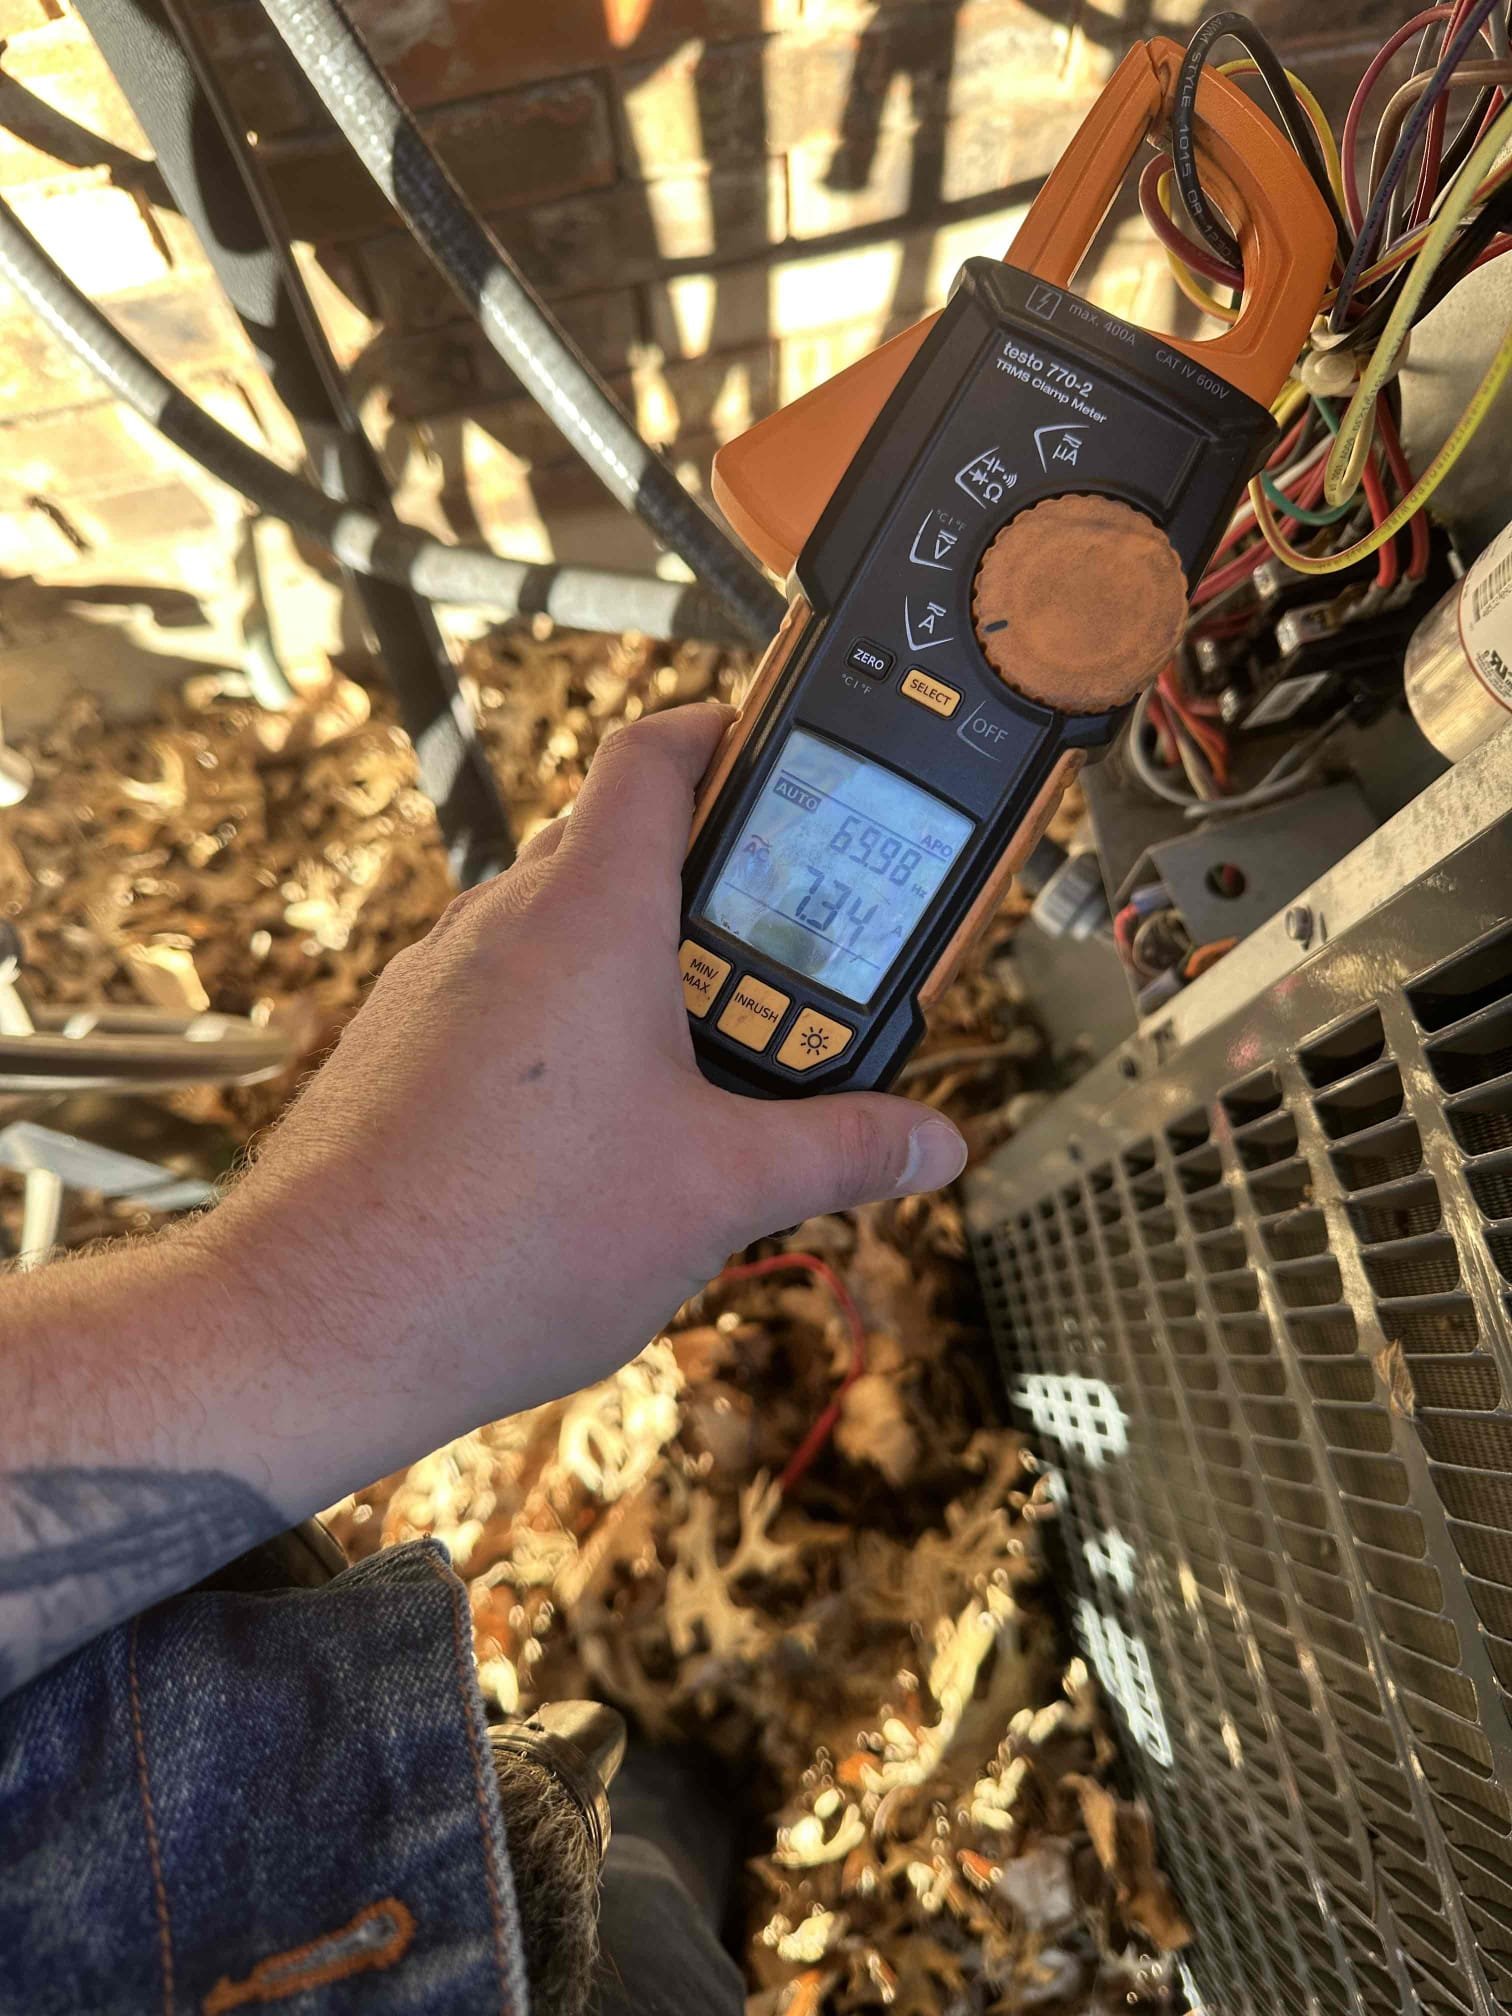
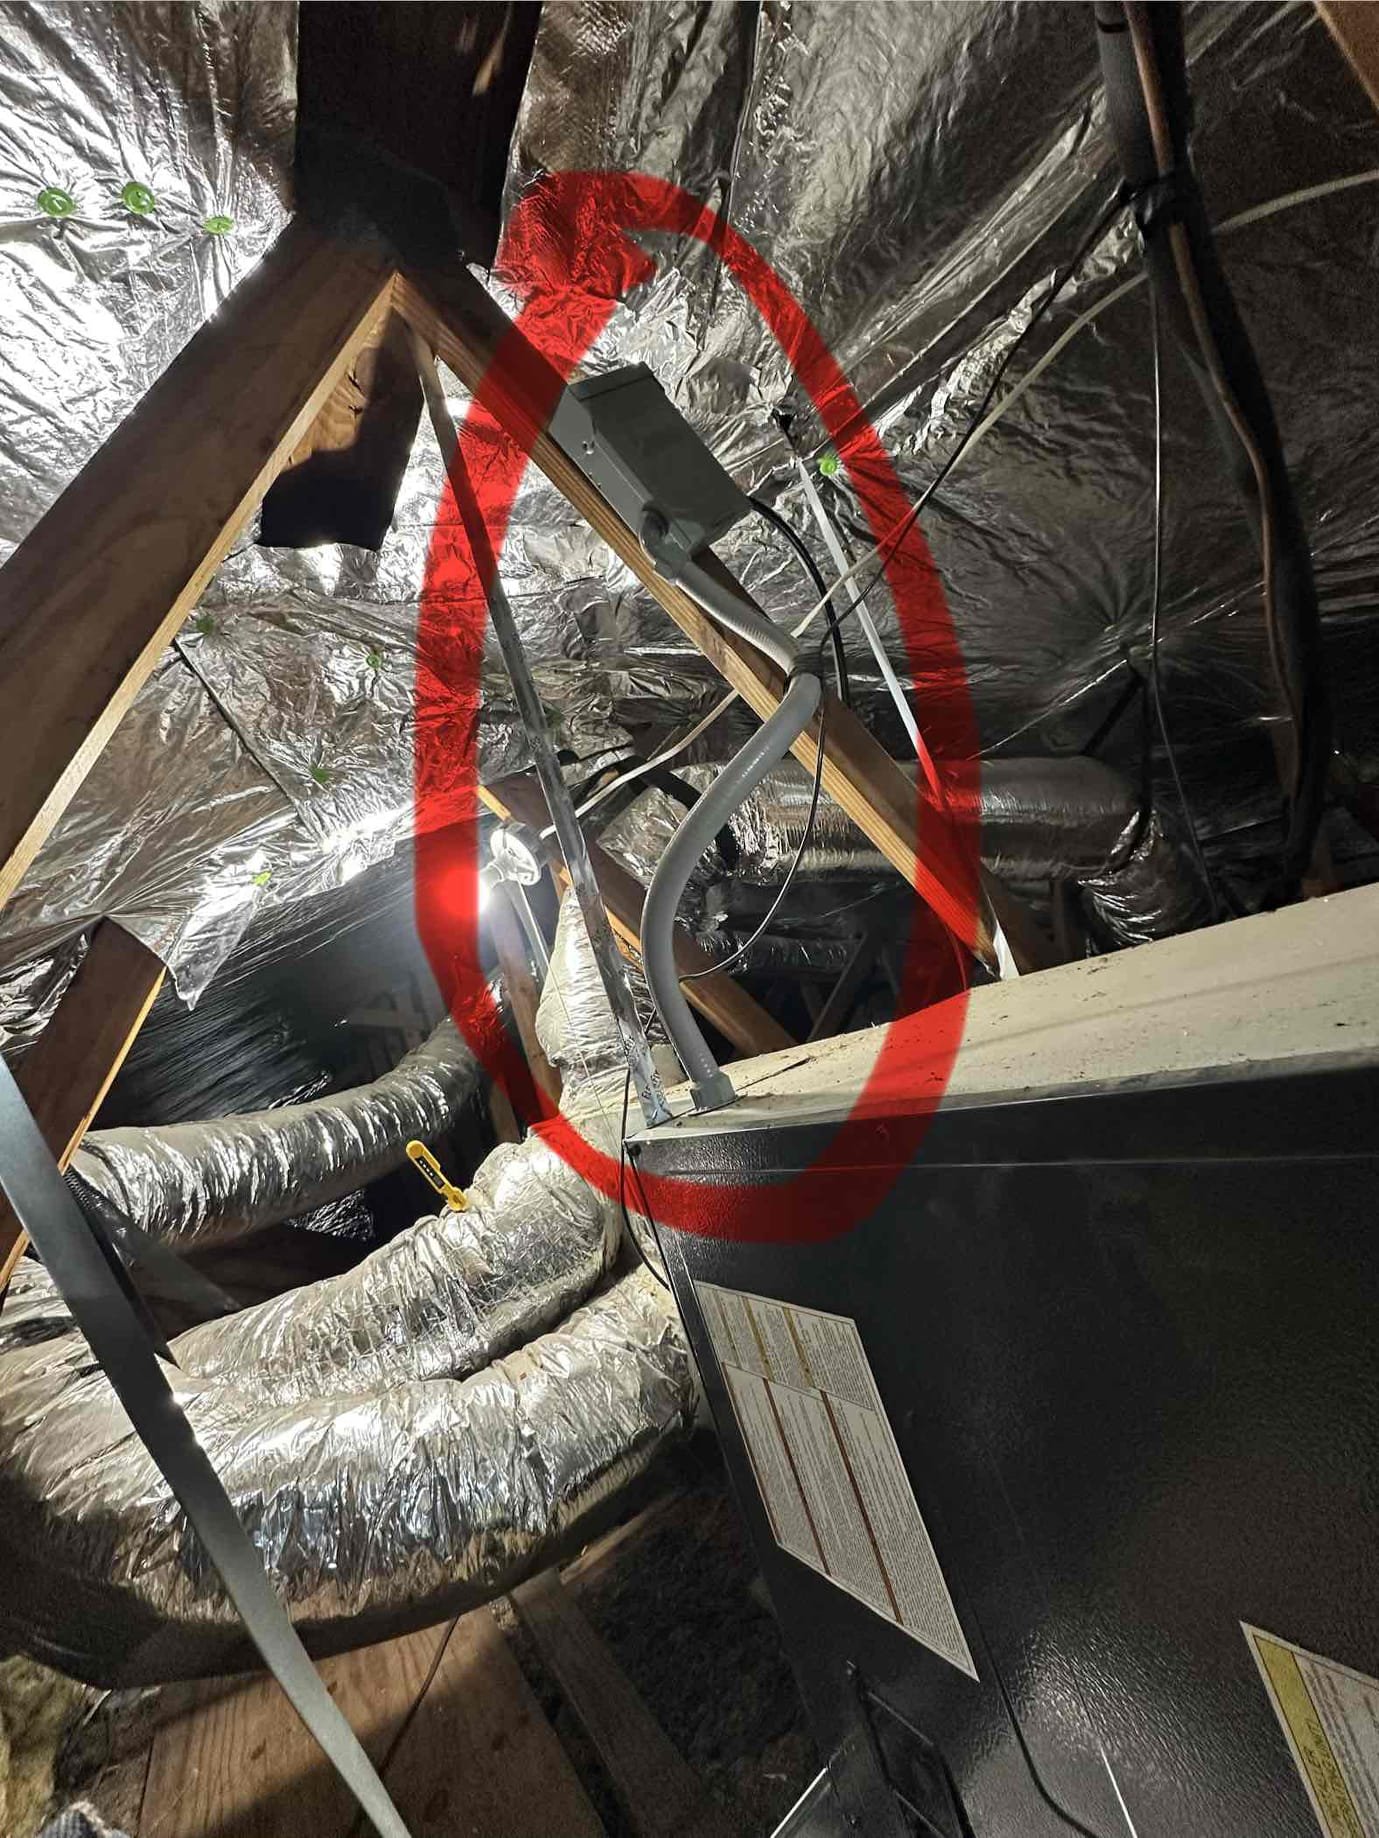
I performed a single system heating maintenance on a heat pump system. The indoor is from 2021 and the outdoor is from 2024. I checked amps, capacitors, filter, electrical, cleanliness, and safeties. I discovered the capacitor is beginning to lose its charge. I provided an option to address it now before it gets worse. System has surge protection, hard start kit, u/v stick, and Apco-x. System is heating upon departure.
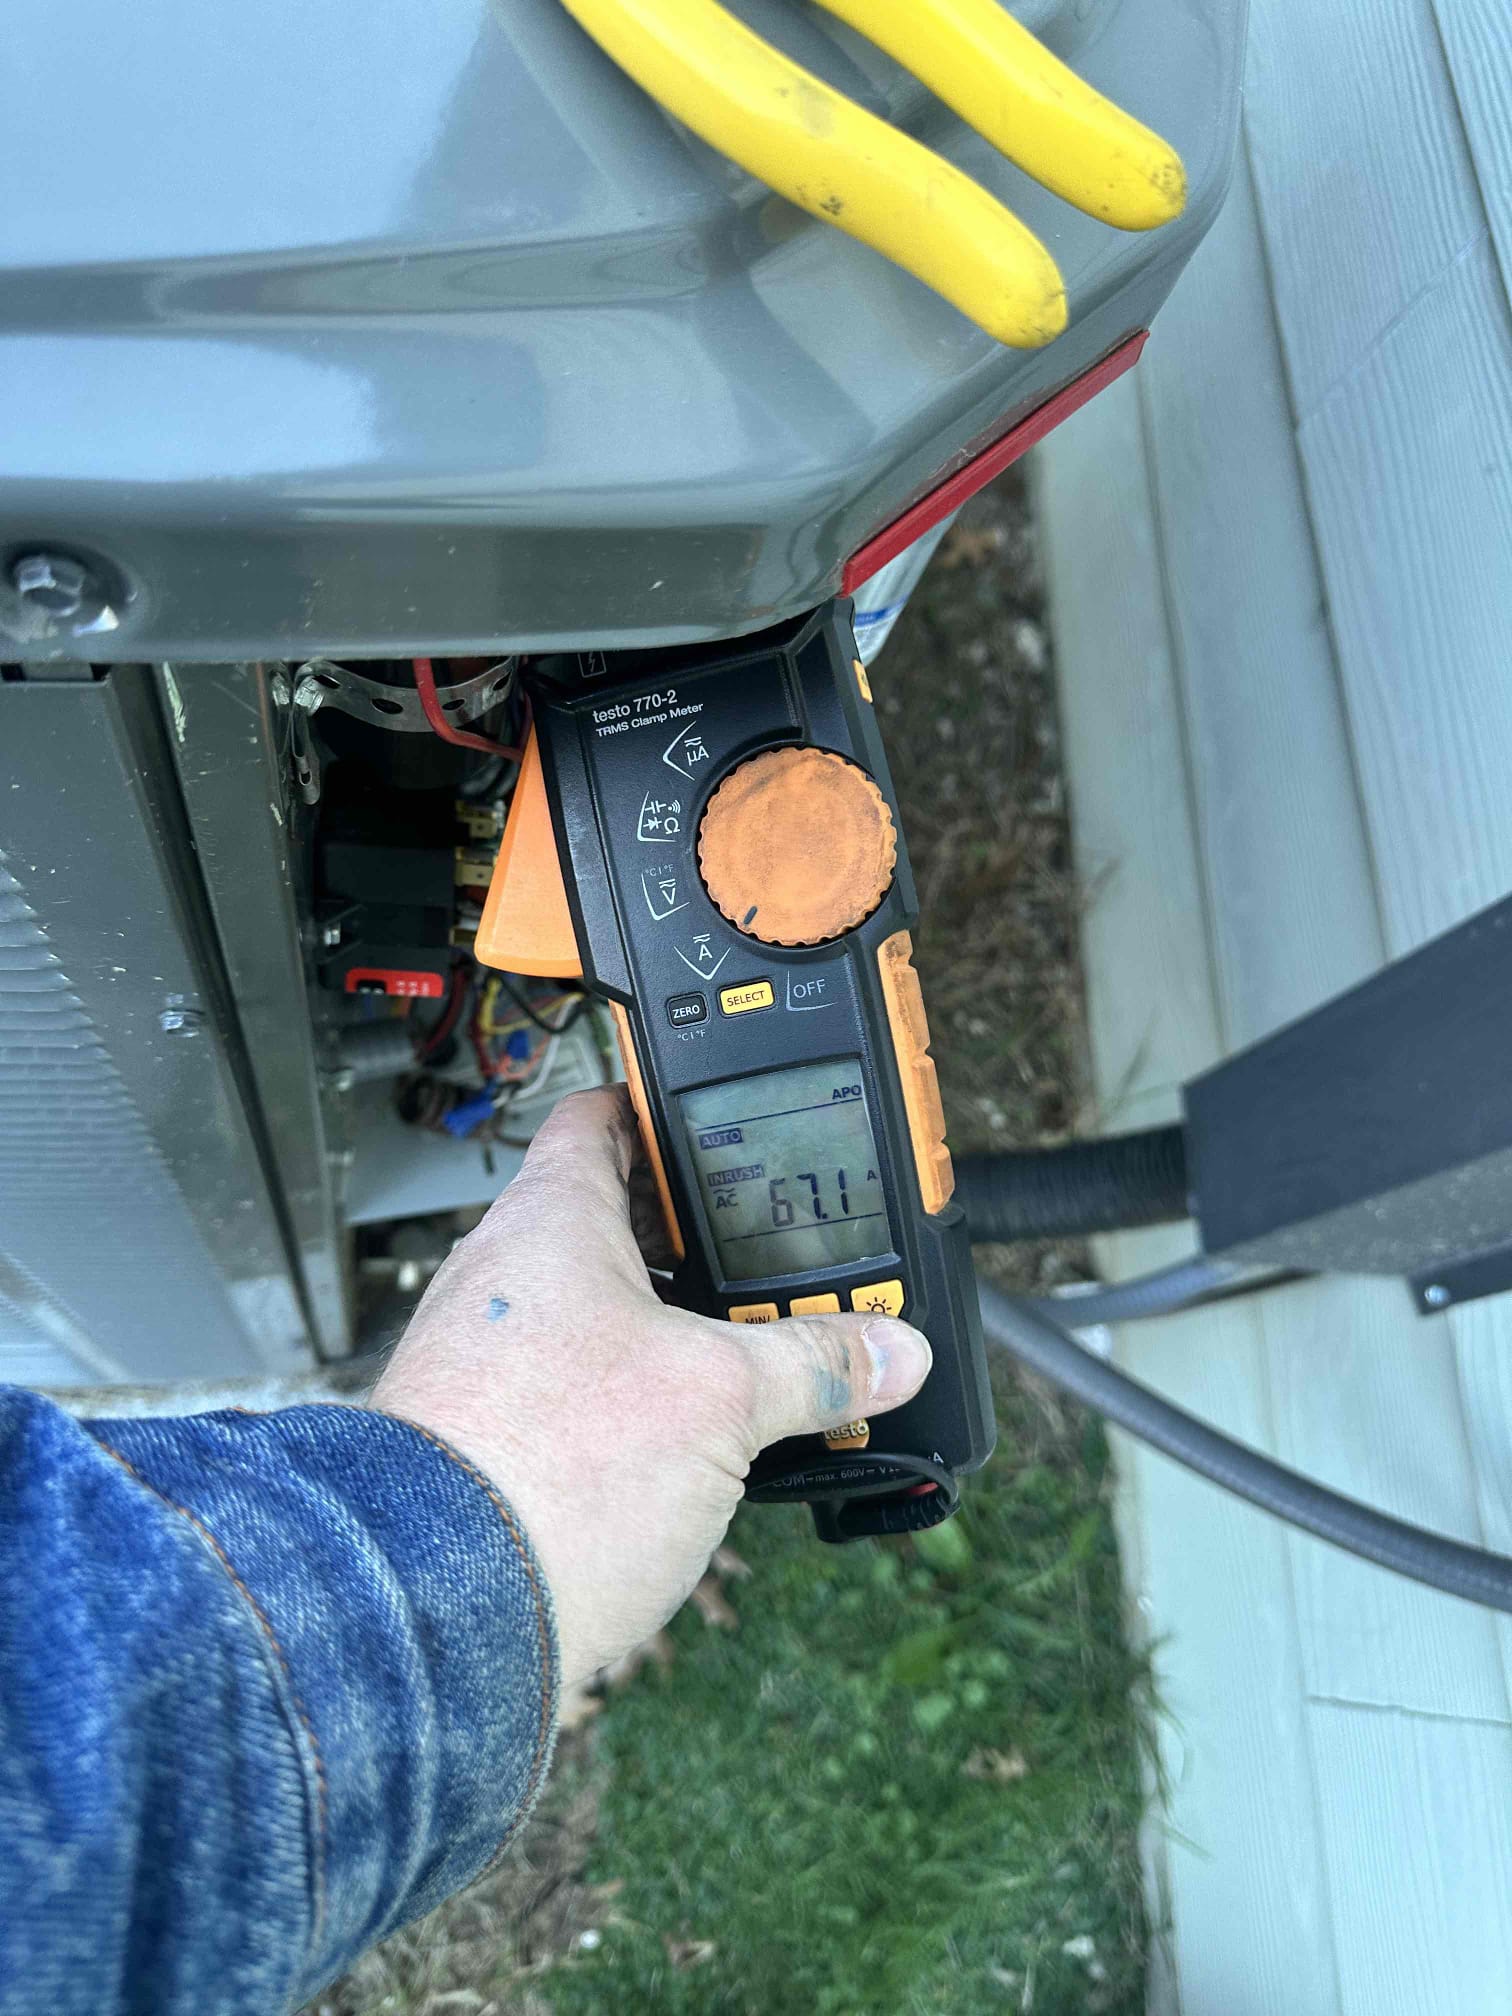
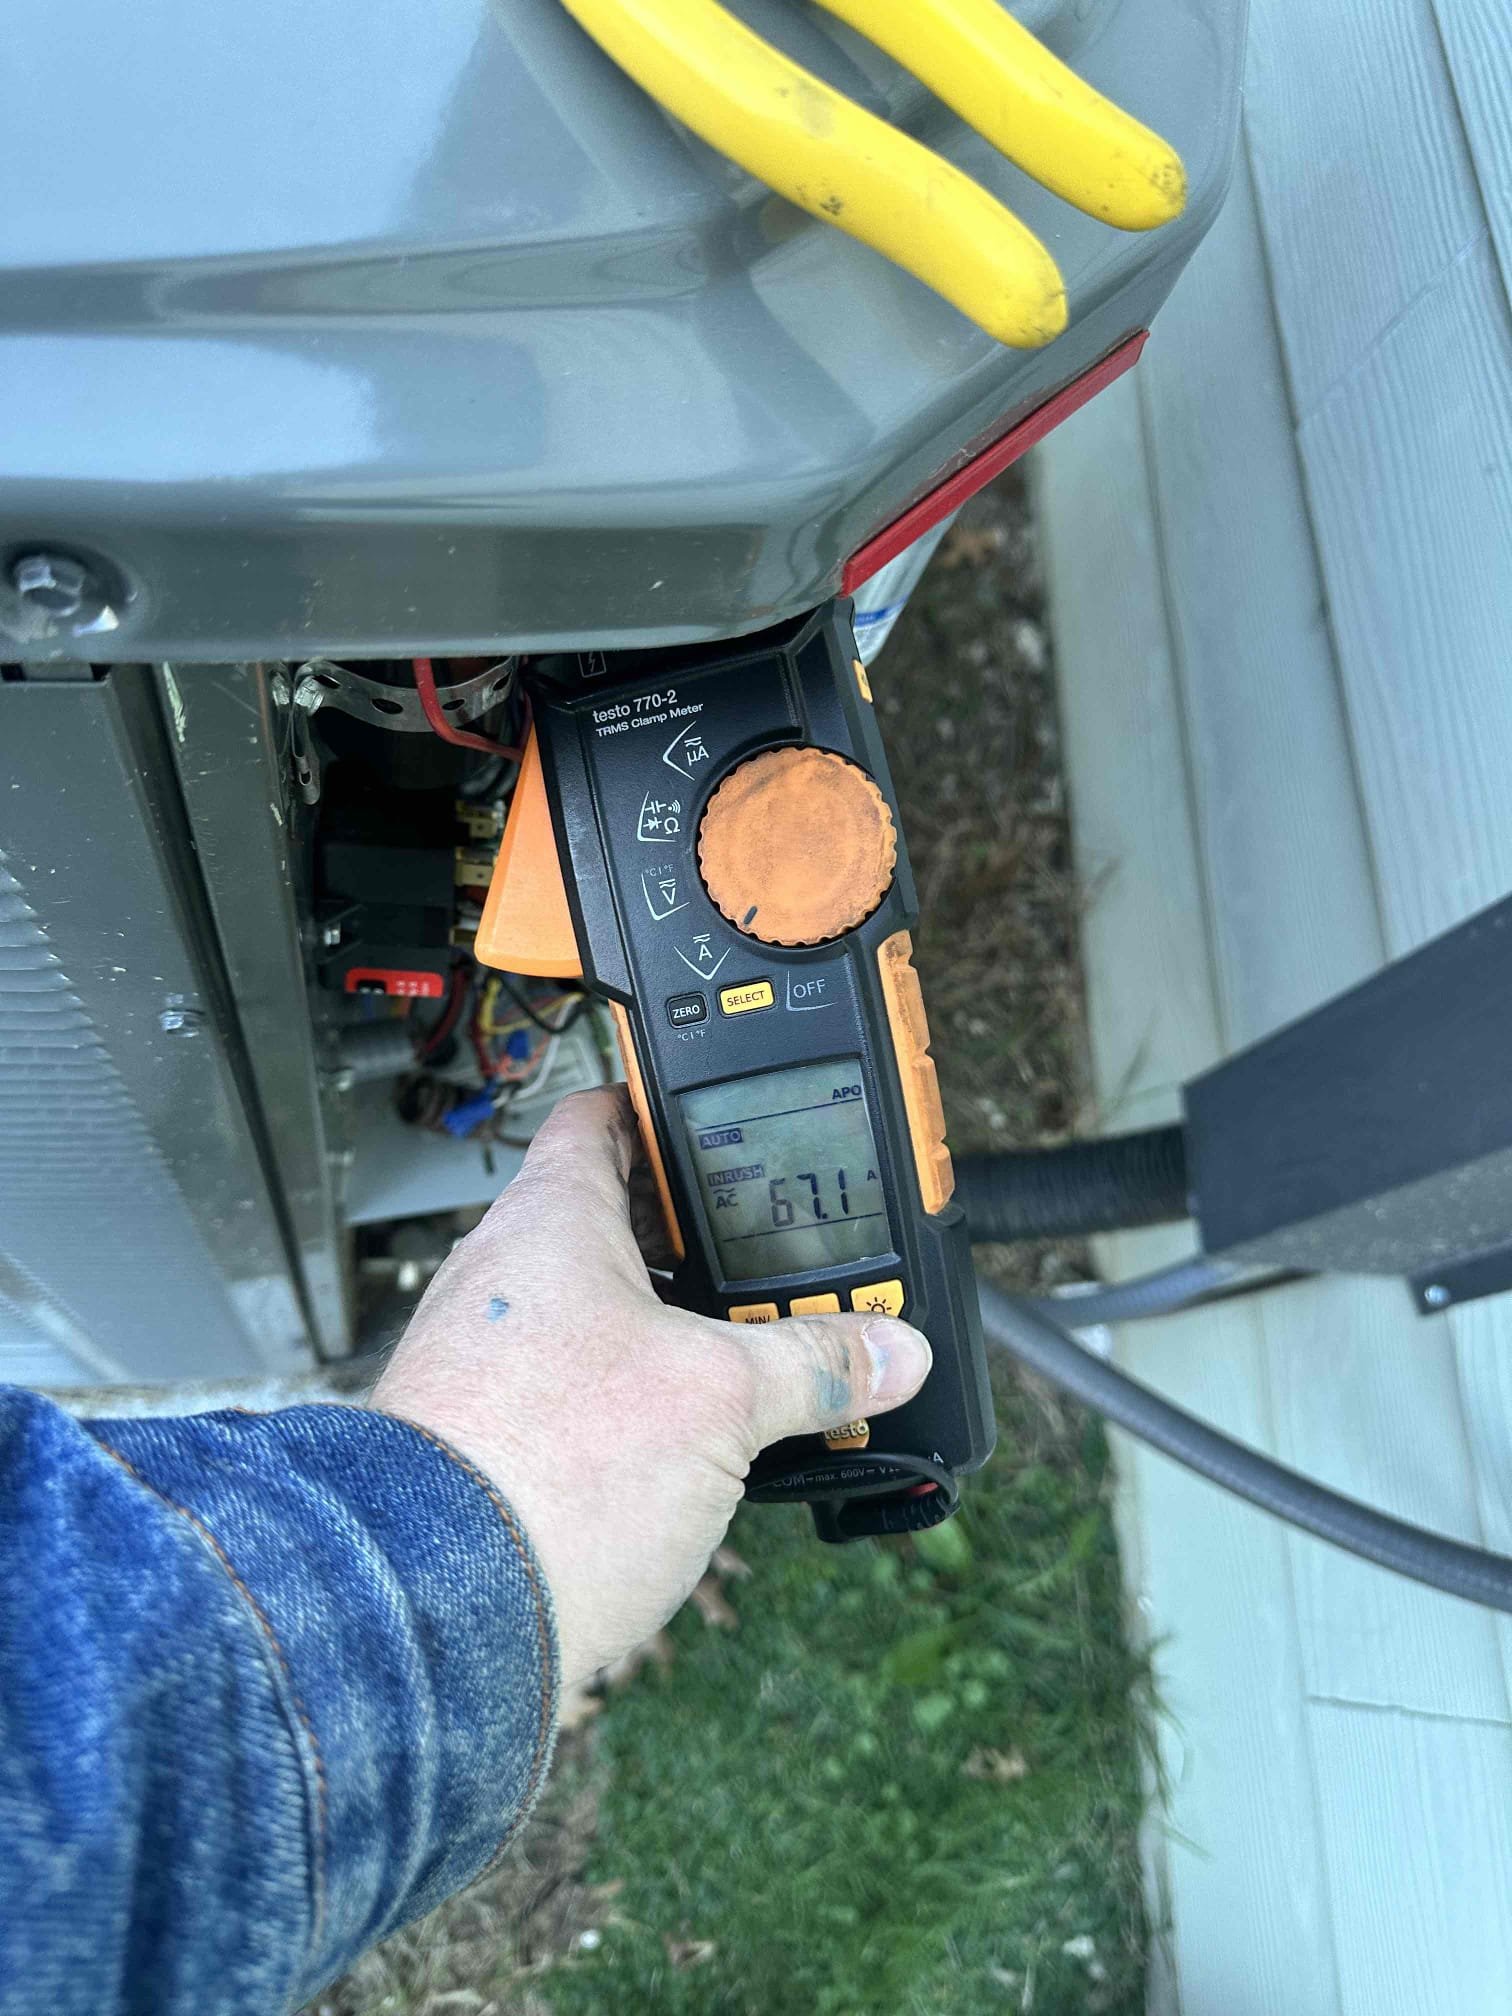
1. Visually inspected condenser coil for debris/ dirty. 2. Inspected condenser fan motor. 3. Inspected condenser fan blades. 4. Inspected/ cleaned wiring connections. 5. Tested for gas leaks 6. Tested functionality and cleaned flame sensor 7. Tested functionality and cleaned pressure switches and ports 8. Inspected / replaced return filter. 9. Inspected return plenum for debris/ dirty. 10. Inspected evaporator coil. 11. Tested functionality and visually inspected surface igniter 12. Checked blower amp draw. 13. Measured temperature differential from supply to return. 20 degrees measured. Advised homeowner we are running a special on surge protectors and they could benefit from additional protection as they said the power is shaky at times. Unit in good working order upon departure.
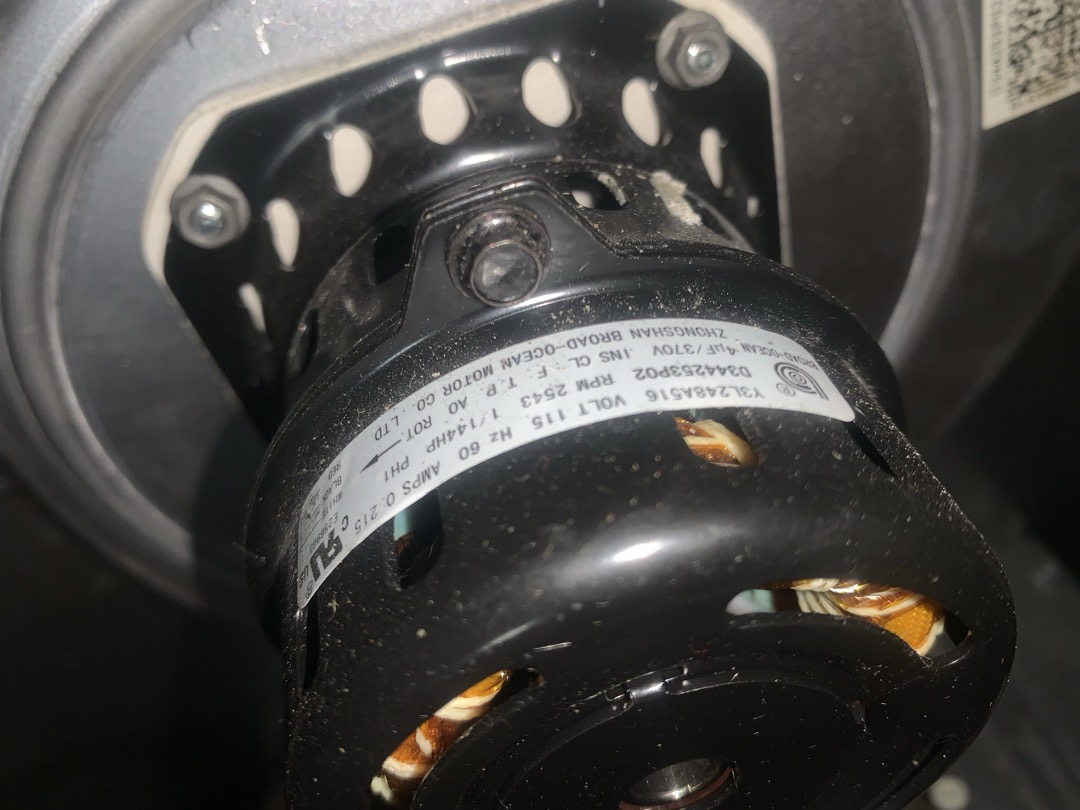
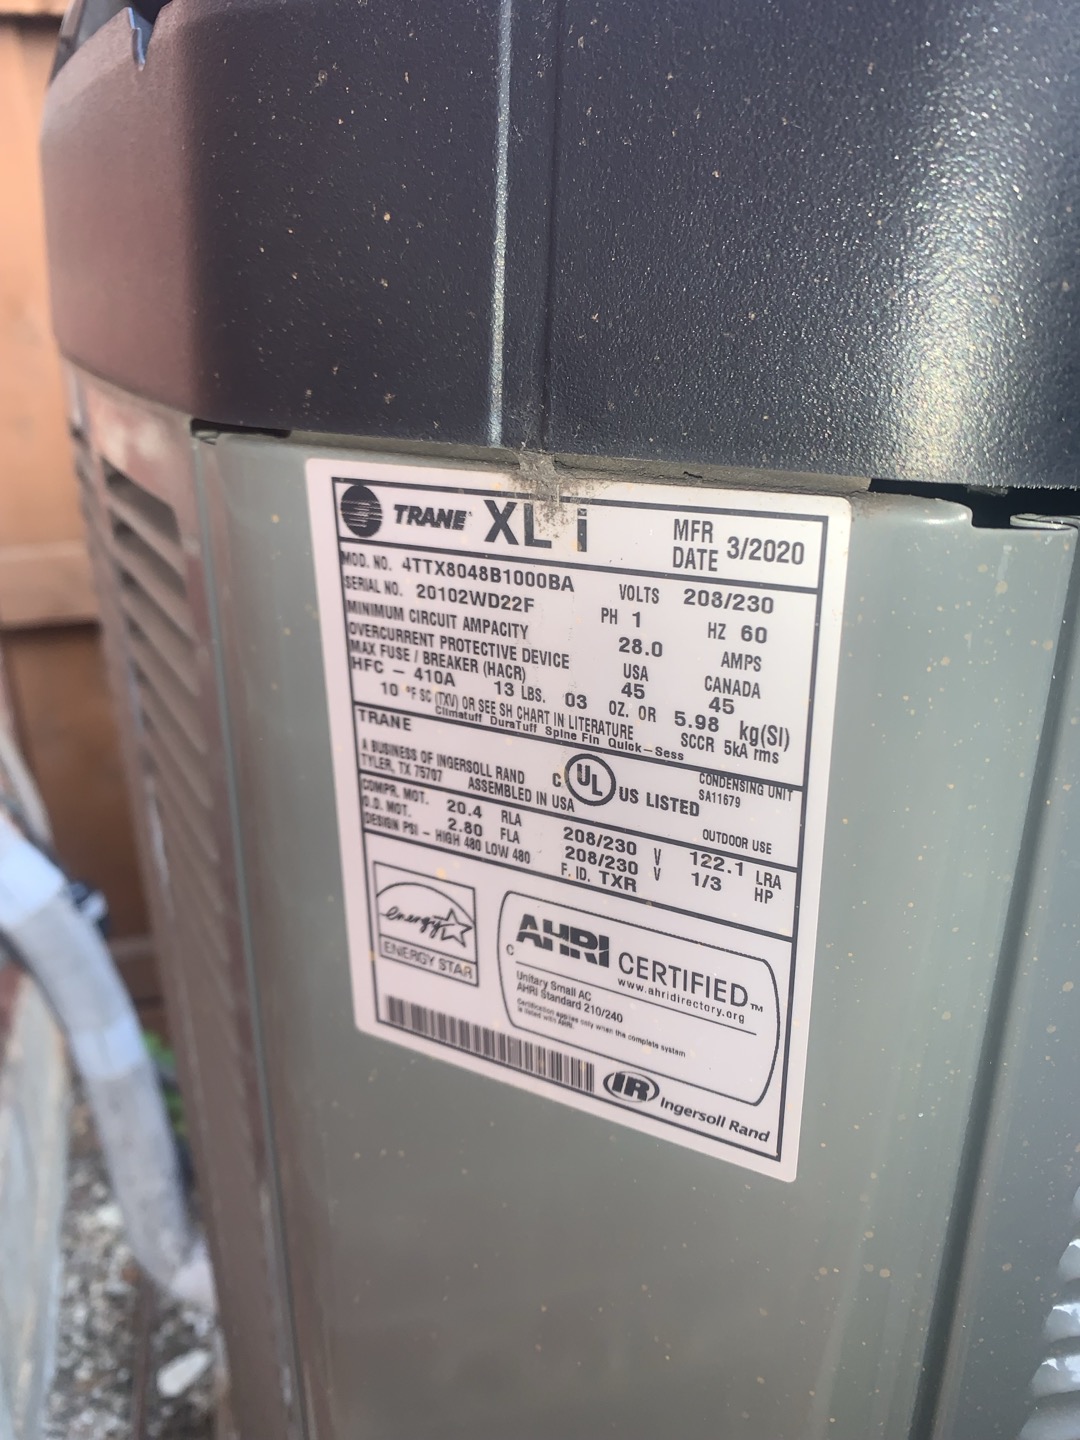
Blower Motor & Control Board Replacement (Trane Hyperion Furnace) Scope of Work: Remove and replace the blower motor and furnace control board in the Trane Hyperion air handler. Work includes full electrical reconnection, system calibration, and operational testing to ensure proper airflow and communication with the outdoor unit. Materials & Equipment: (1) OEM Trane blower motor assembly (1) OEM Trane control board Mounting hardware and wiring supplies Replacement OEM parts are not locally in stock, we will have to order them to be transferred. ETA 1 to 2 business days once estimate is approved Special Note: Due to the Hyperion cabinet design, partial disassembly of the unit is required to access and remove the blower assembly. This process ensures proper installation and alignment of the new motor and components.
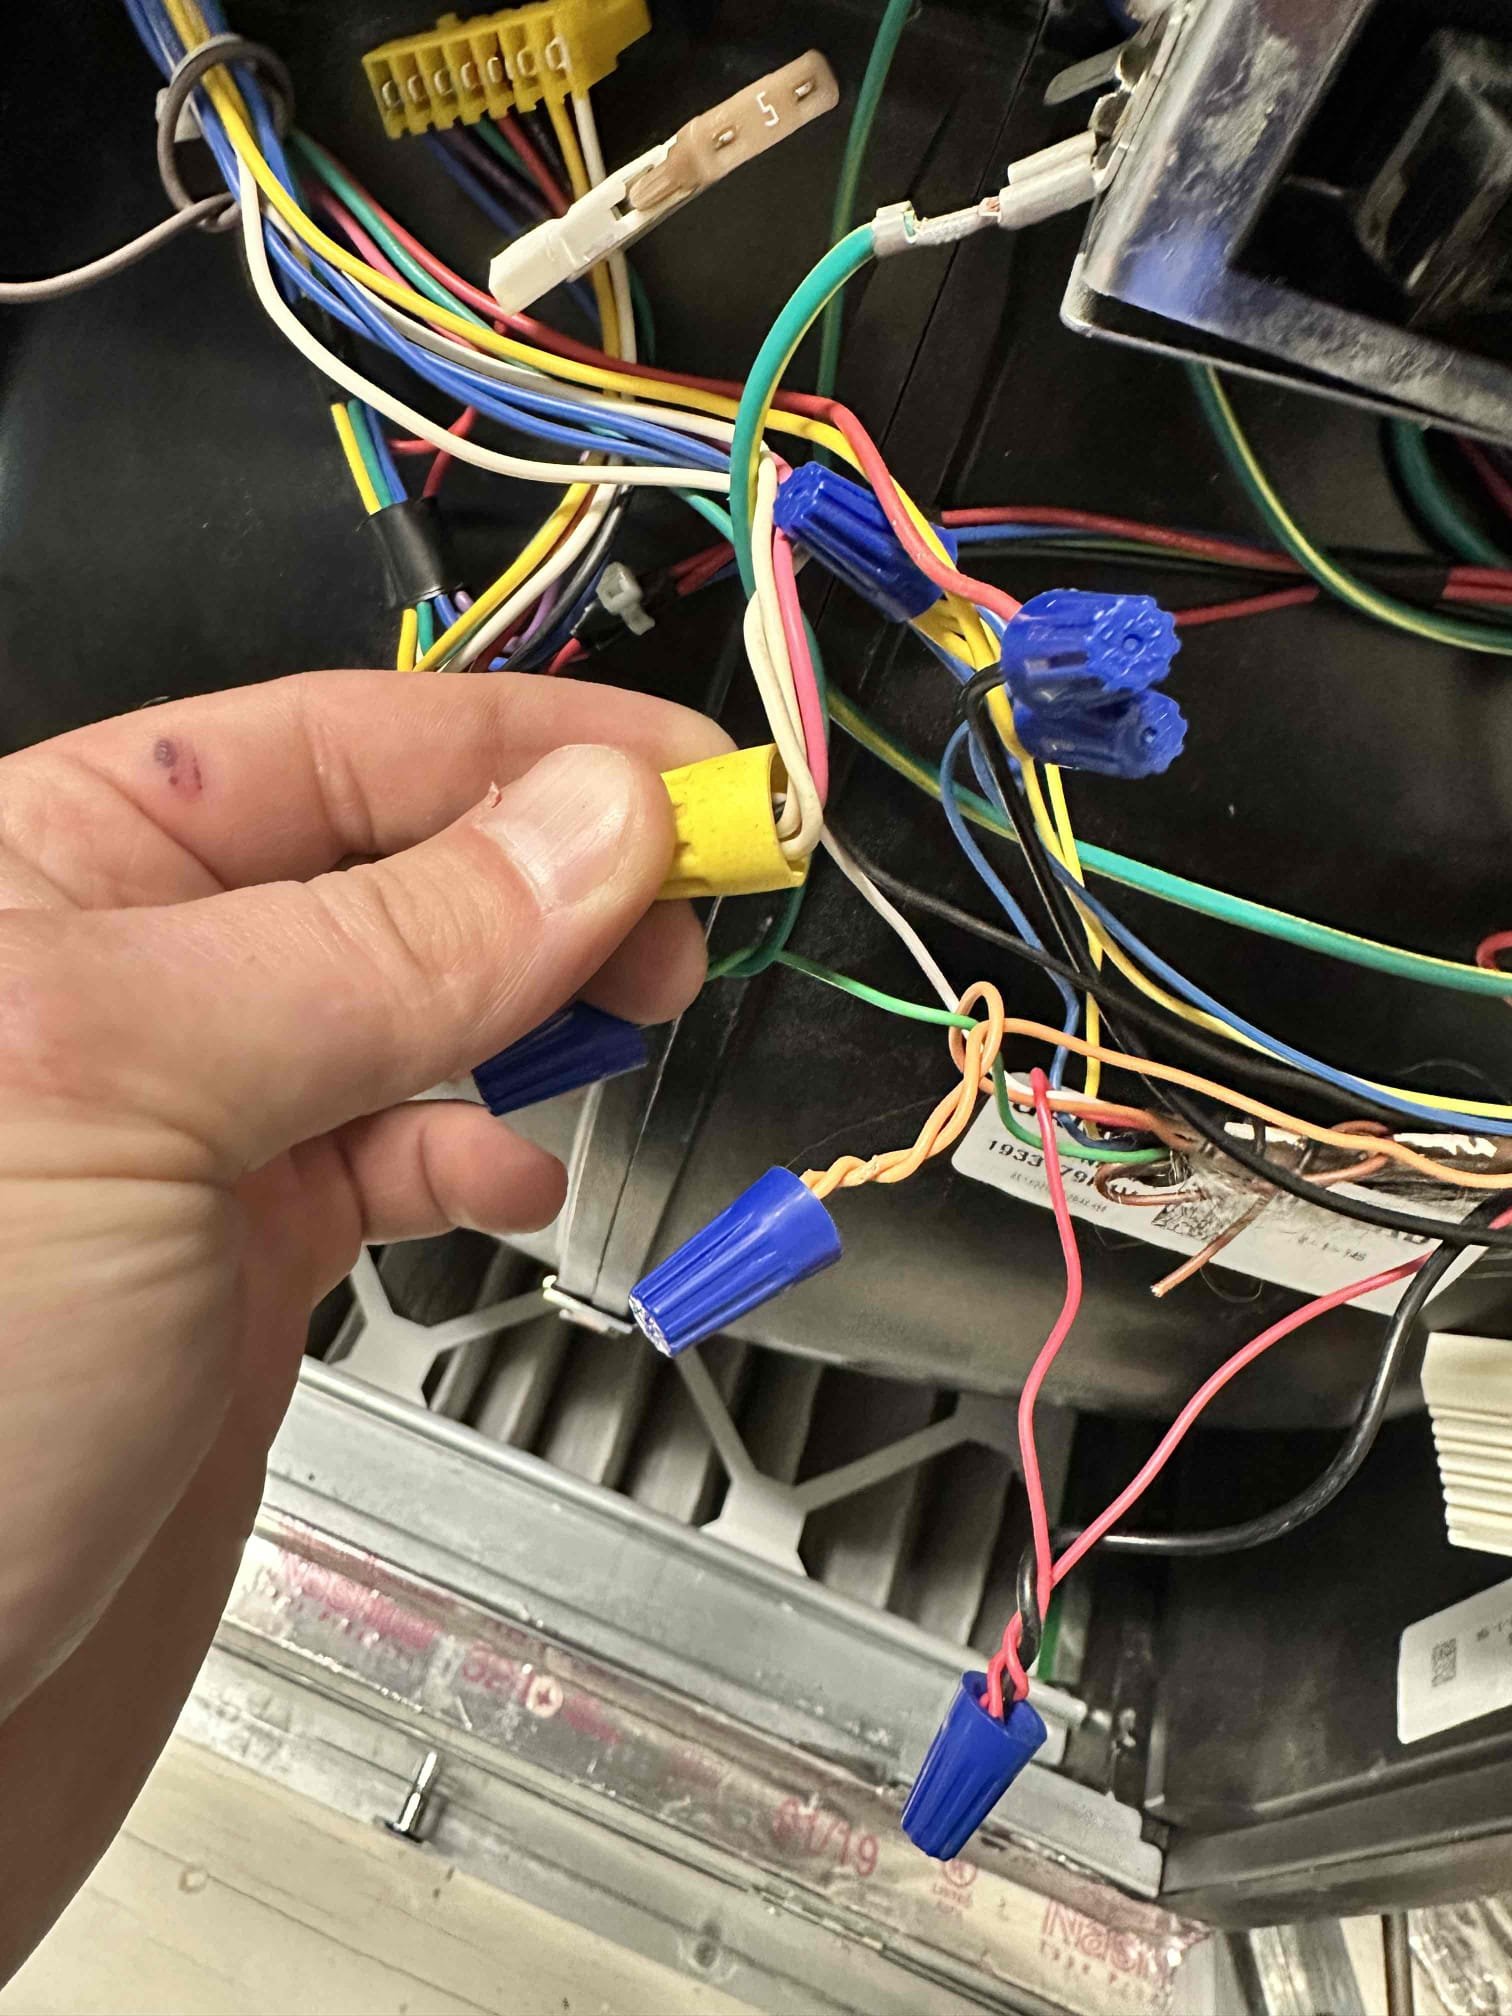
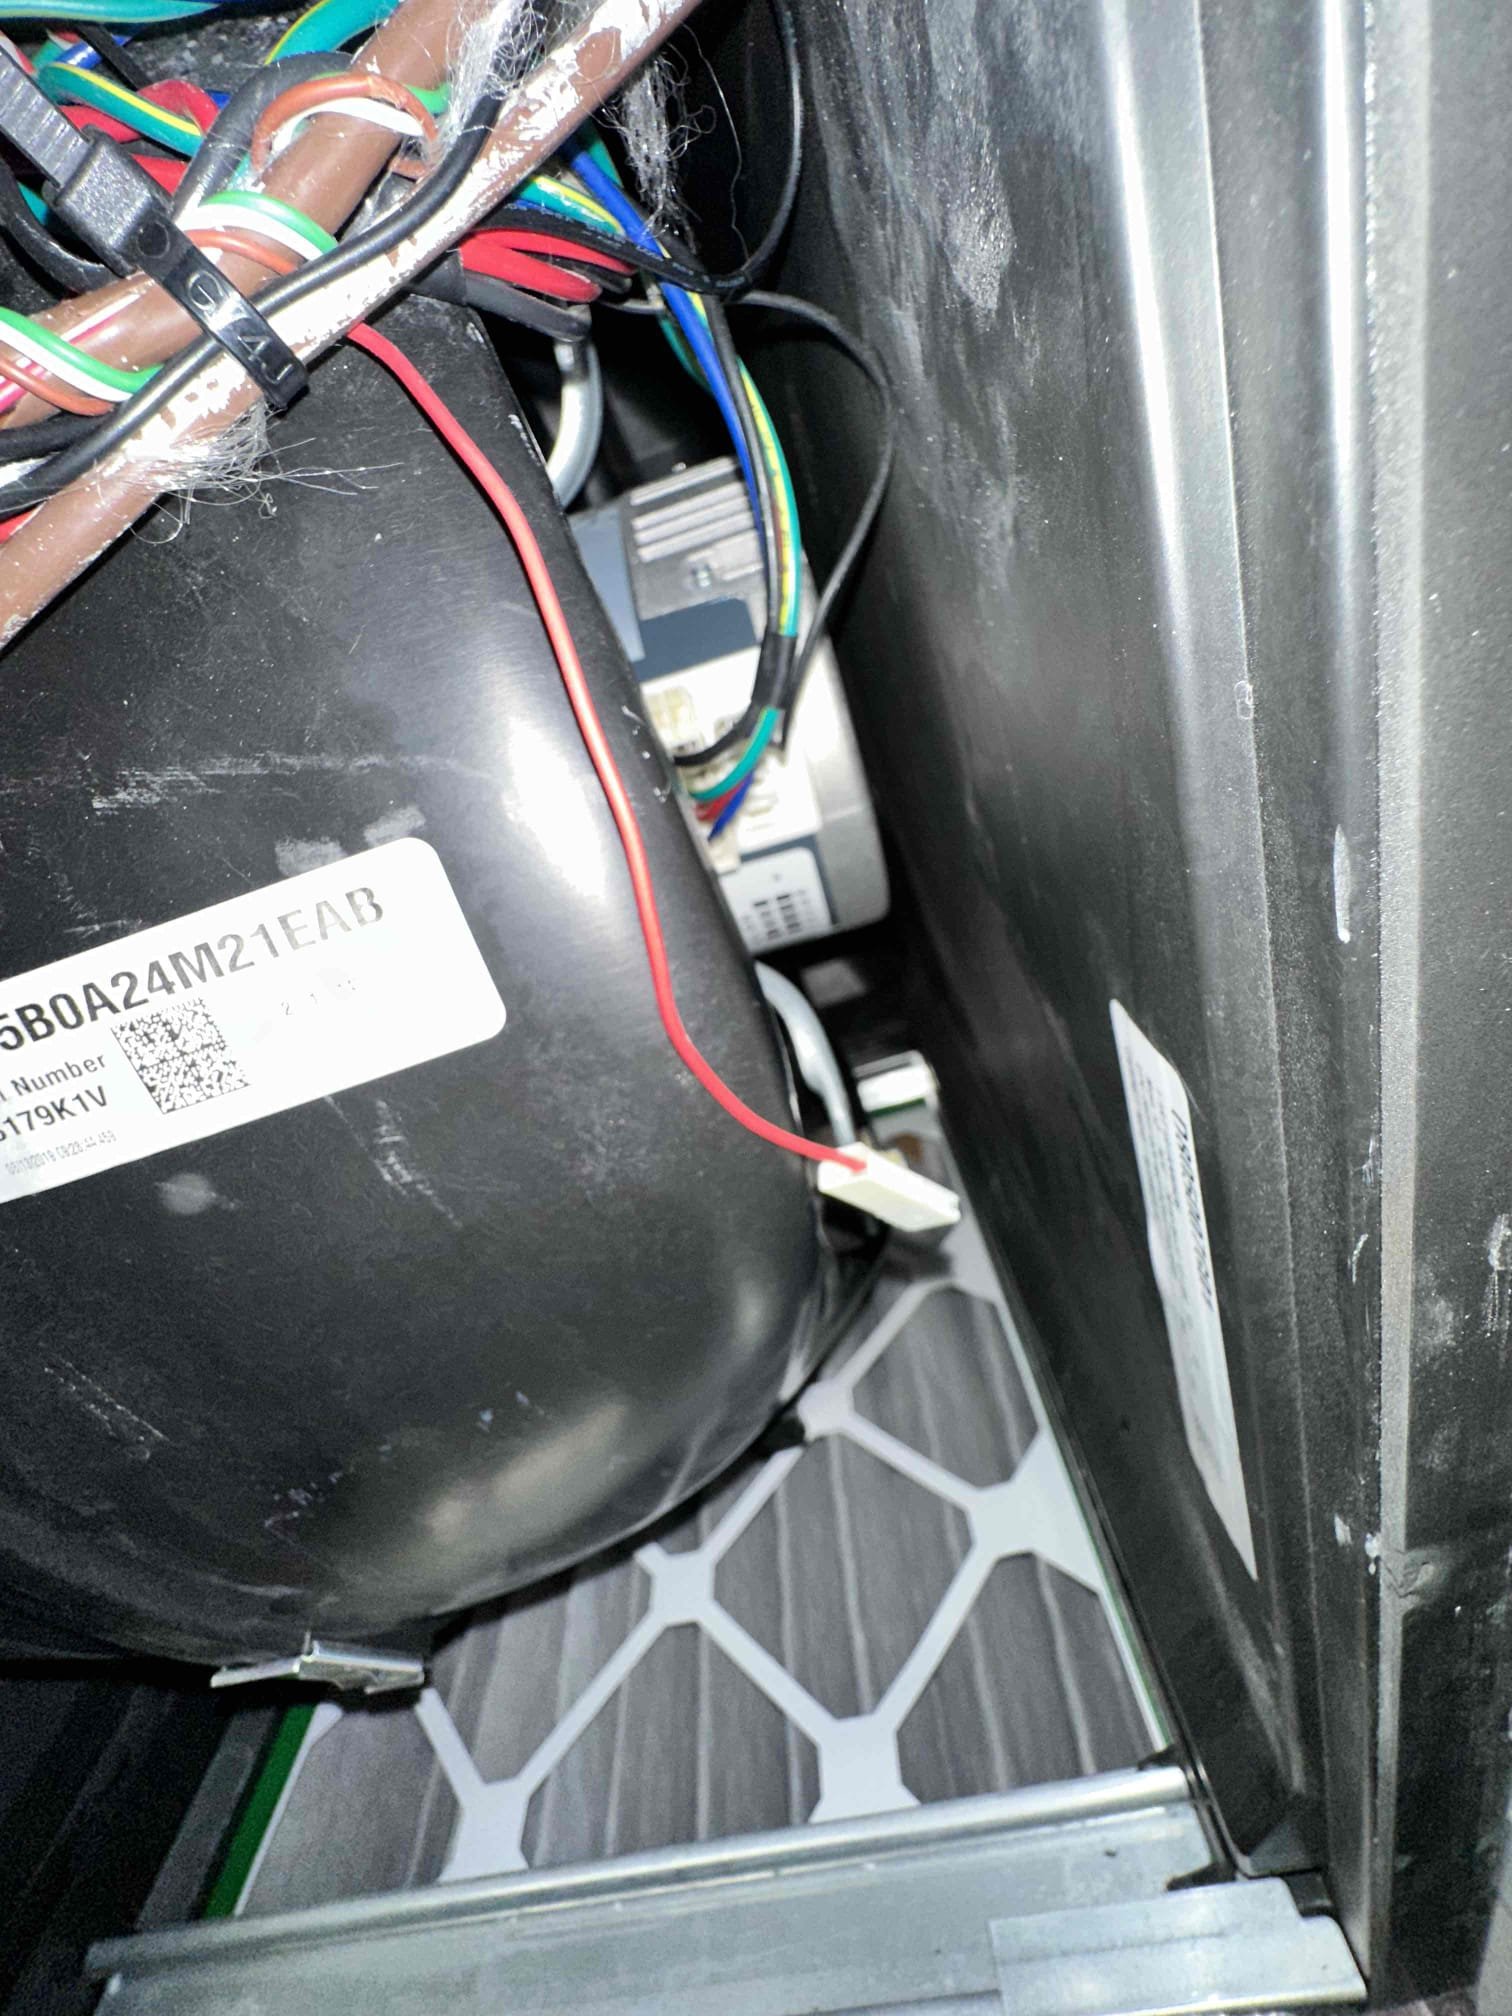
Arrived on site for control board replacement and QC. Replaced control board under warranty. Started inside at t-stat (Trane) turned system down to check over unit. System is level all wiring is good no error codes. Getting over 20 degree temp split. Drain line is draining at this time. System is clean and operating as designed. Outside unit is level all electrical components are good and tight. All components are operating as designed. Pressures were within manufacturer specifications. Tested normal heating operation and found no issues. Assisted homeowner in connecting to thermostat to Wi-Fi and to the app. Also showed homeowner how to replace filter. Discussed surge protection with homeowner not interested at this time. System in good working order upon departure. Thank you for your time.
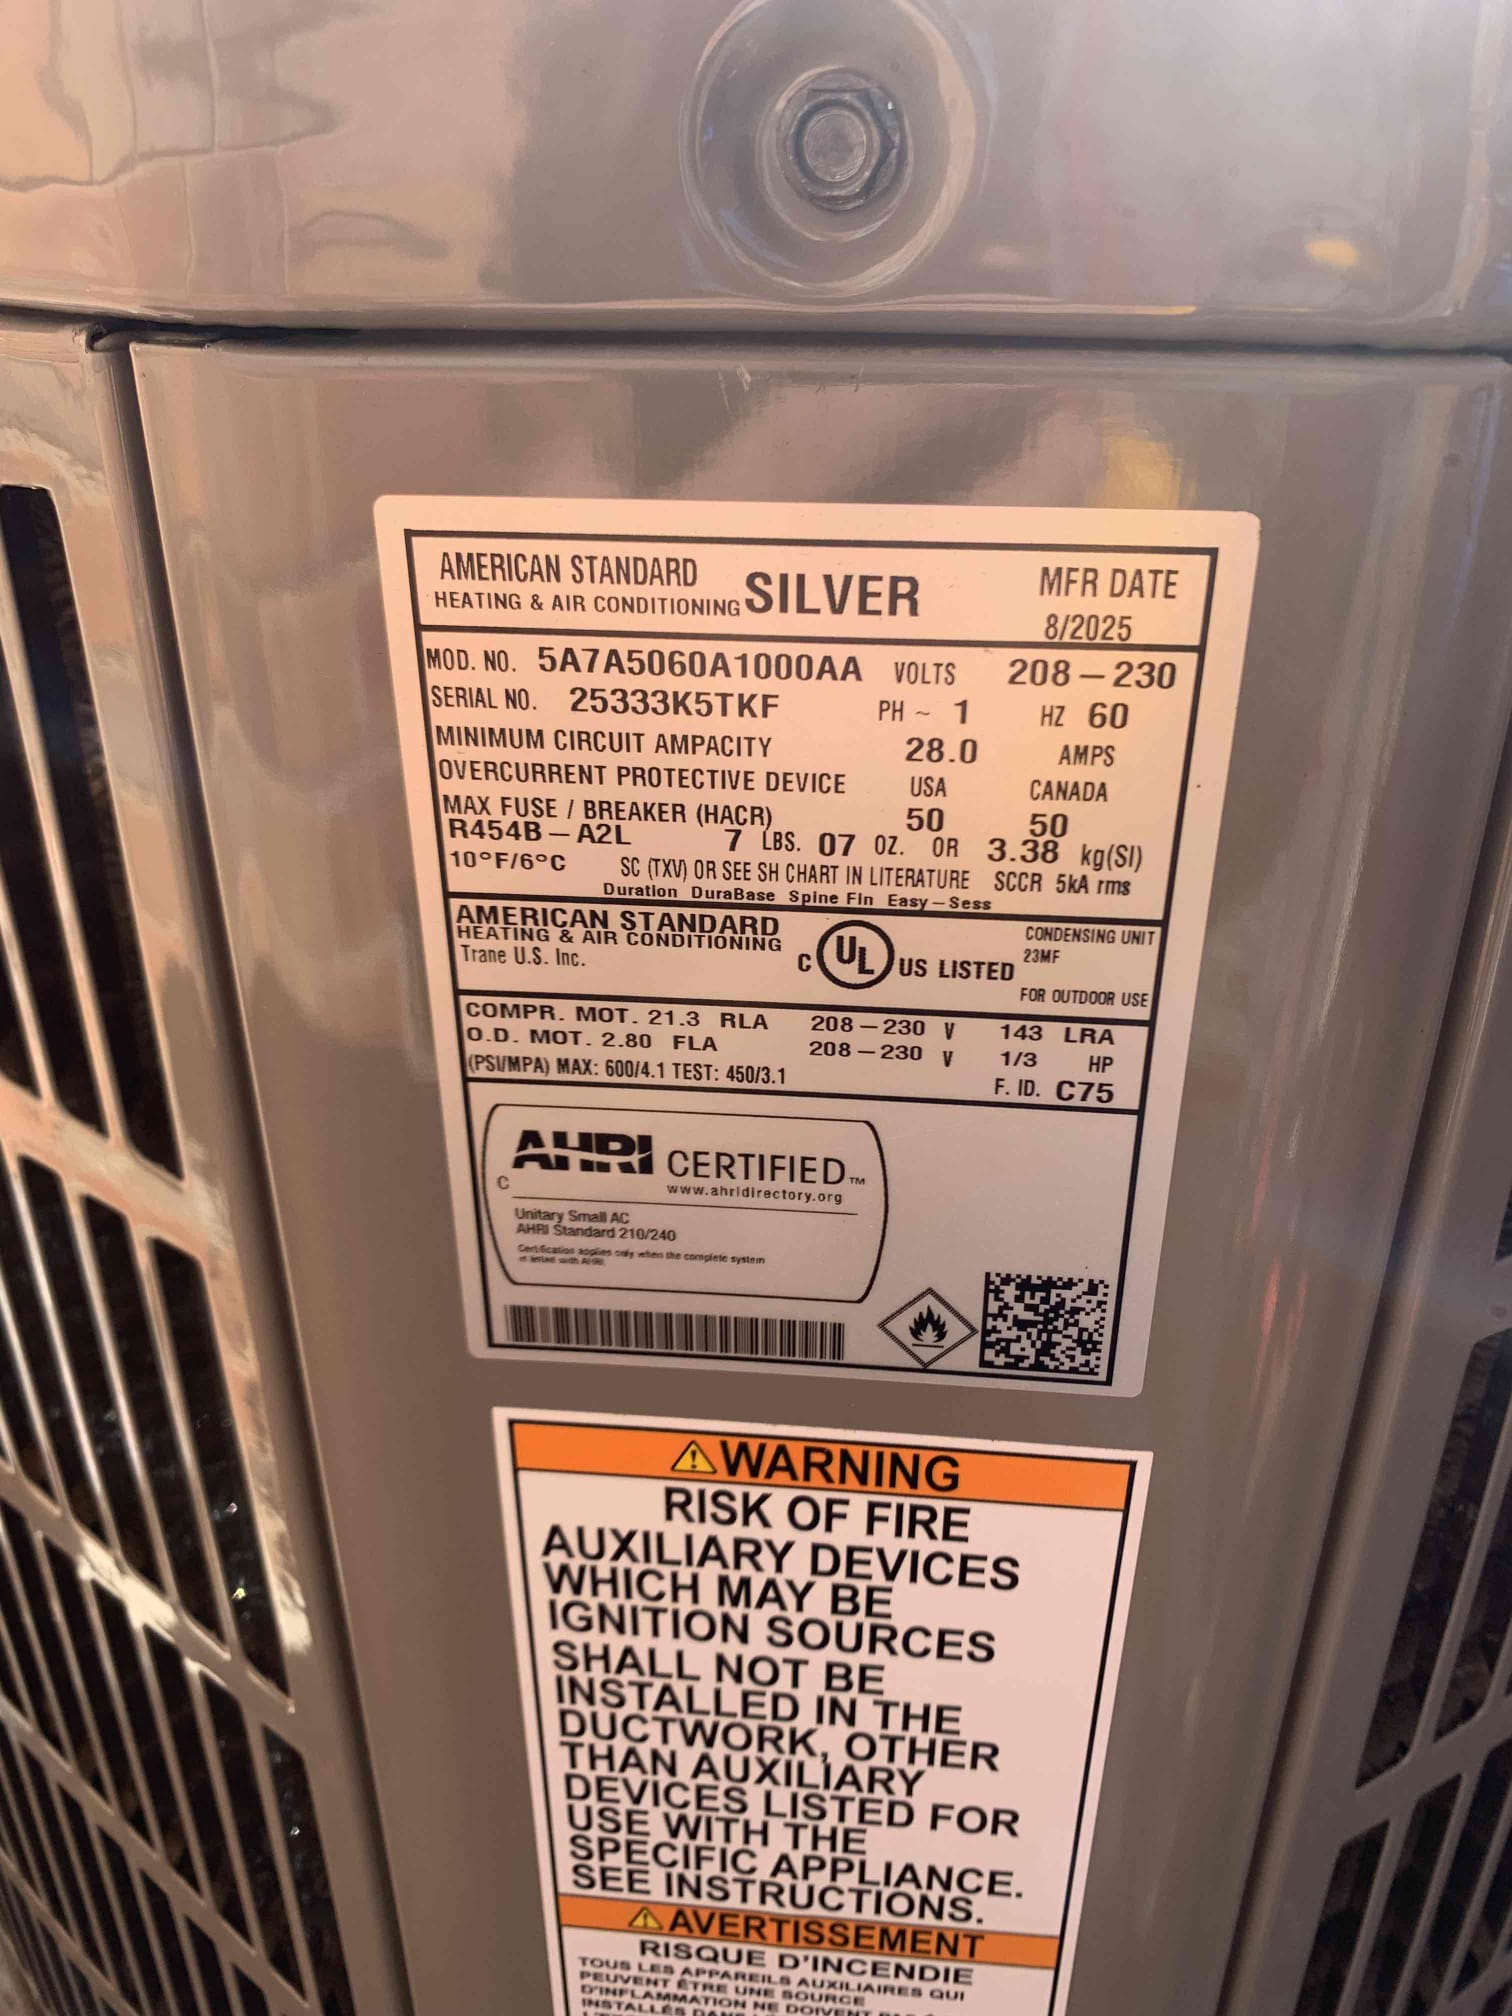
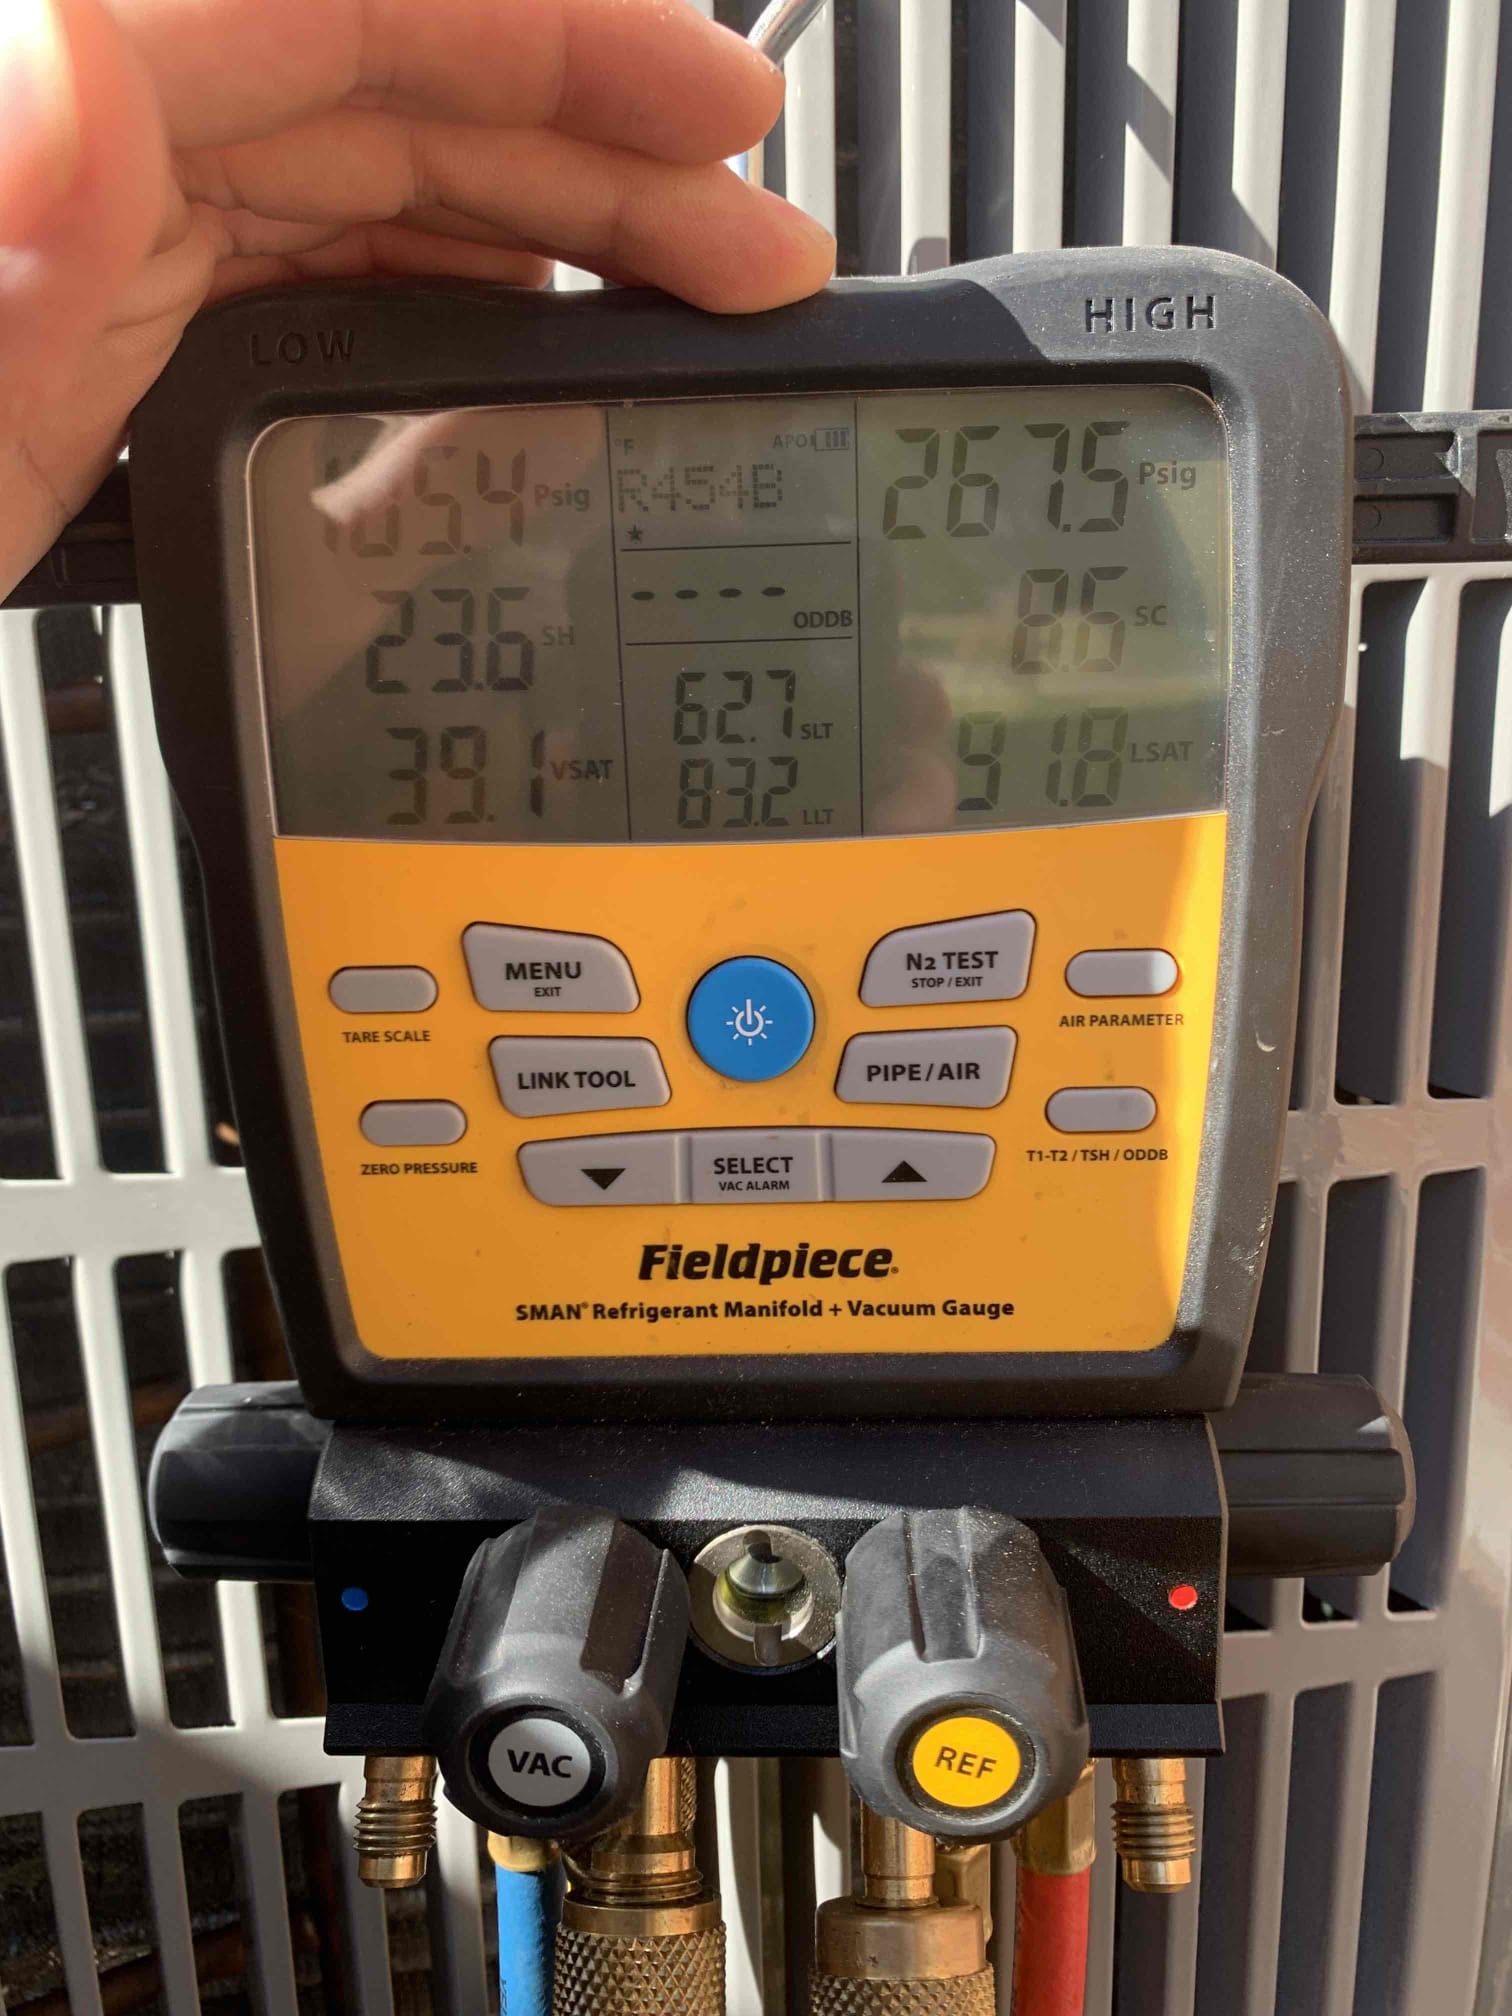
Arrived on site for no heat on 2025 Trane furnace. Turned on heat in order to test unit. Blower and inducer were running, however the heating cycle would go no further. Checked all plugs and connection and found nothing of concern. Tested rollout switches, temp limit switch and blower sensors for resistance and found no issues. Found E04 error on control board. Measured voltage on pressure switch and measured nothing. Tested voltage on plug into board from pressure switch and measured nothing. Also found bent burner and I was able to bend it back into shape. However it is not perfect and will need to be replaced. Spoke with Trane tech support and he advised me that the control board was bad and would need to be replaced. Upon reassembling the unit and powering on the unit completed the heating cycle without issue. This leads me to believe it is an intermittent issue that could come back. To be proactive about the situation we will go ahead and replace the control board to prevent futur
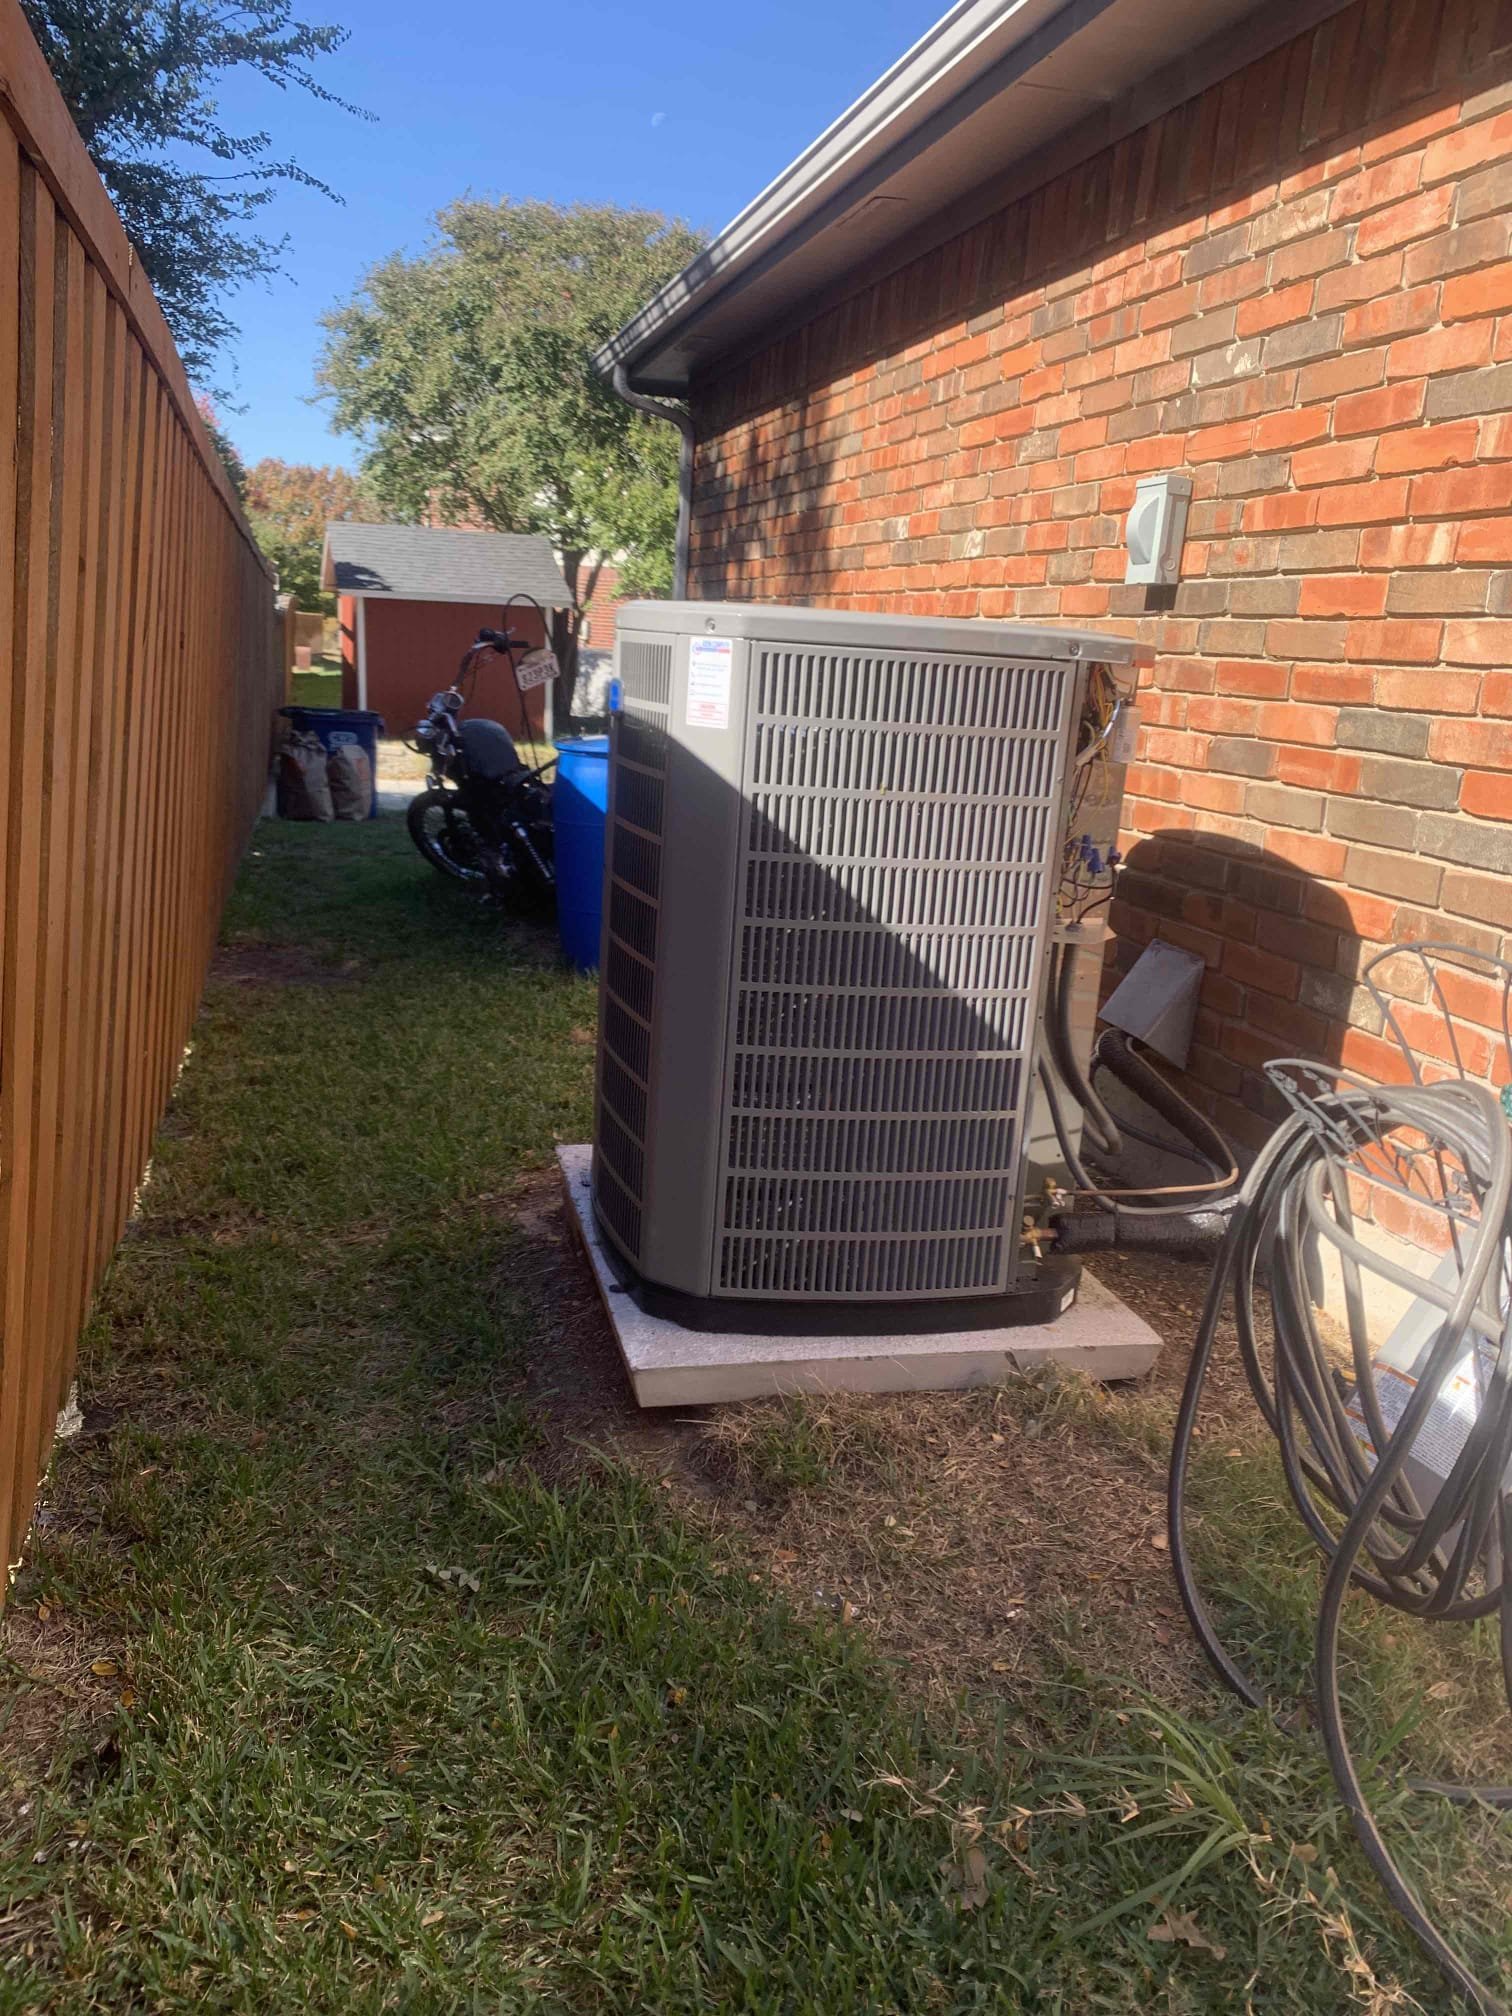
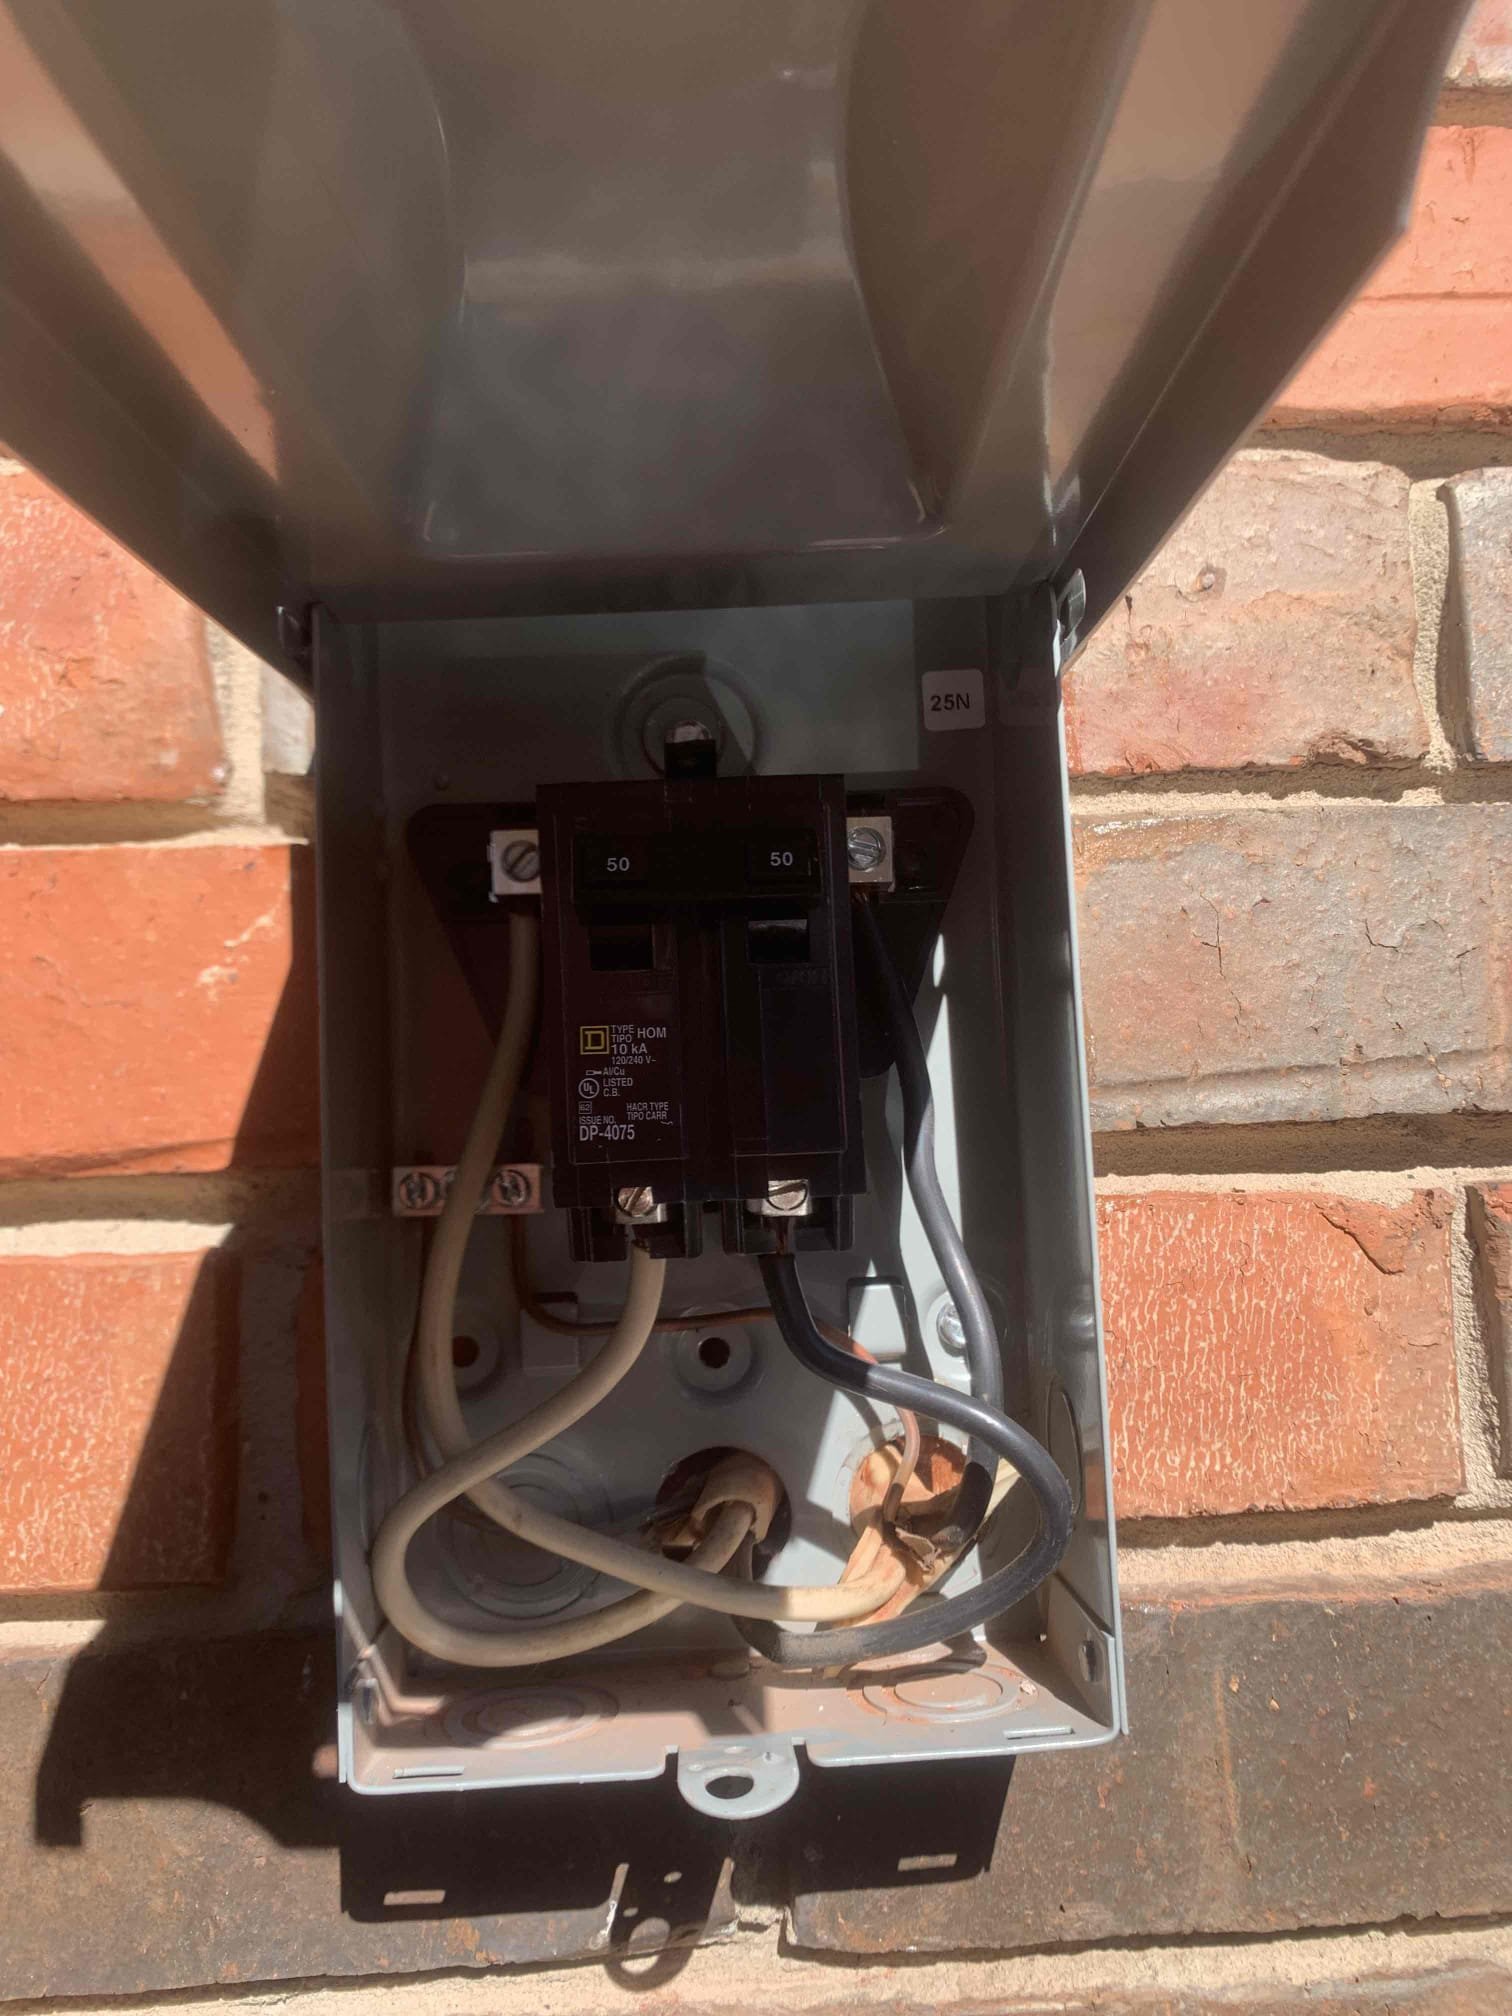
Upon arrival, I found that it was 66 degrees in the gym area with the thermostat set to 74. I proceed to test the system is cooling and found the blower motor was no longer turning on. I verified I was getting voltage on the fan wire. This indicated a failure with the blower control/motor. We will reach out the trane to verify warranty tomorrow and produce pricing for the repair. The issue is not related to the previous work provided.
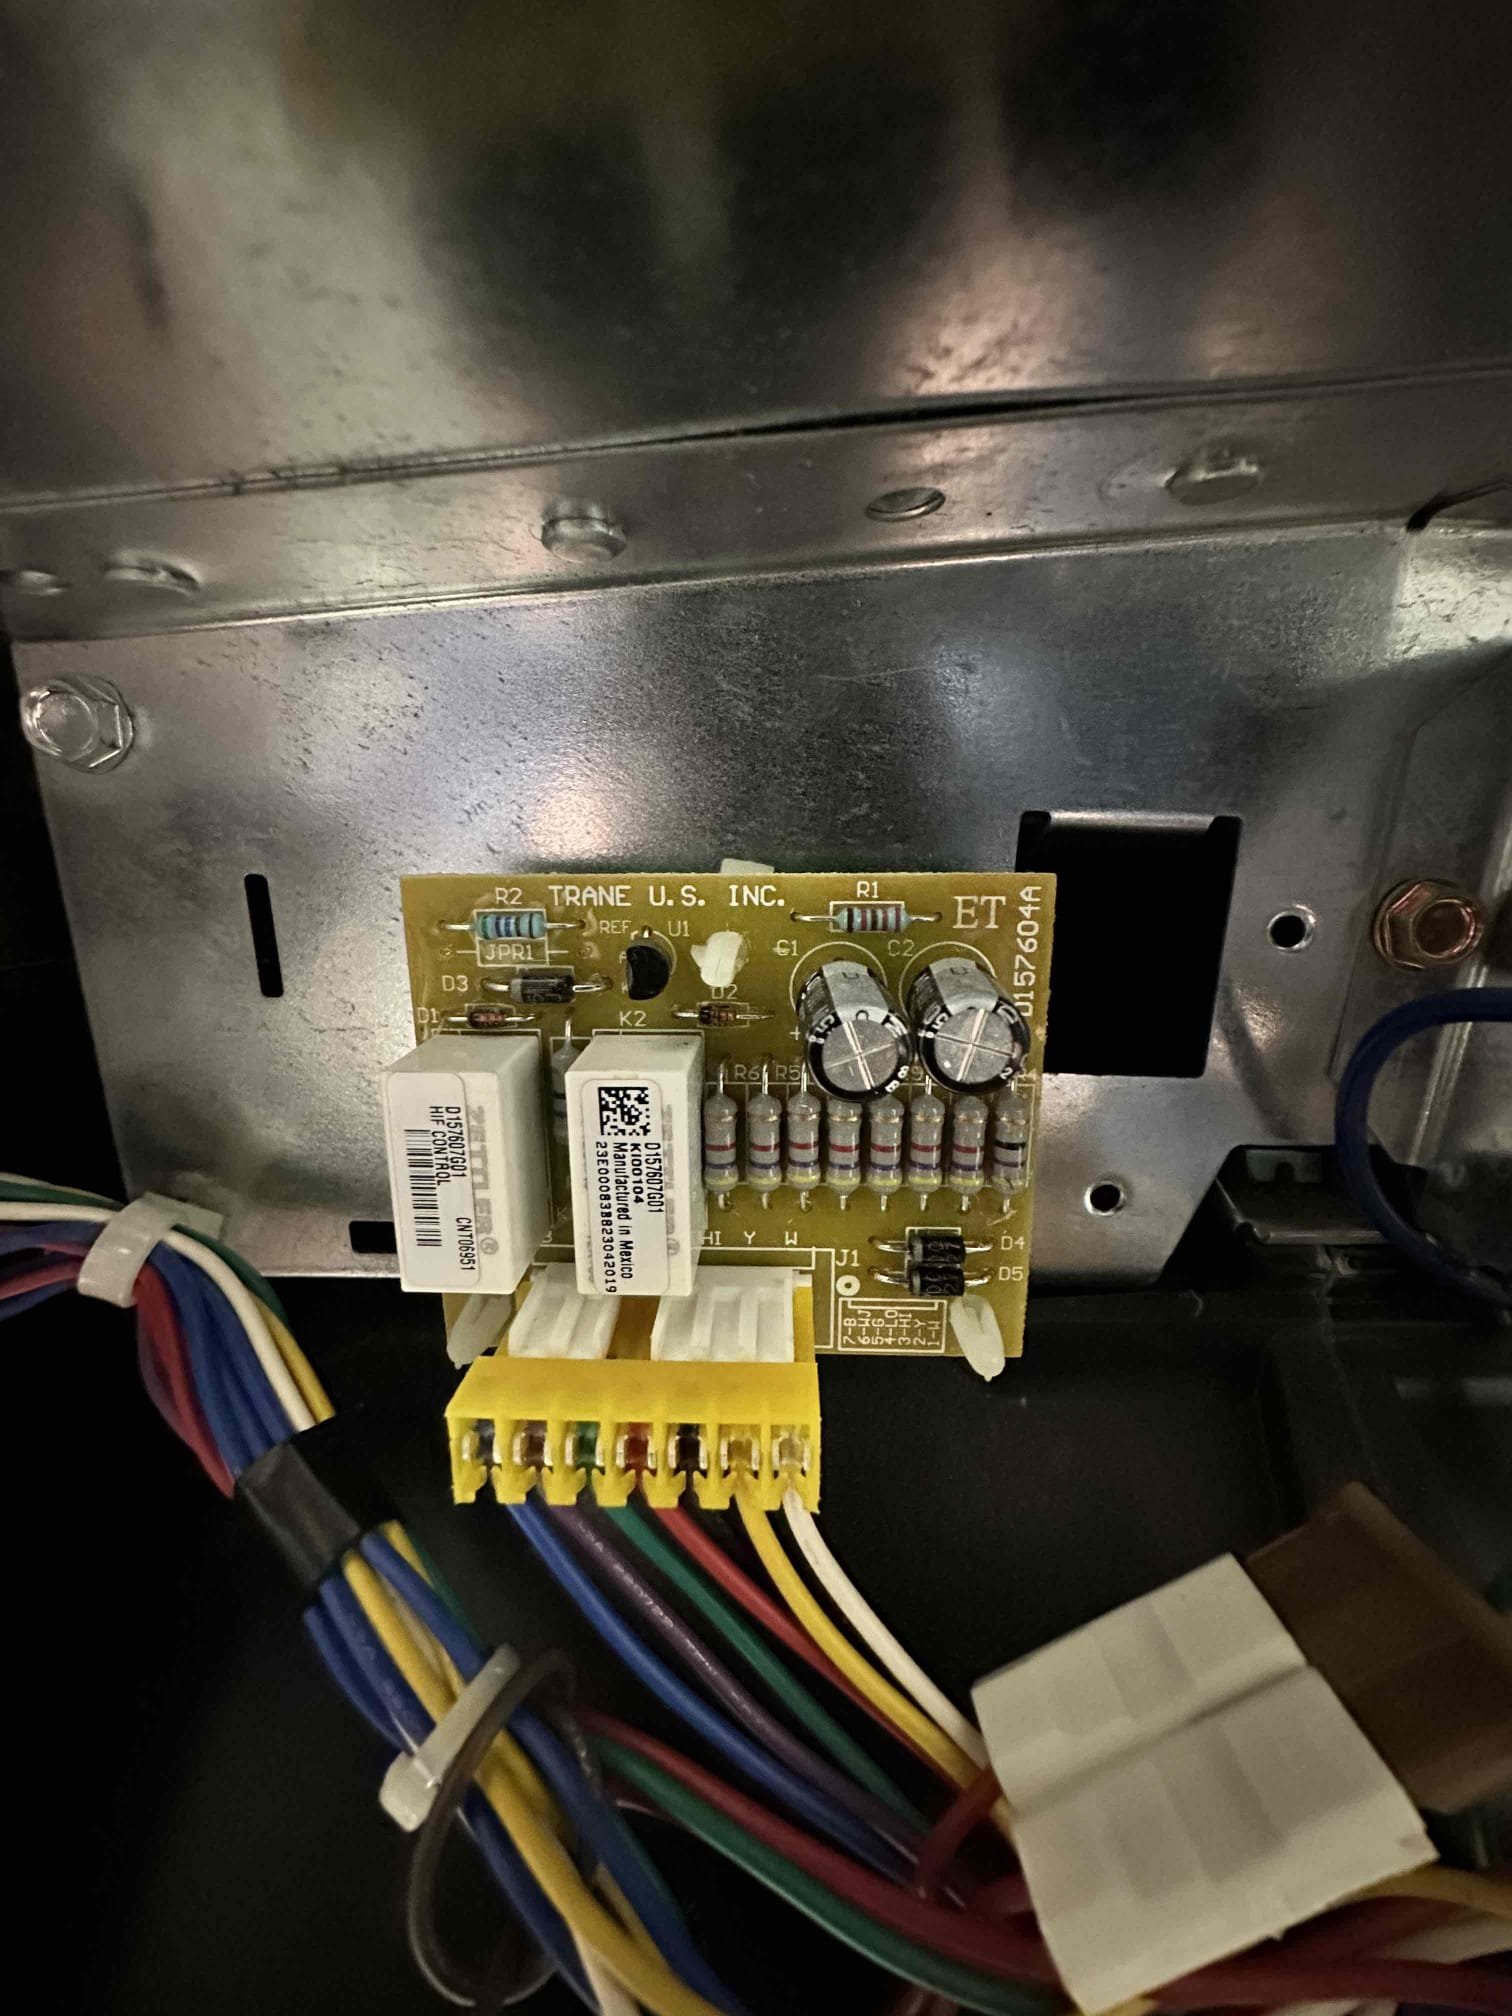
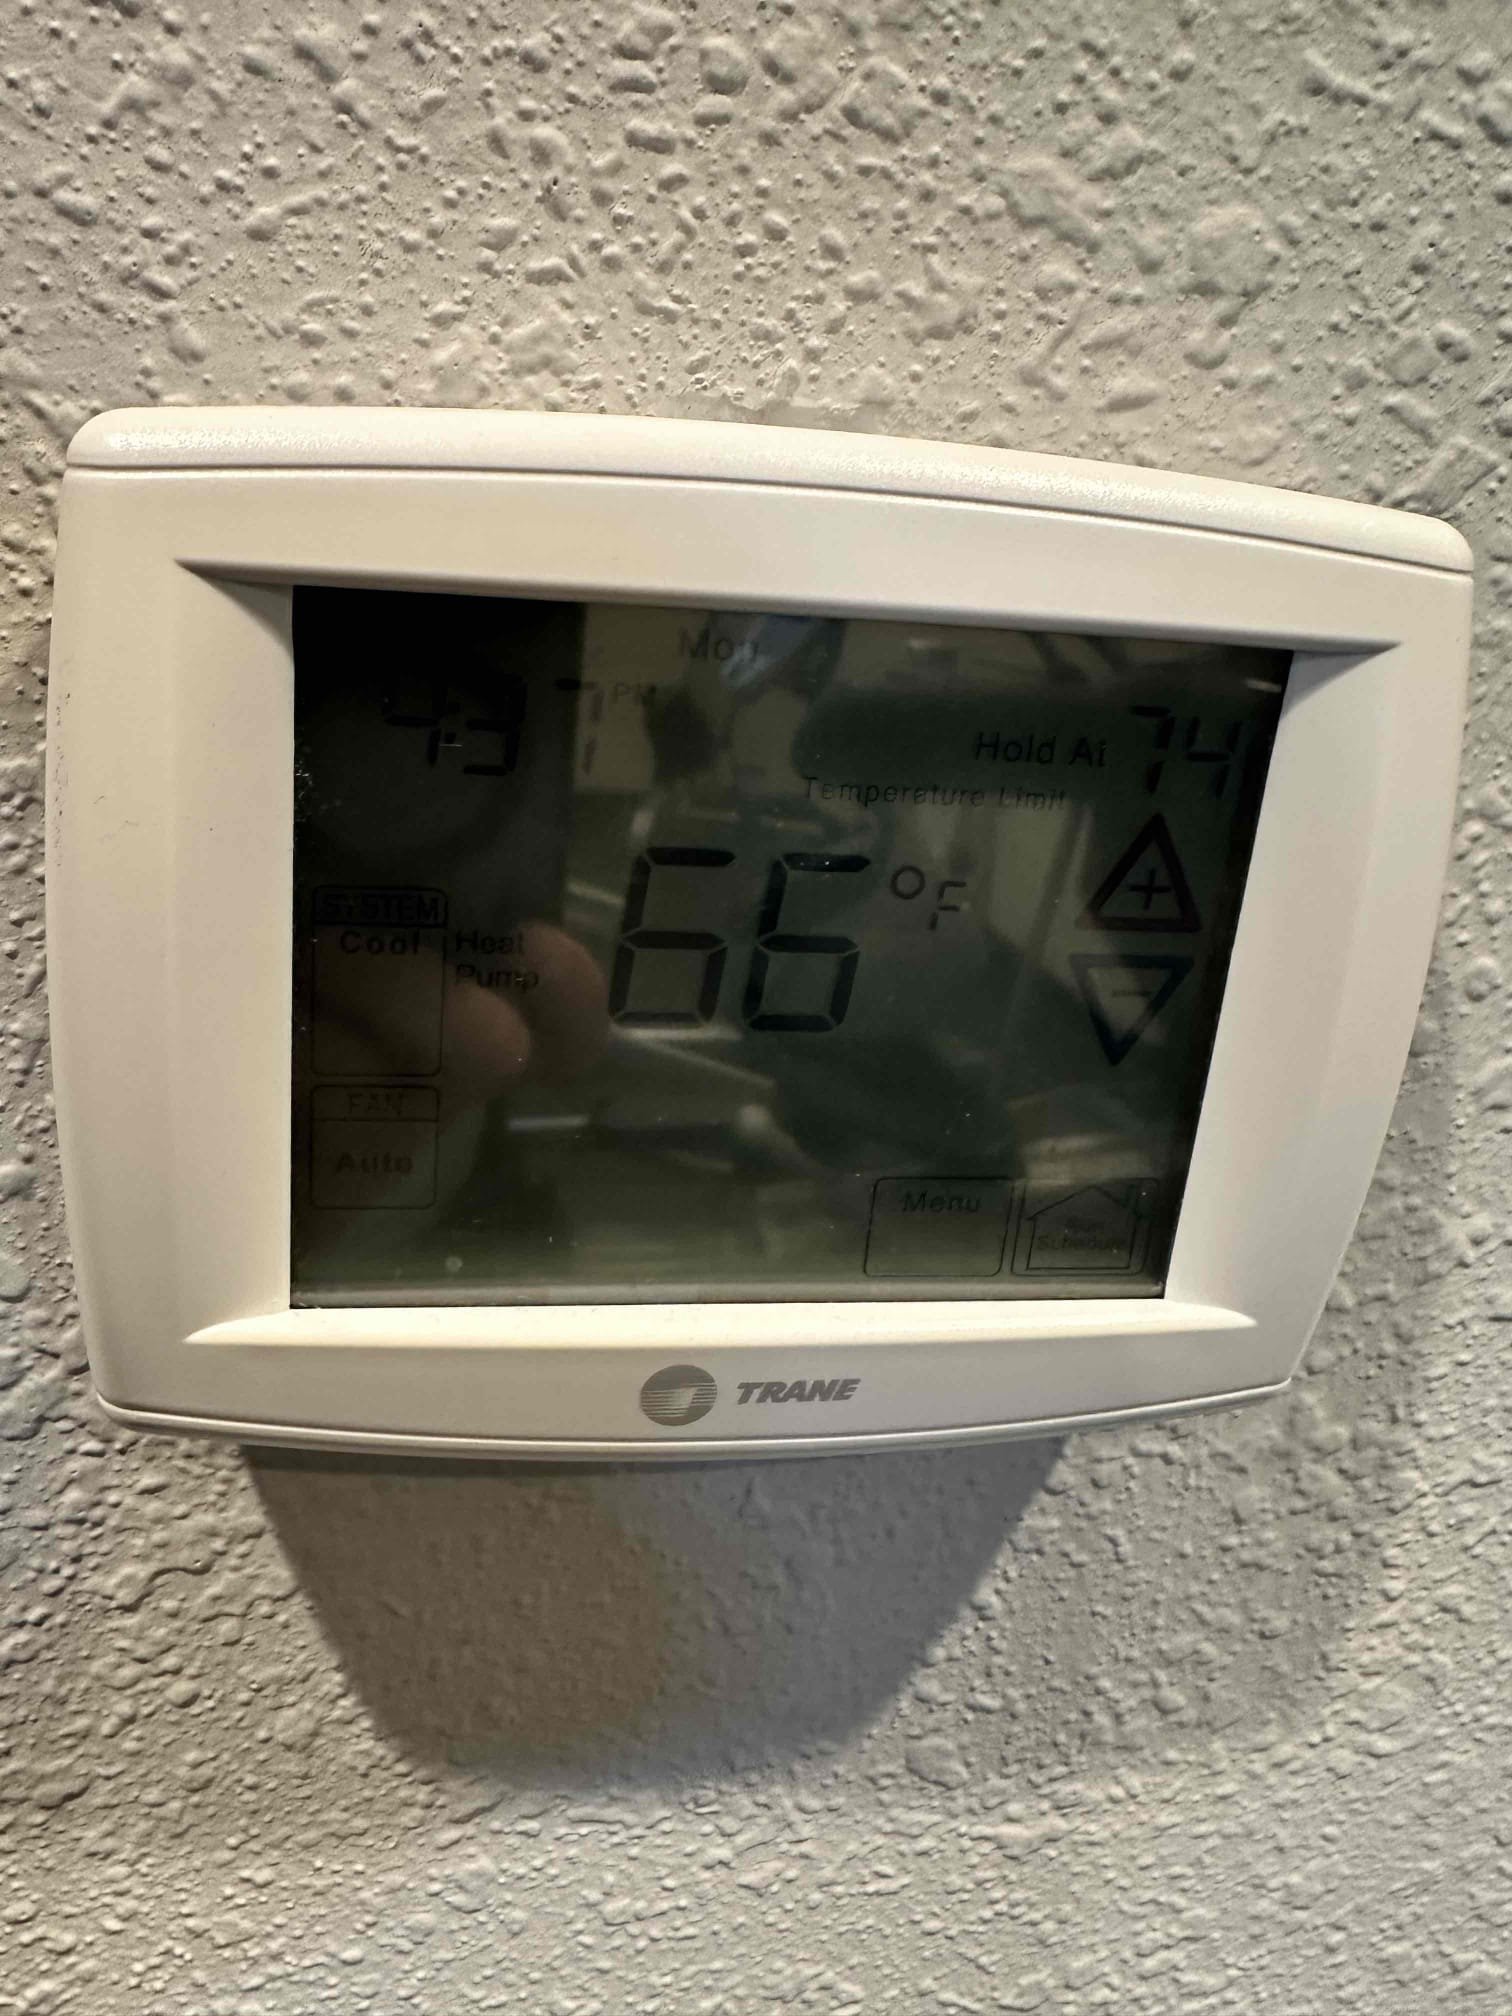
Upon arrival I found that both system’s drains are tied together. This resulted in the float switches to become tripped and shut off the cooling. I reached out to Brandon and received approval to clear the drains. I took videos, cleared the drain, and tested it afterwards. The systems are back to cooling properly. I was instructed to invoice it and send it to Brandon.
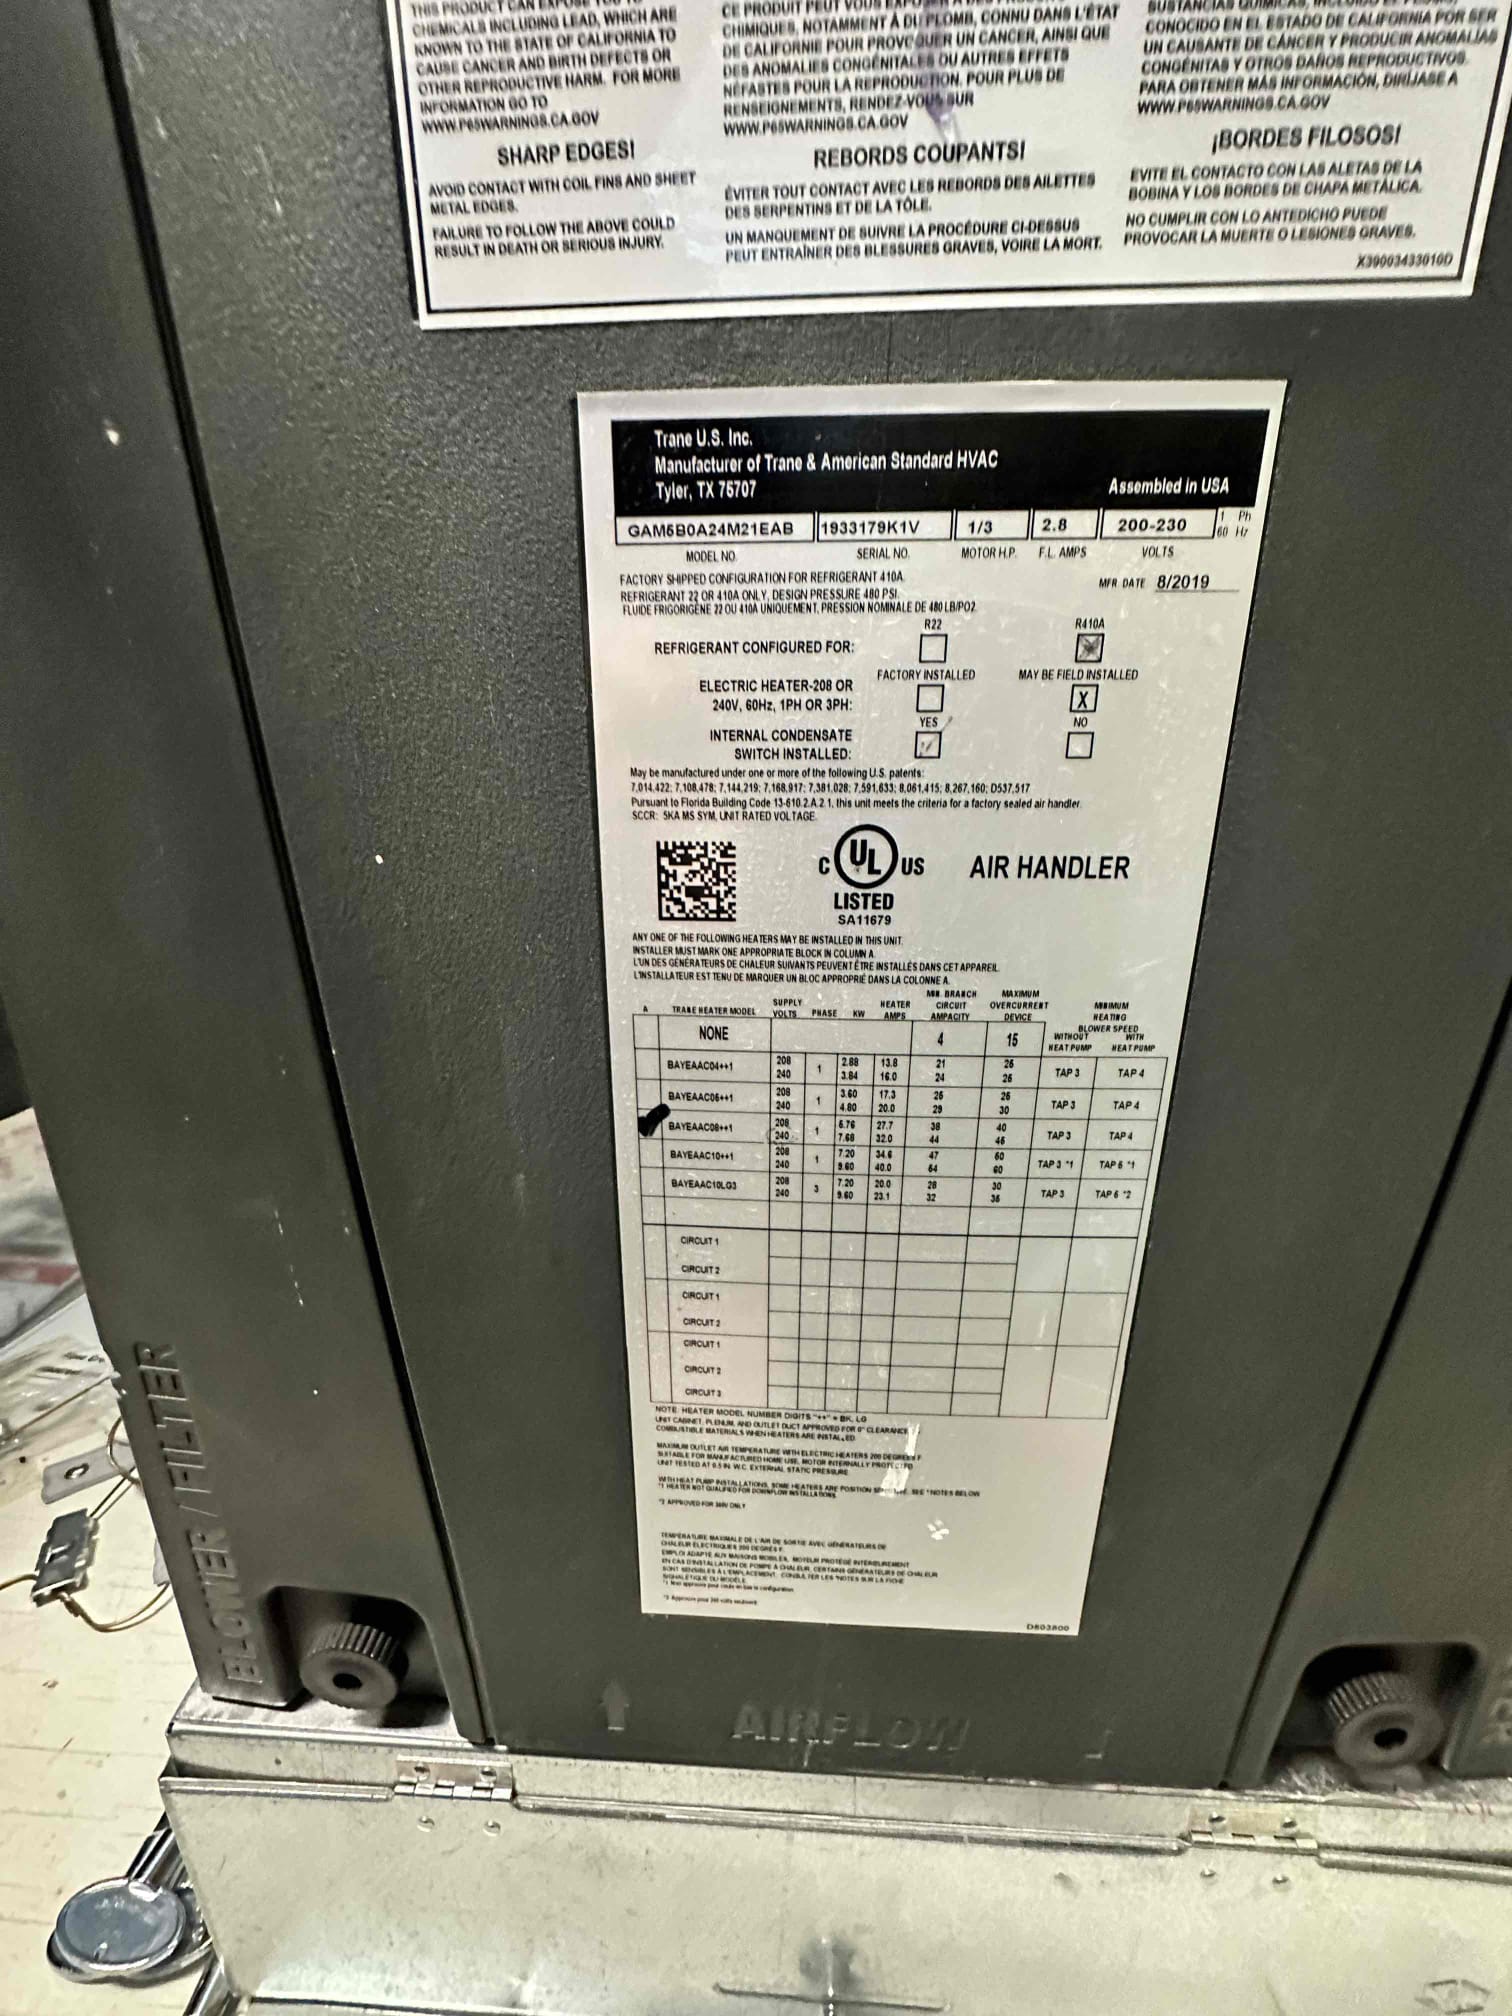
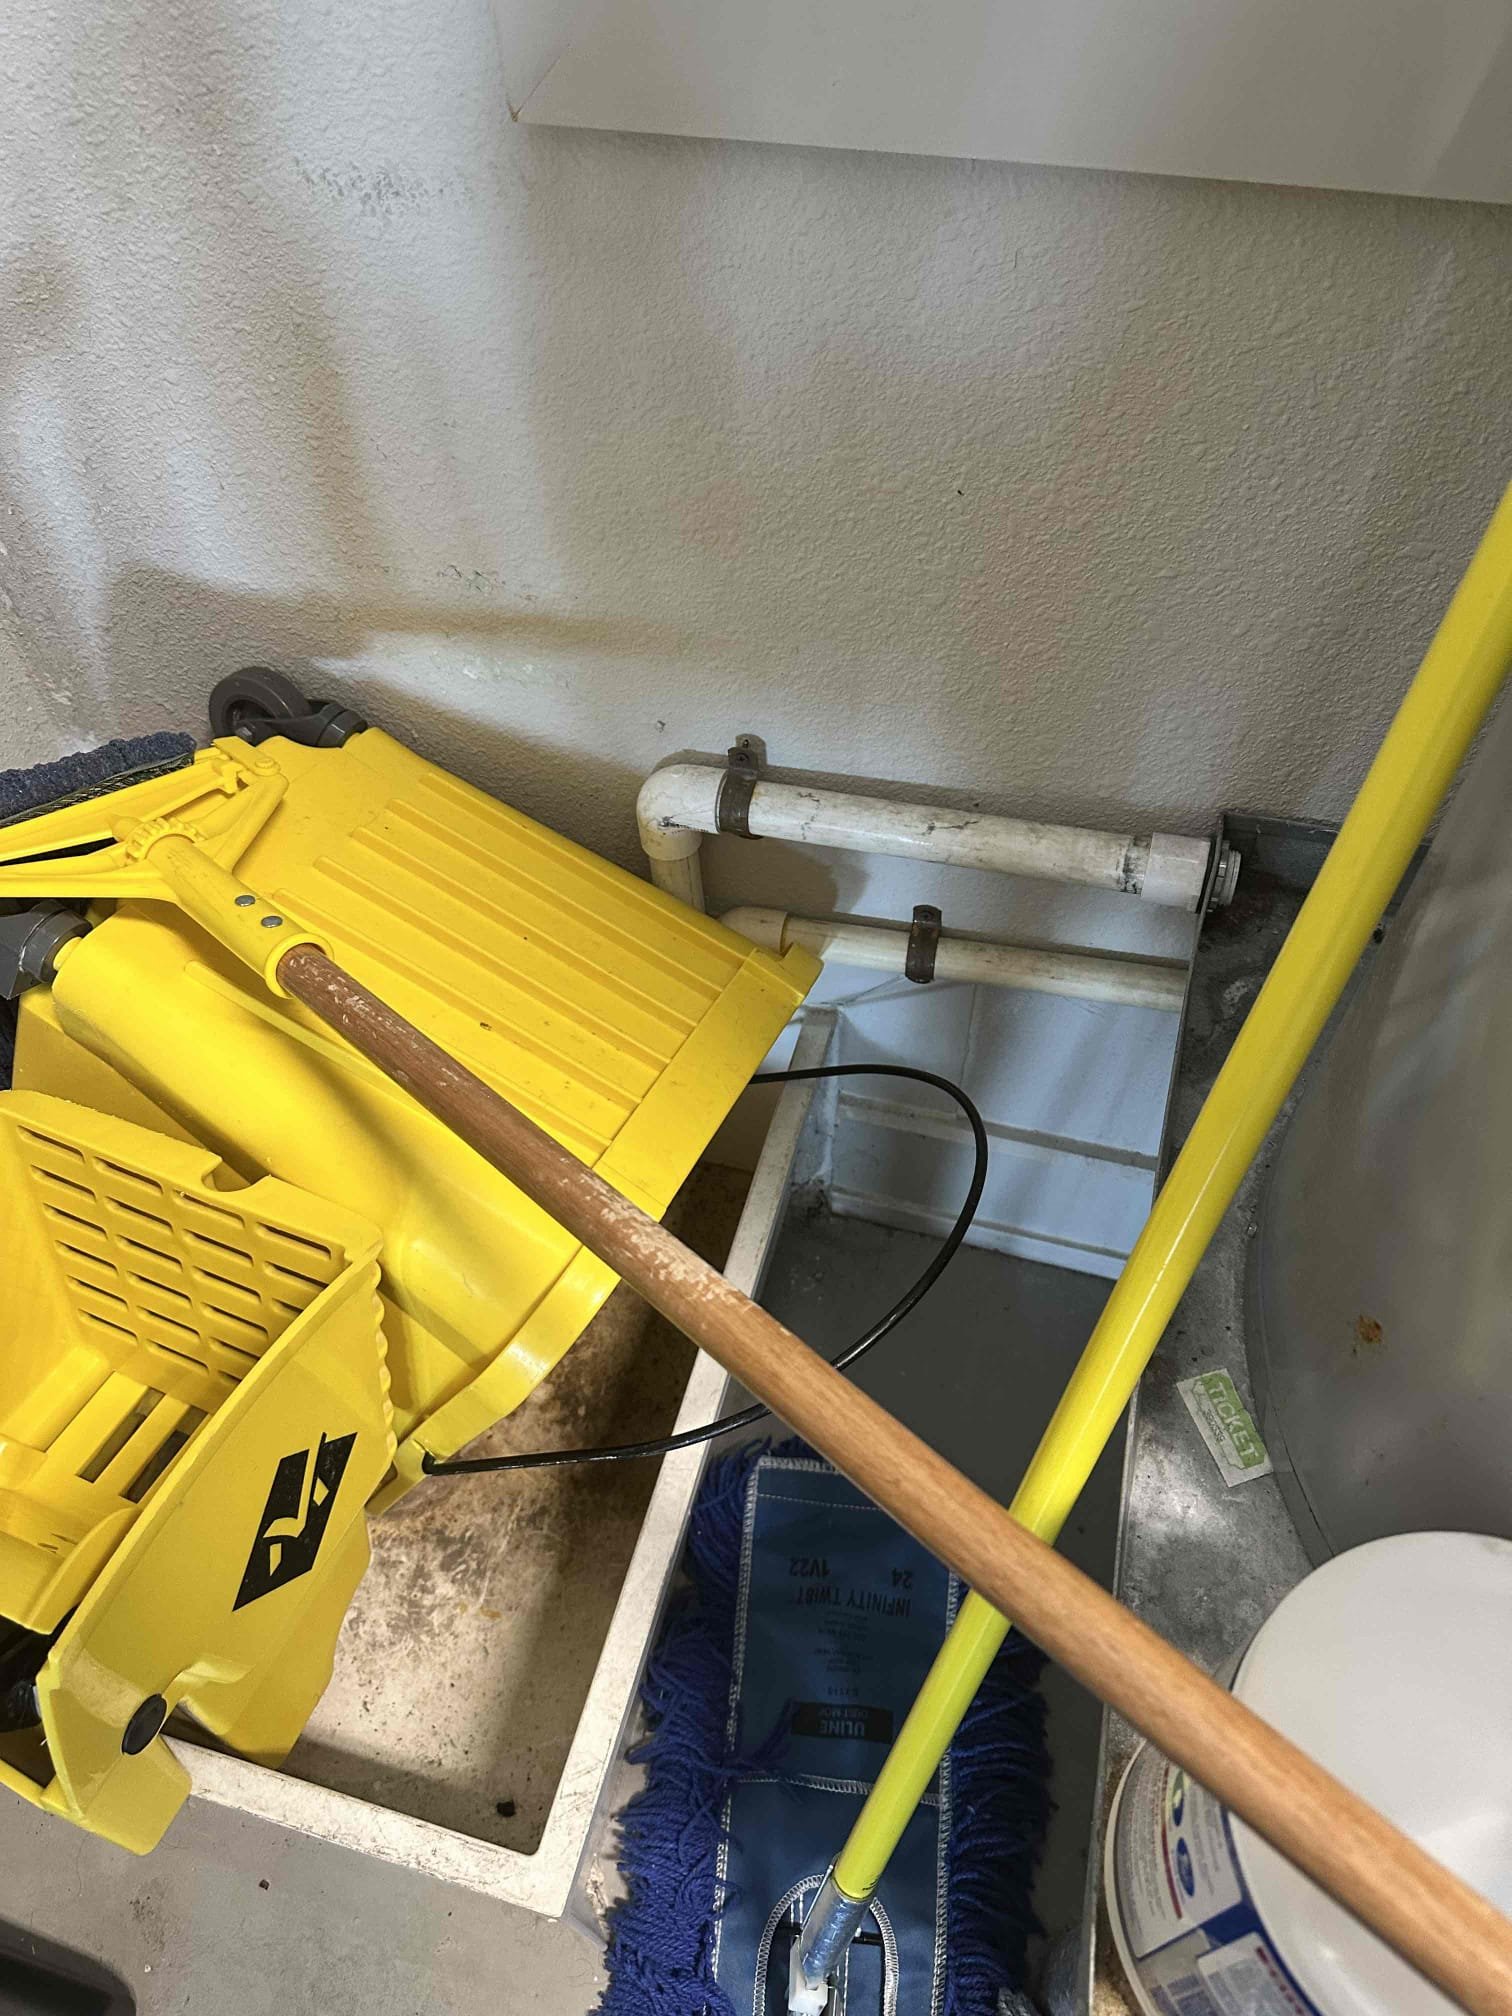
Spoke with client over the phone and created two estimates for 3 ton gas systems. I emailed both estimates to Heather. Her husband recently had surgery and did not want to schedule an in home visit at this time.
Homeowner spoke about uncomfortable areas on the upstairs. I checked the system for dampers and found none present. I presented a price to install dampers and balance the air. Customer approved and I collected a deposit for the work. The work is scheduled for 10/21/2025 with the arrival time of 8am to 9am.
We performed a 3 heating maintenances on 2015 gas systems. We checked amps, filters, electrical, gas valves, cleanliness, flame sensors, igniters, and safeties. We noticed some potential issues in all 3 systems. All 3 blowers wheels have some build up present. This hard strain to the motors and control modules. 2 of the outdoor units have heavy build up on the coil. This leads to strain on all electrical aspects of the outdoor units. The air quality check showed high particles and chemicals. We noticed a duct with a kink in it potentially causes poor air flow. The units are not currently protected from surges. We presented options to address these noticed potential issues. The customer declined all options at the time of service, and we emailed them out to the customer.
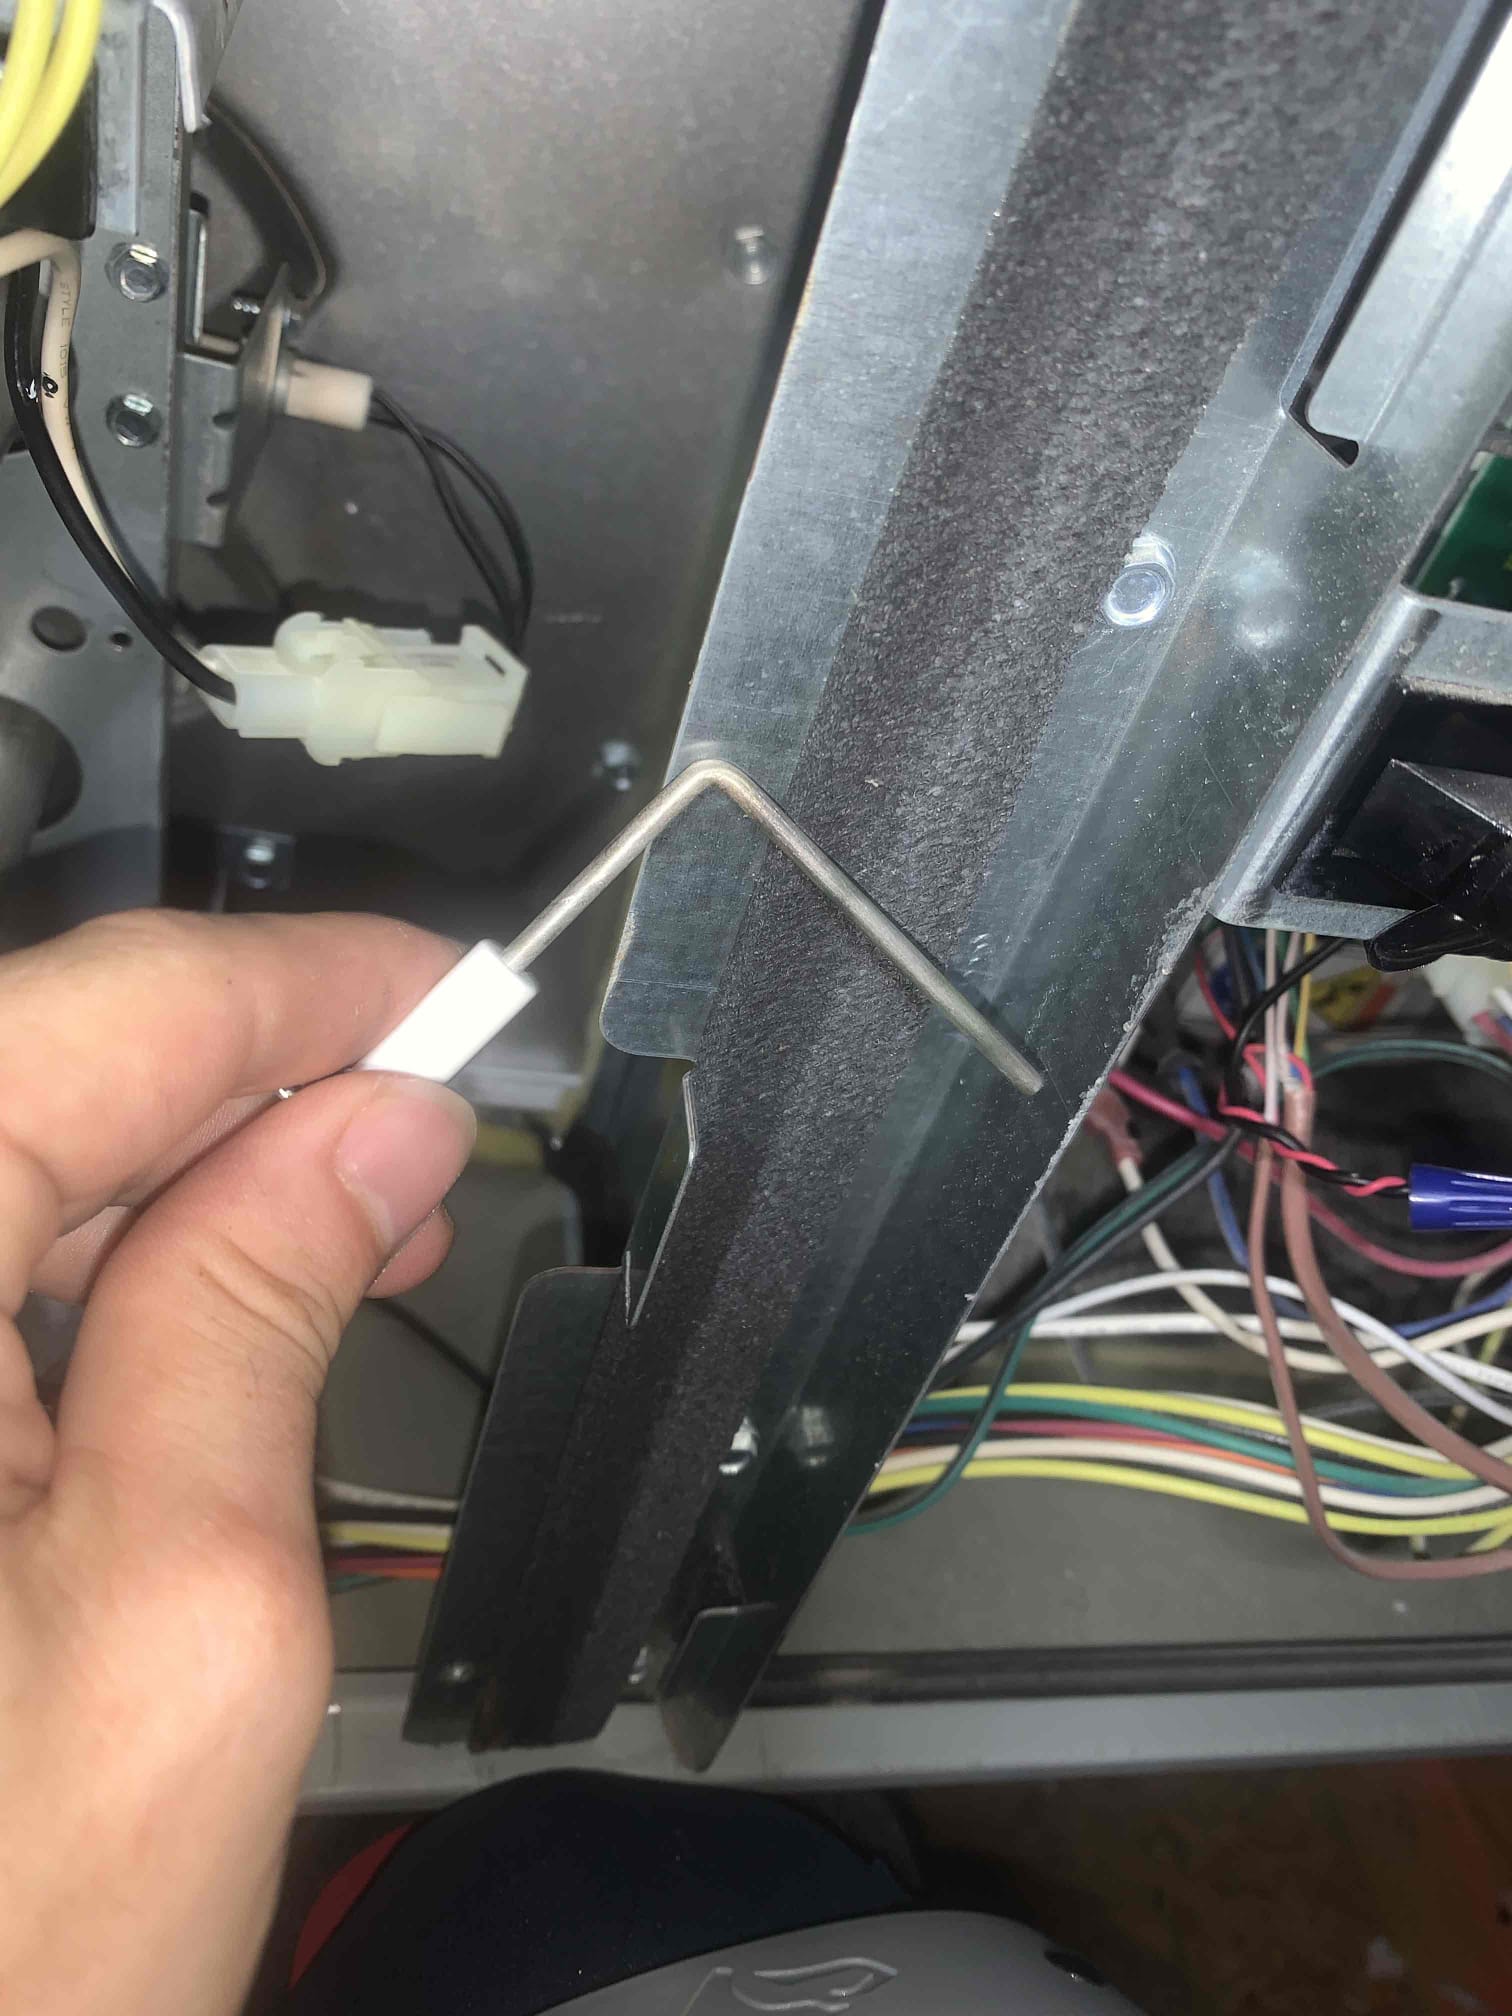
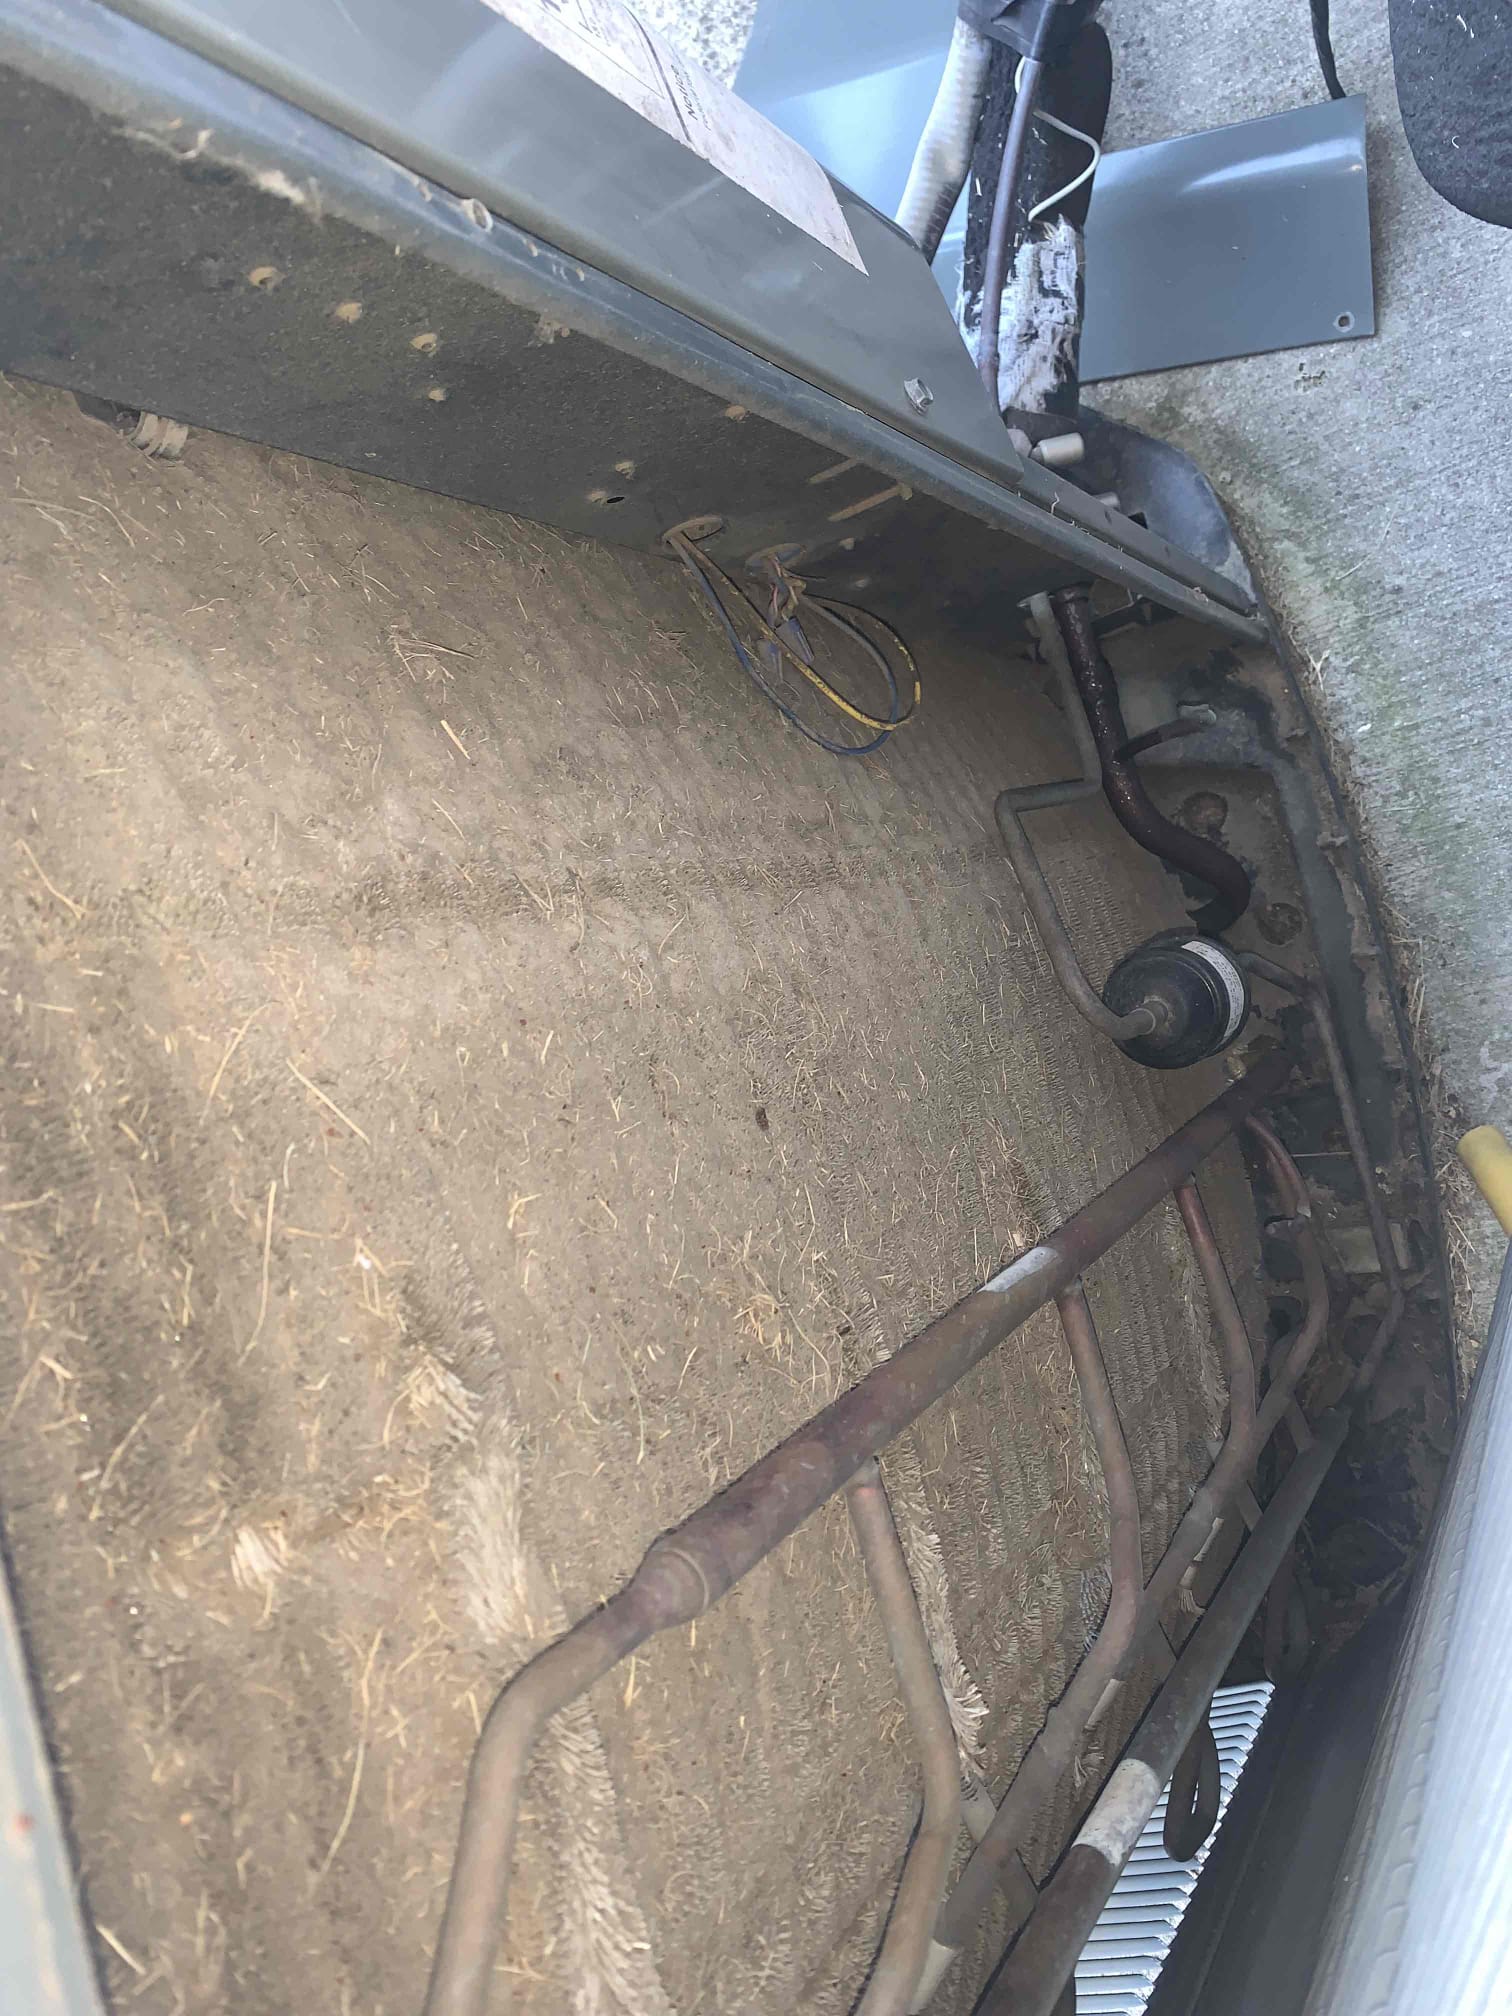
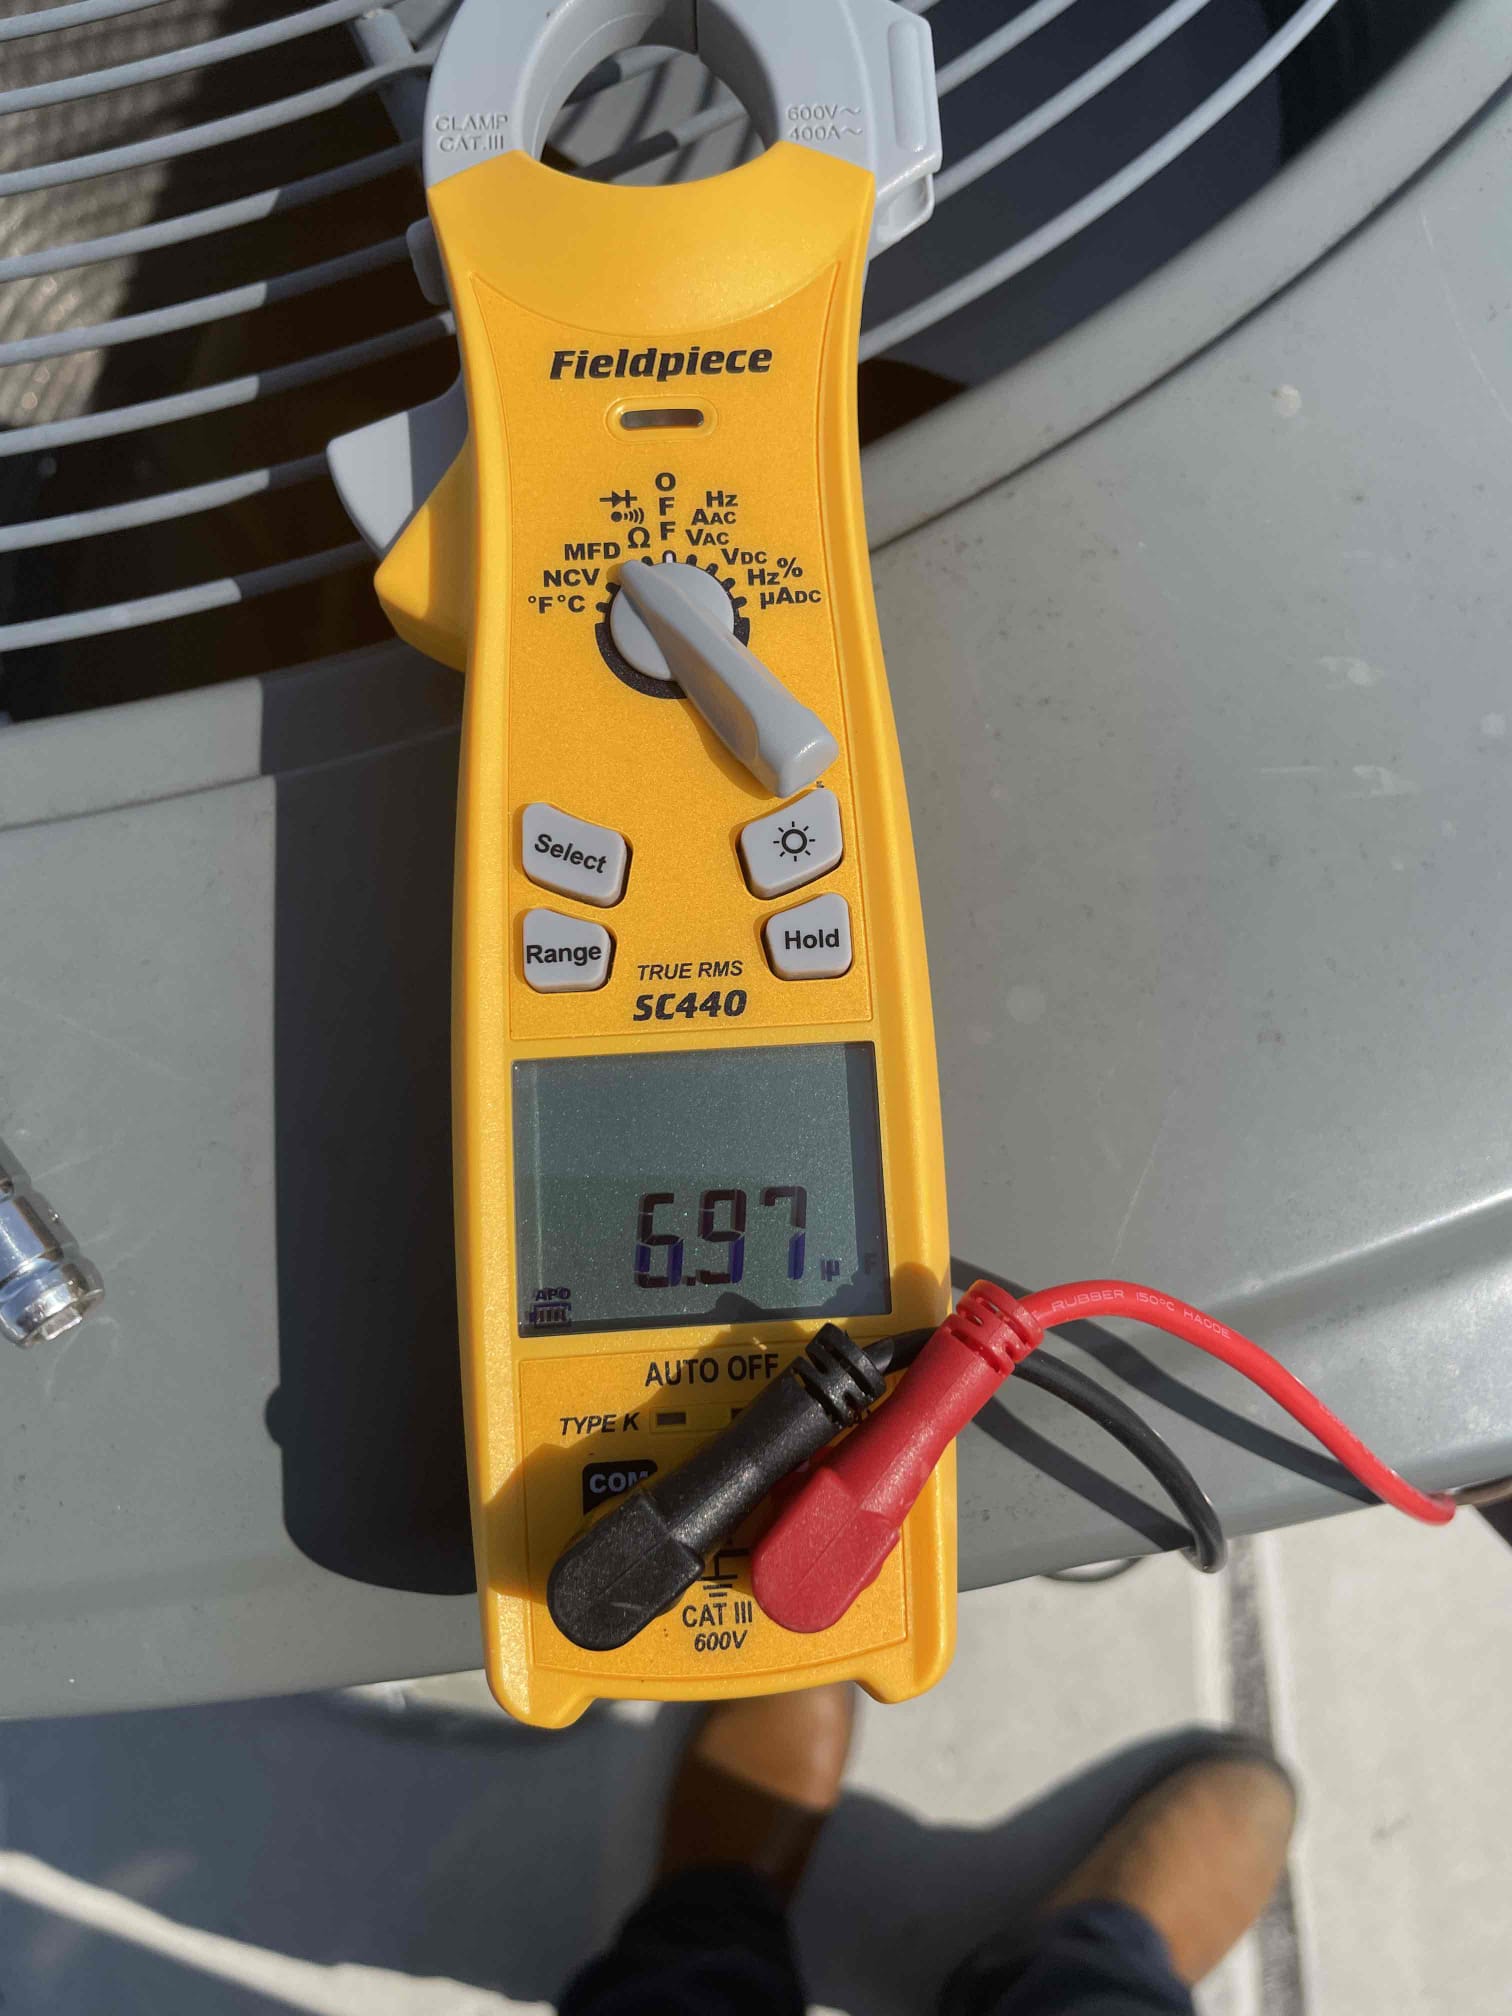
Upon arrival, I found that the sensor needing batteries was causing the error codes. After addressing that, I found that the capacitor was reading 6/70. This resulted in the compressor not turning on. I hooked a capacitor up and began testing. I determined that the unit was in need of a hard start kit, as well. I presented options to address these issues. The system is cooling upon departure.
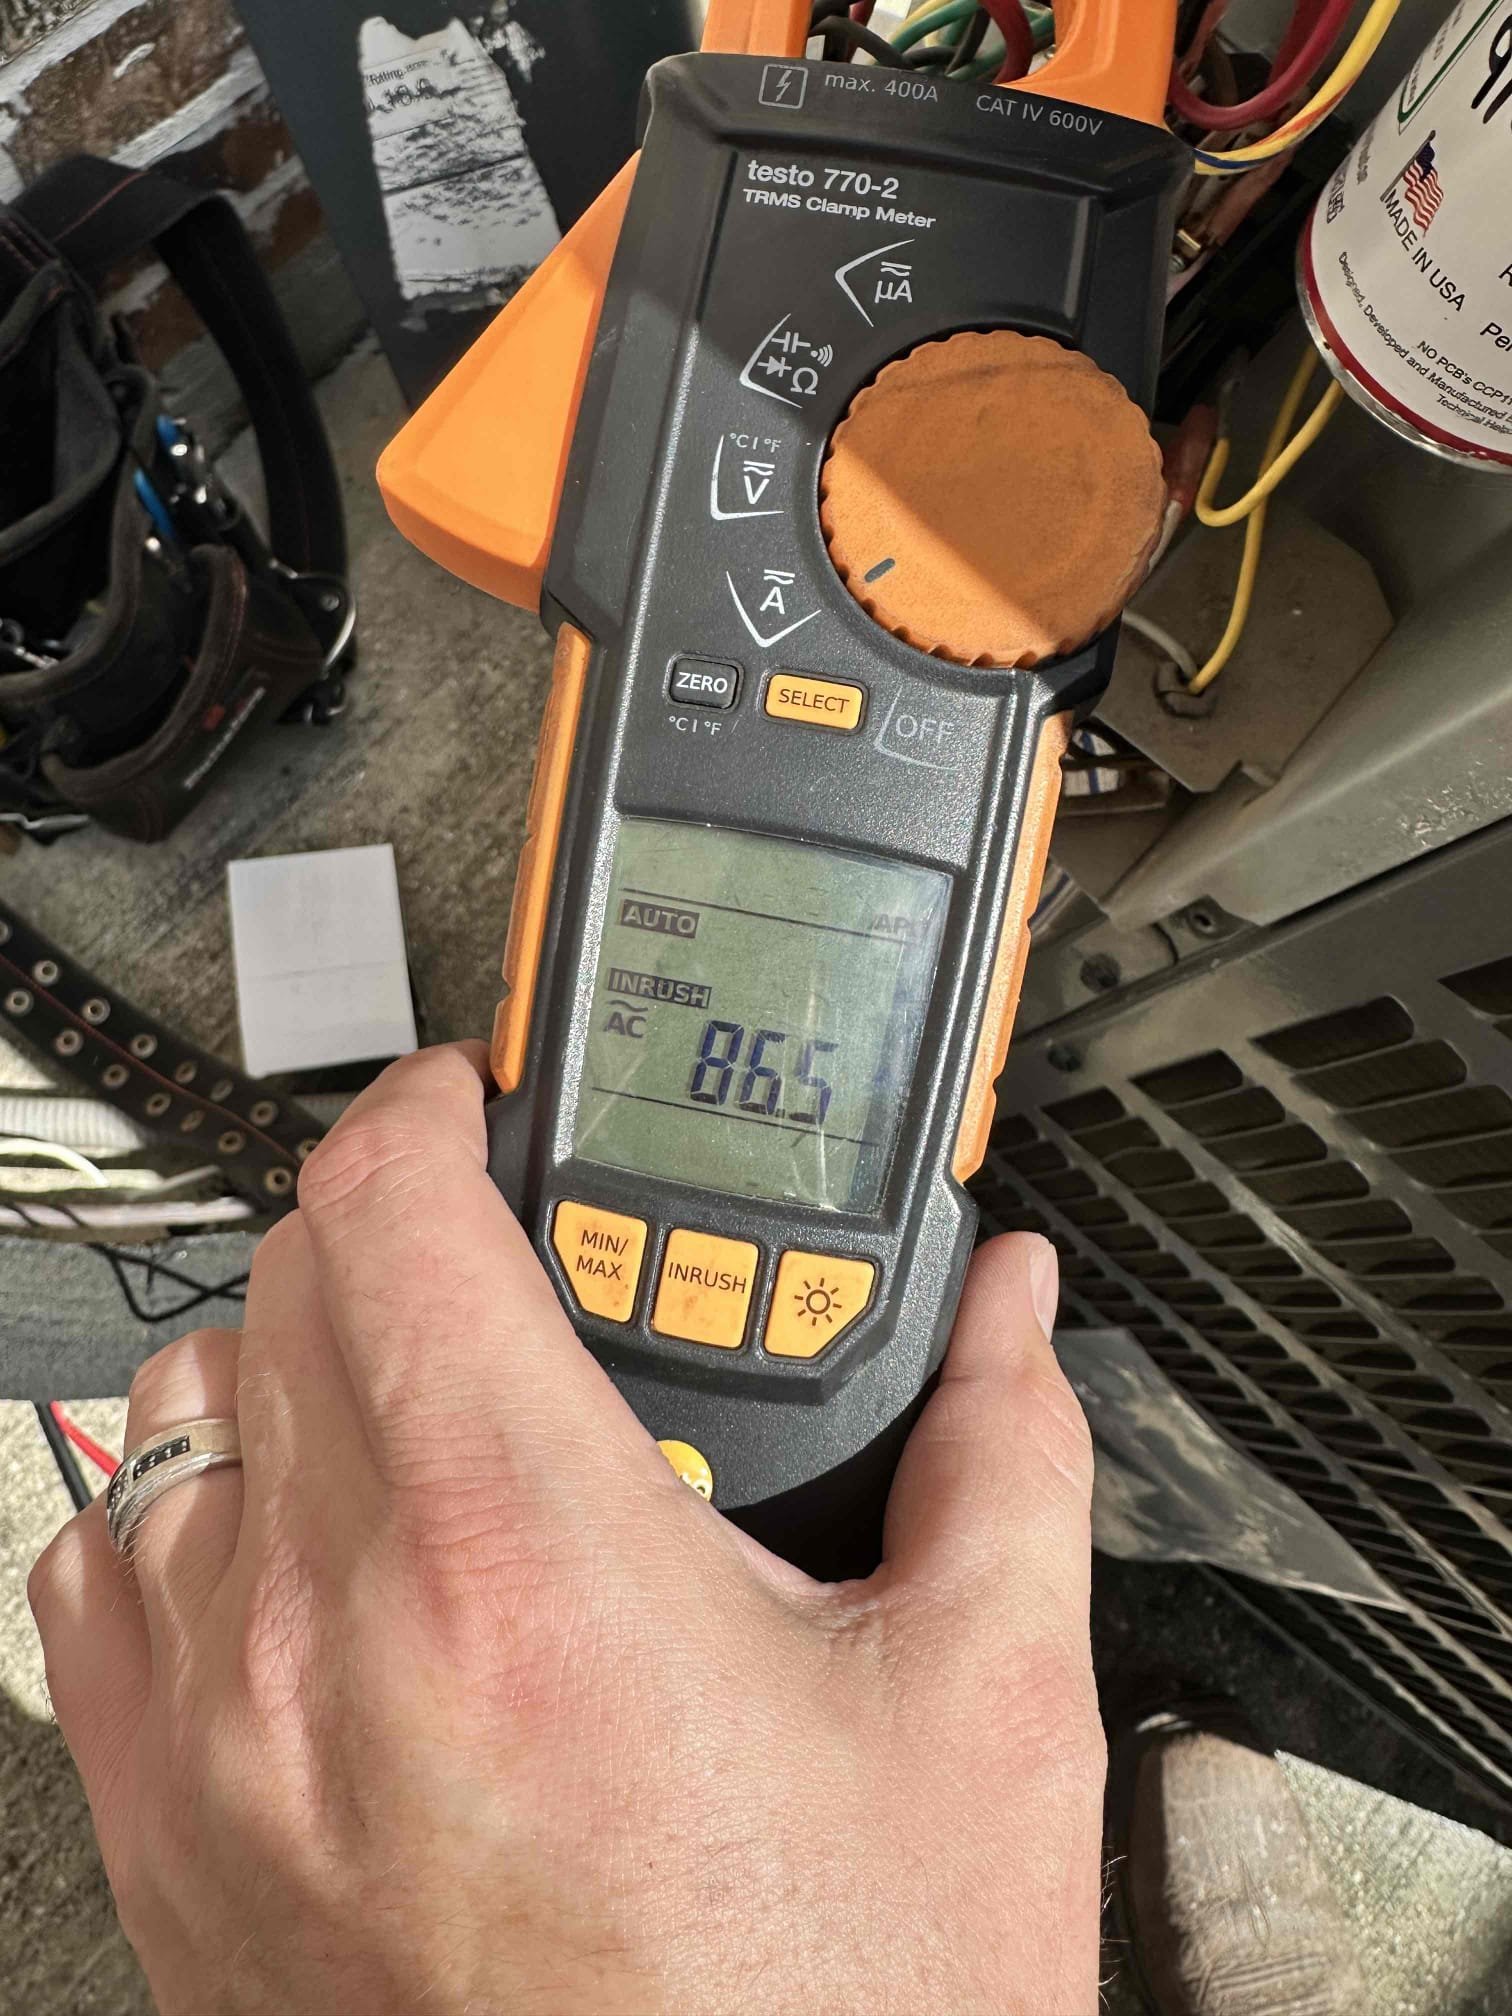
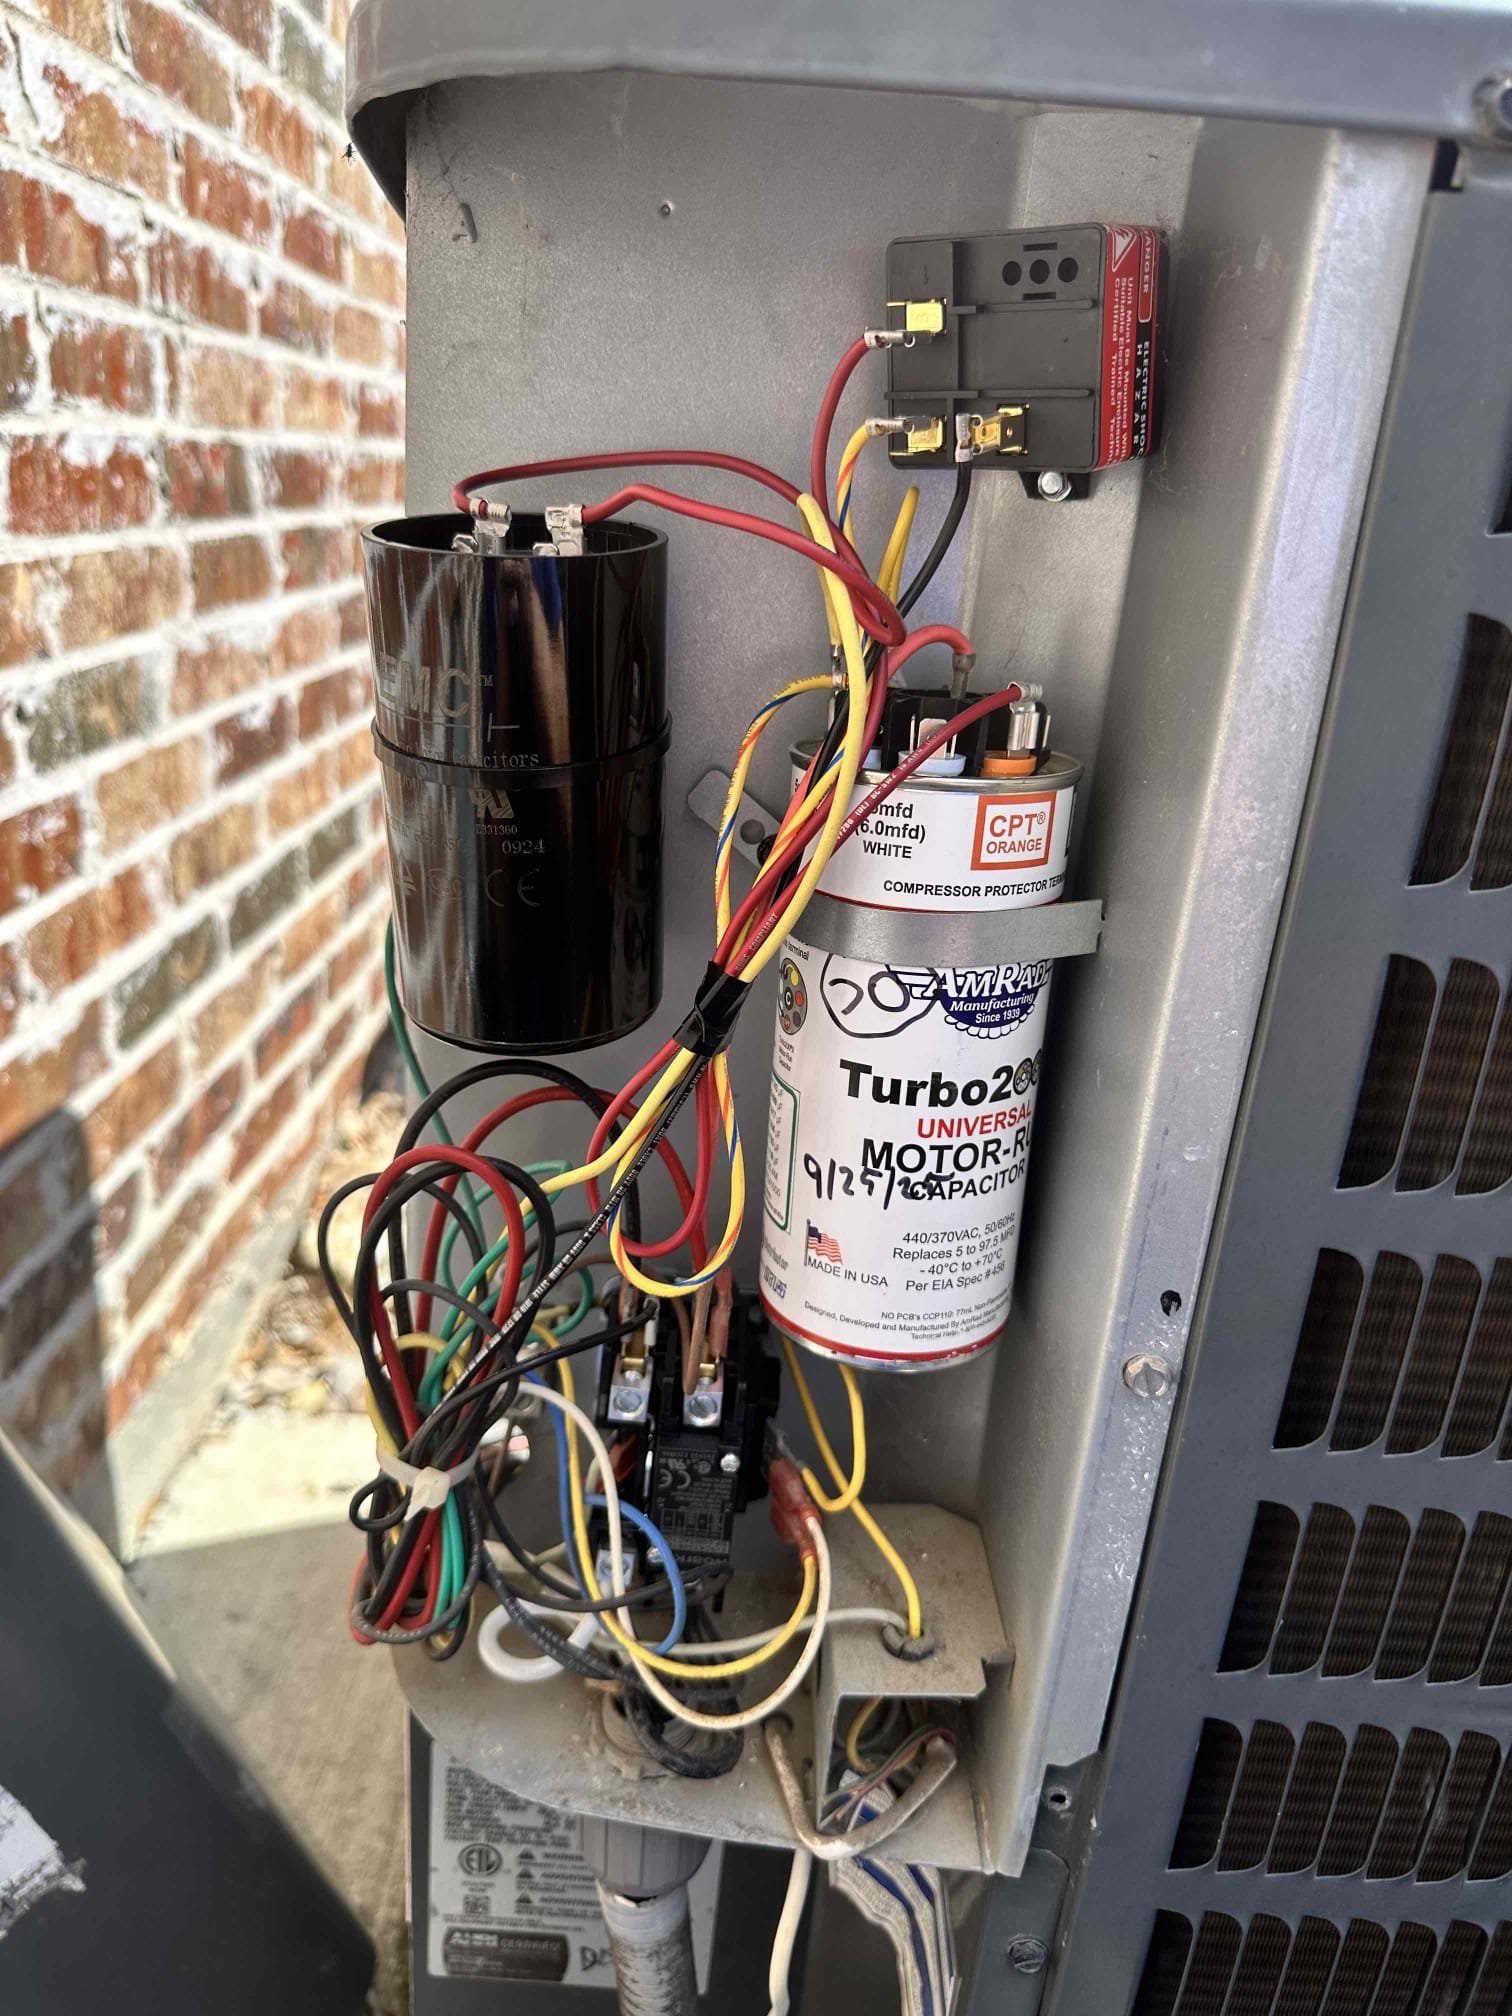
Performed a 3 commercial system spring maintenance. Tasks performed. 1. Visually inspected condenser coil for debris/ dirty. 2. Inspected condenser fan motor. 3. Inspected condenser fan blades. 4. Inspected/ cleaned wiring connections. 5. Tested compressor/ condenser fan motor capacitor,,,condenser fan capacitor on both units are failing,,7.5/5.0 MFD ,, they need to be replaced as soon as possible,,, we also recommended to install a hard start kit on both units , it will extend the life and stress on the compressor. 6. Checked refrigerant pressures. 7. Checked compressor amp draw. 8. Checked condenser fan motor amp draw. 9. Inspected / replaced return filter,,filters are very dirty,customer will replace them later. 10. Inspected return plenum for debris/ dirty. 11. Inspected evaporator coil,,unit #2 is extremely dirty, had 11 degrees split differential, evaporator needs to get cleaned as soon as possible. 12. Inspected blower motor/ blower wheel,,,unit #2 is extremely dirty, h
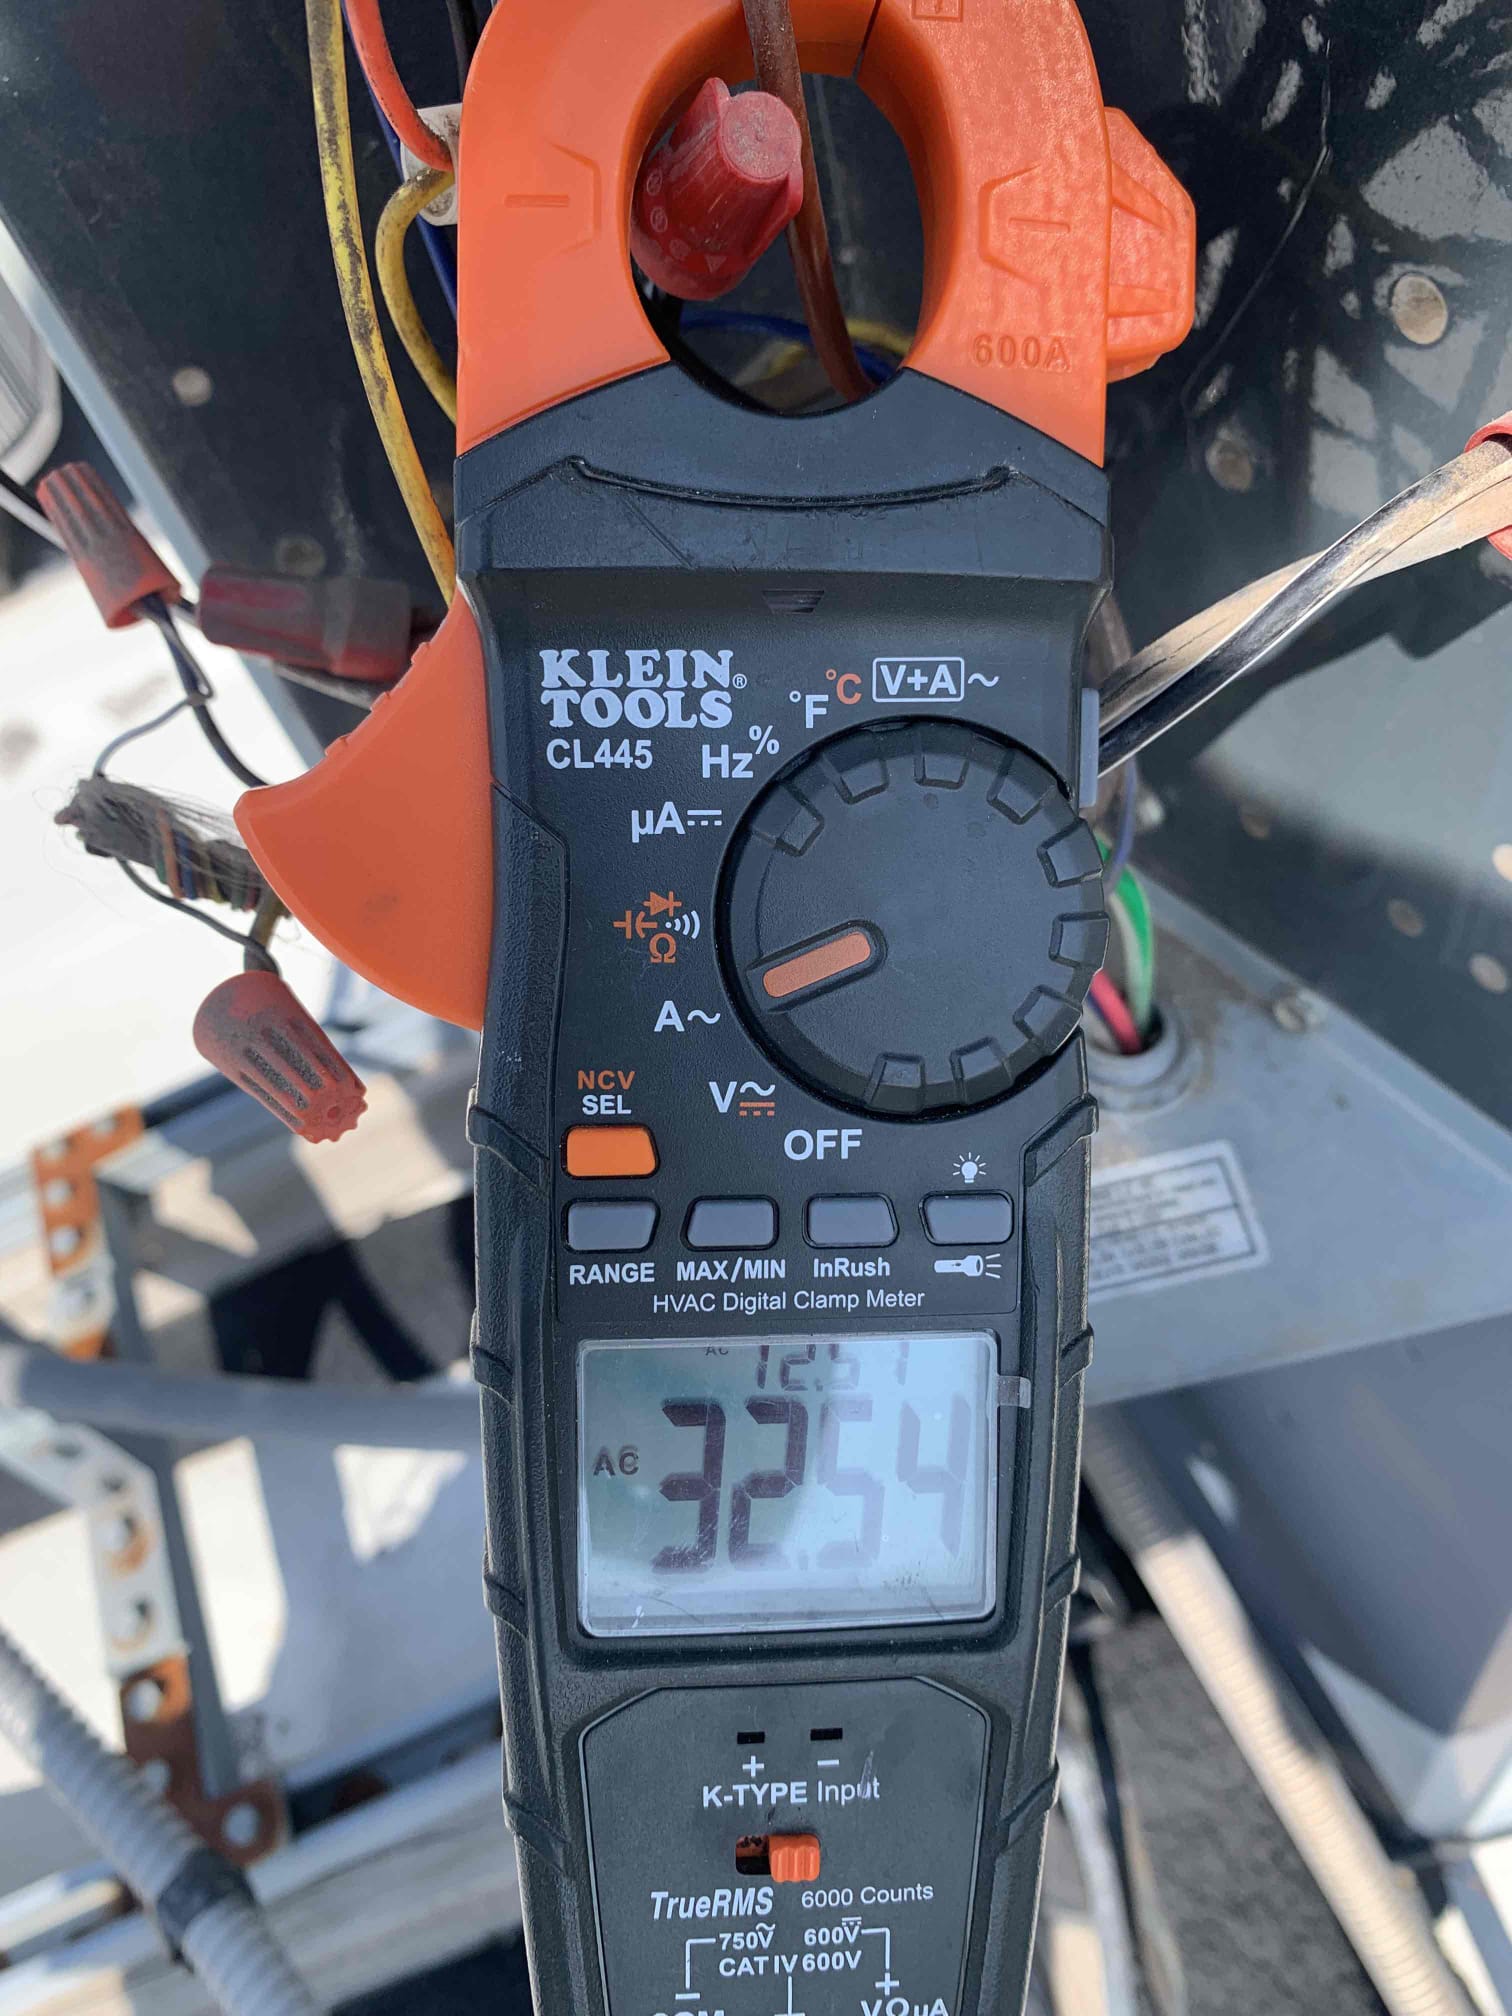
We installed the system, flushed the line, and and put a new thermostat.
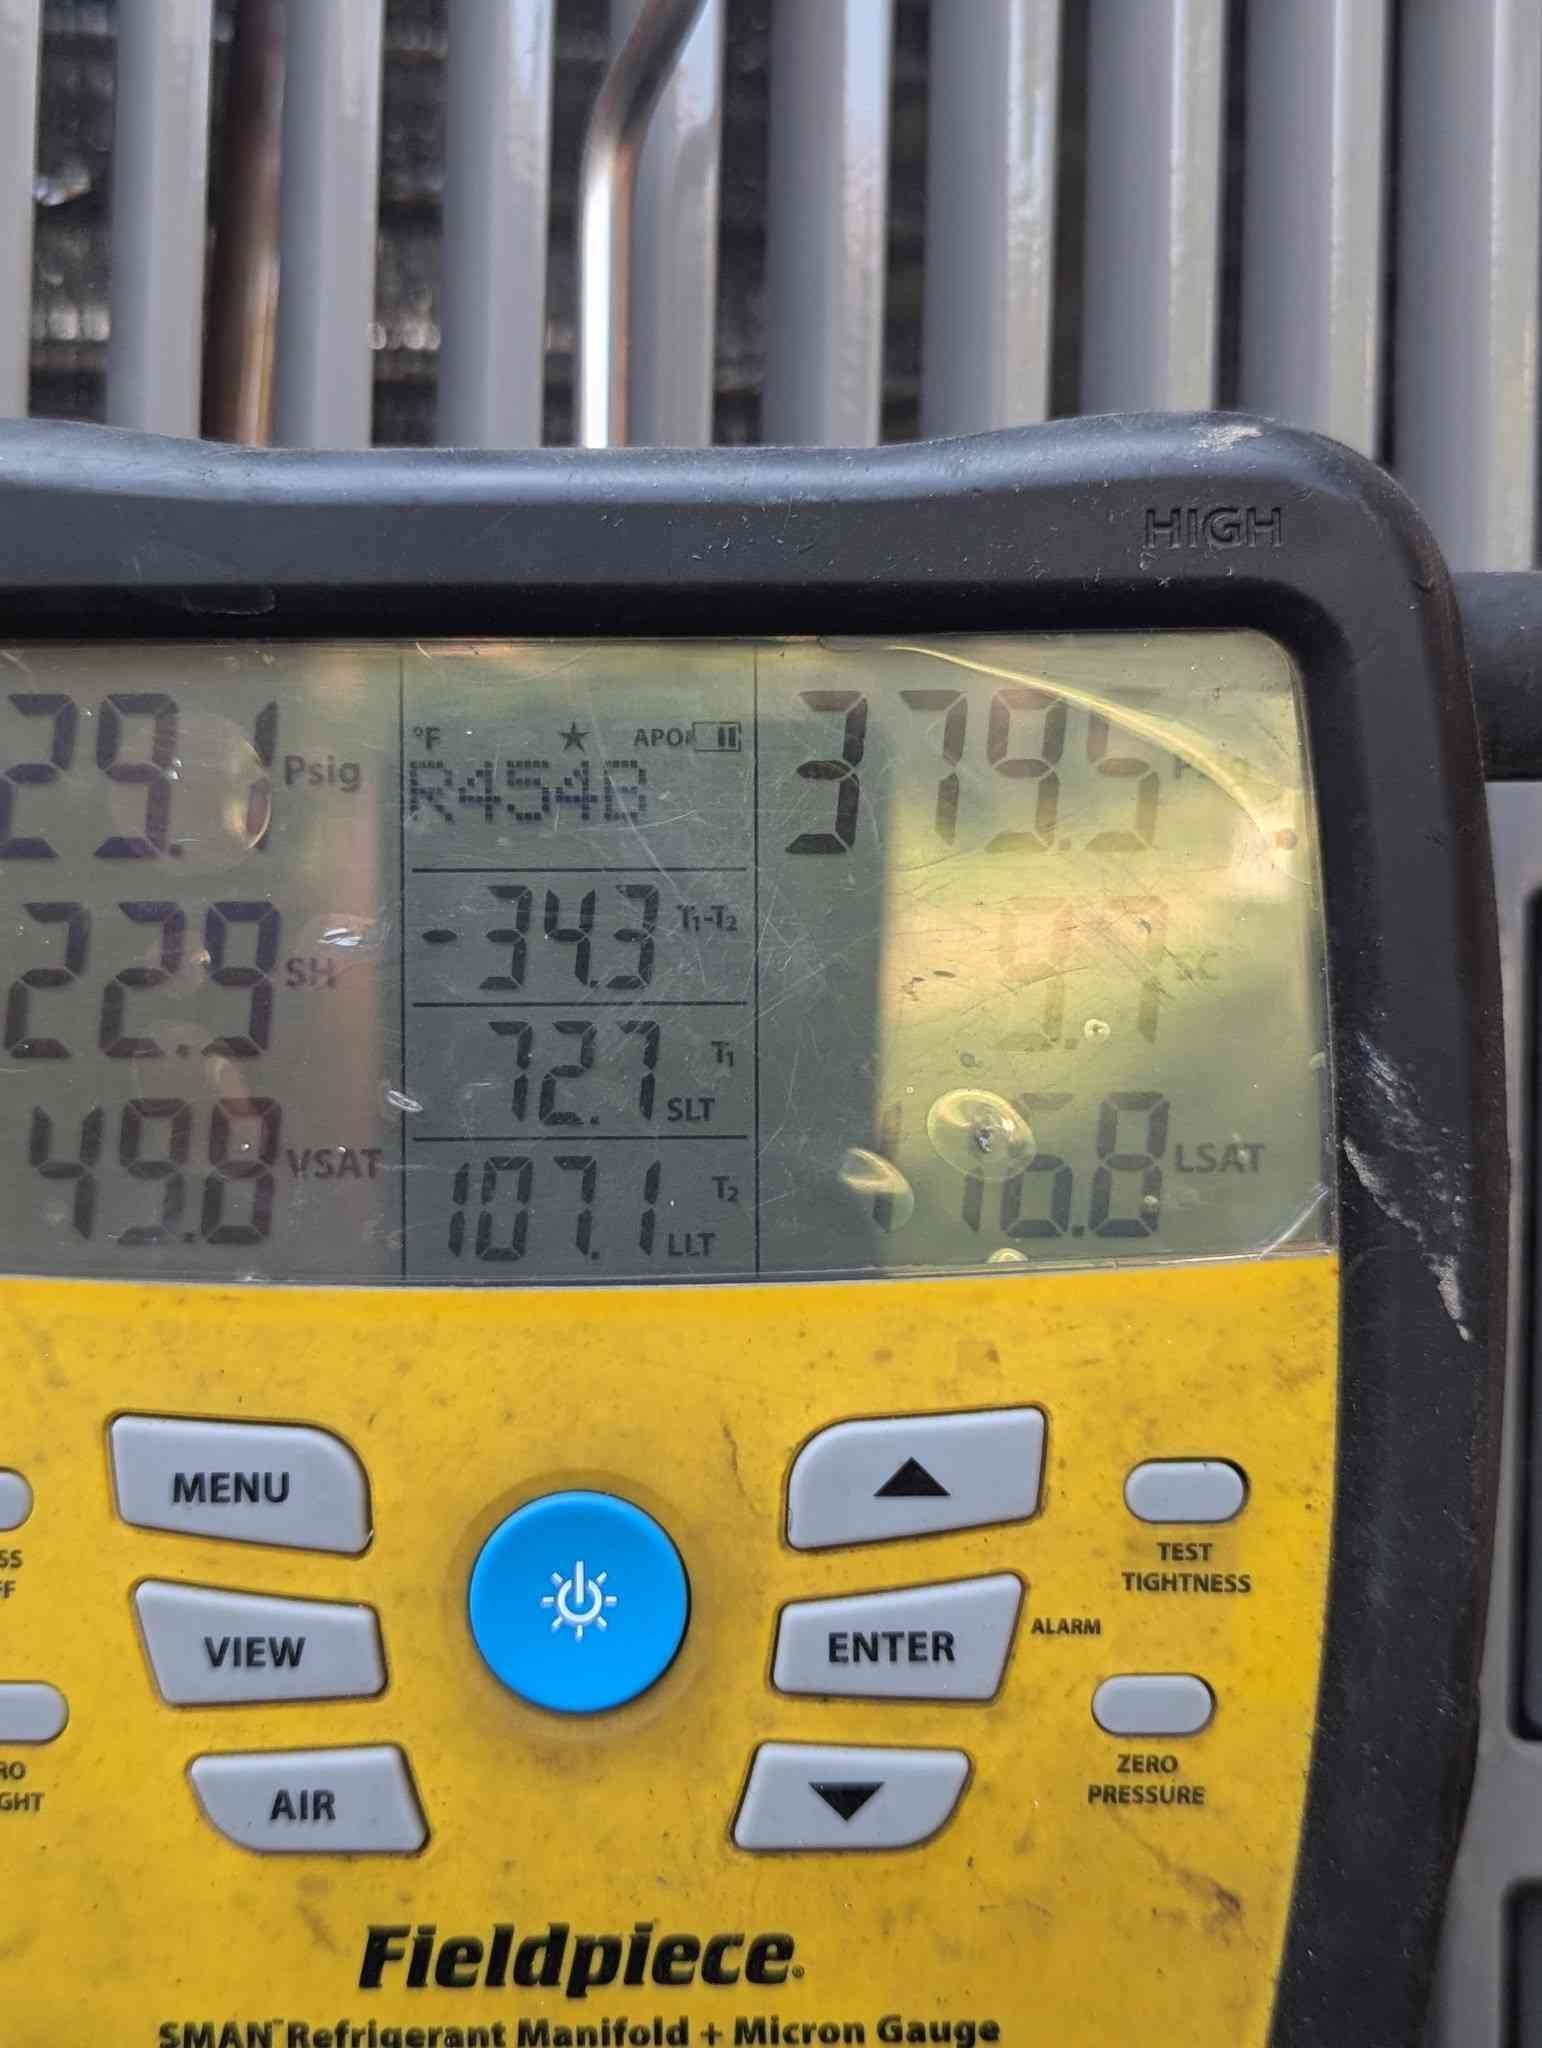
I arrived at our clients home for a second opinion regarding their HVAC equipment. I met with Shonna and she educated me regarding the situation. She showed me her thermostat and attic access and I proceeded to inspect the equipment. I did ask for permission to also diagnose the system to potentially provide a fix. I found the system to be completely empty on refrigerant and other minor issues related to ductwork. I found the system to have double filter (one in the ceiling and another in the attic). I did not create an estimate for repairs due to the age and obvious signs that the system has a significant refrigerant leak. I did created 2 estimates options and will be sending them to both via email. I also addressed the email Mr. Brown sent to us 1. Outdoor Condenser Unit (brand, model, SEER2 rating, and tonnage recommended) - American Standard 15.2 SEER 5 Ton Conventional split system 2. Indoor Coil / Evaporator (brand/model, compatibility with condenser)- 5 ton Matching American
